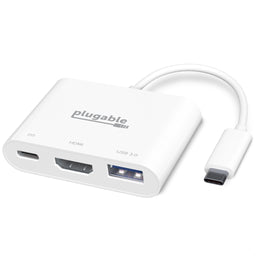
Plugable USB-C 7-in-1 ハブ イーサネット付き
SKU: USBC-7IN1E
List Price : $39.95
Amazon Rating :
(357 Reviews)
機能
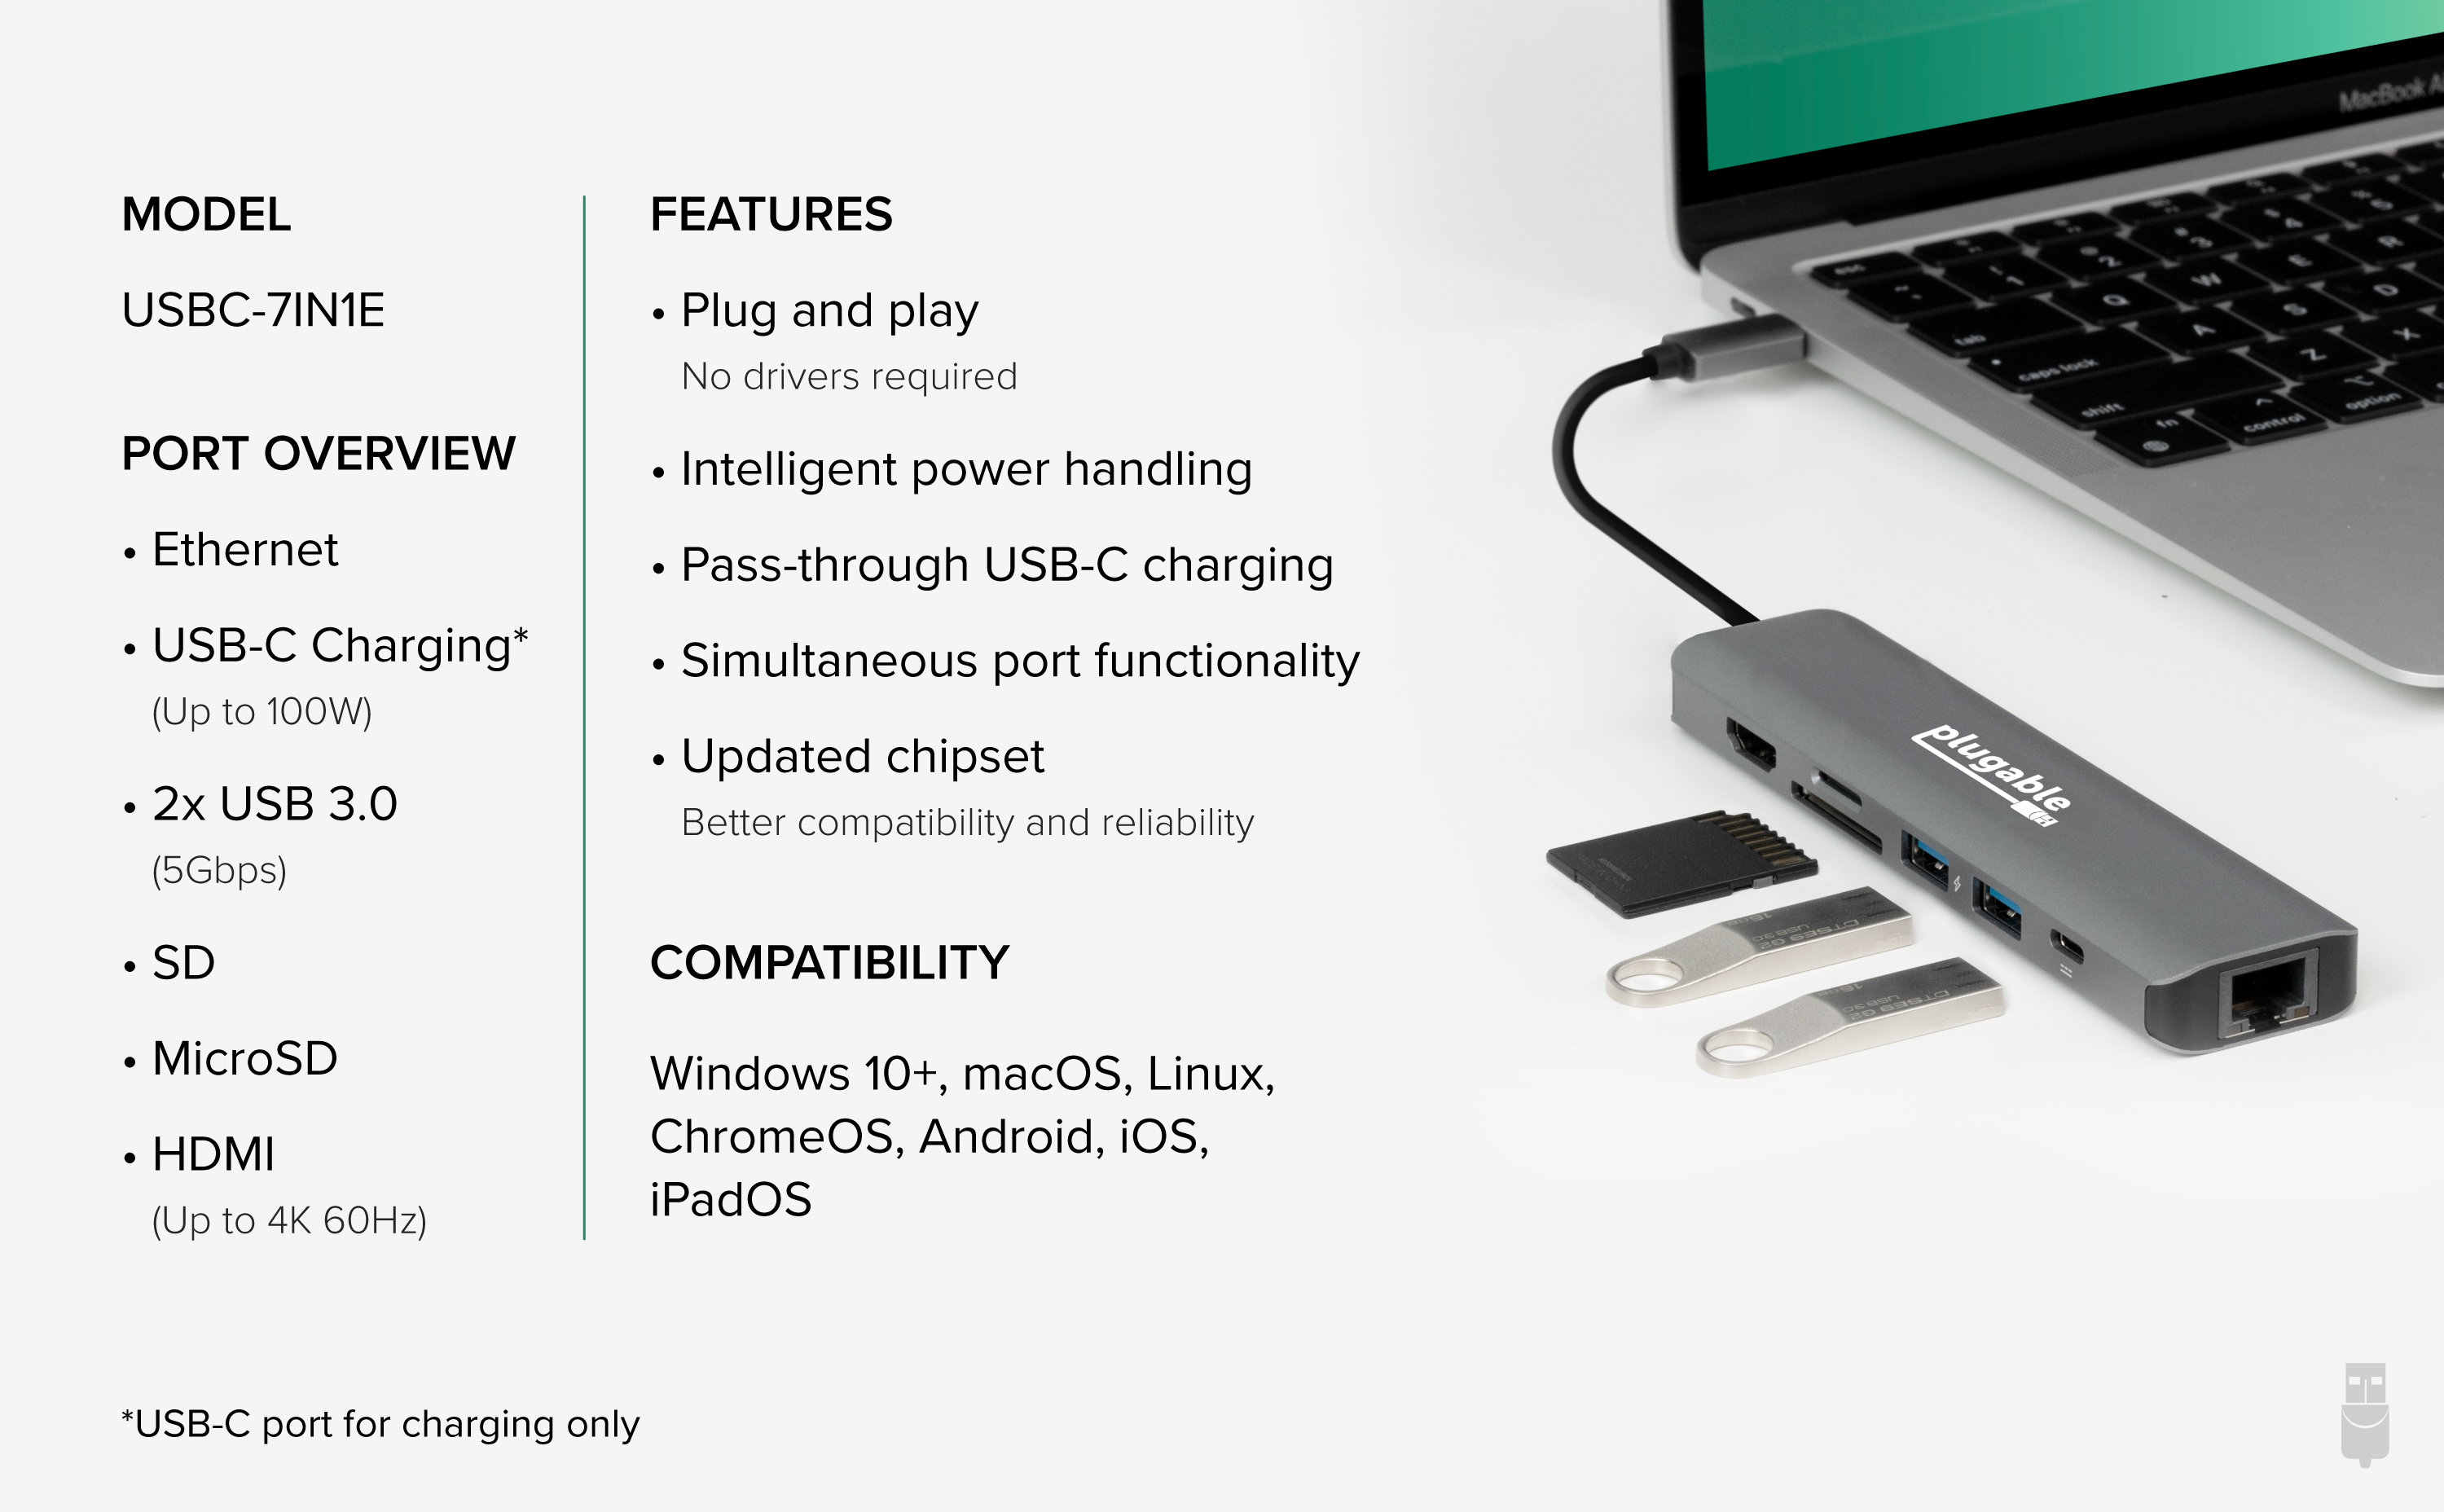
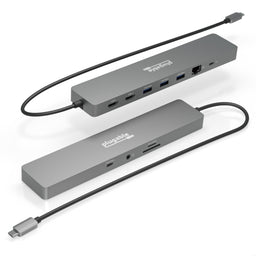
- 7 ポートによる拡張性 - 1 つの USB-C ポートまたは Thunderbolt 3 ポートを、7 ポートに拡張することができます。 この USB-C ハブには、USB 3.0 ポート x 2、ギガビット・イーサネットポート x 1、4K HDMI ポート x 1、SD カードリーダー x 1、microSD カードスロット x 1、USB-C PD(パワーデリバリー)対応充電ポート x 1 がついています。
- 4K HDMI モニター対応 - 最大解像度 4K @ 30Hz 対応 HDMI ポートに、1 台の外部モニタを接続することができます。持ち運びにも便利なこのコンパクトなハブで、オフィスや家庭で簡単に外部モニタを接続でき拡張された画面領域で作業をすることができます。
- 高速データ転送と充電 - USB 3.0 ポートにより 5 Gbps データ転送をサポートし、搭載された SD カードリーダーや microSD スロット経由のデータ入出力が簡単にできます。87W までのホスト充電を、充電パススルー用の USB-C ポートから行うことができます(。 ただし PC 搭載の USB-C ポートのすべてが PD 充電に対応しているわけではありませんのでご注意ください。
- パフォーマンスと信頼性- この USB-C マルチポートハブのポートはすべてを一度に使用できます。同時に複数の機器を接続をしても、充電器からの超過充電やモニター表示のちらつきなどよく起こりがちな問題が少なく、安定した機能を提供します。
- 2 年の品質保証 - Plugable は 2 年間の品質保証およびメールでのサポートをご提供いたします。正規販売元の Plugable Japan よりご購入ください。製品について質問がございましたら、Plugable Japan サポートまでお気軽にご連絡ください。

USB-C ポートまたは Thunderbolt 3 ポート搭載ラップトップの機能を拡張
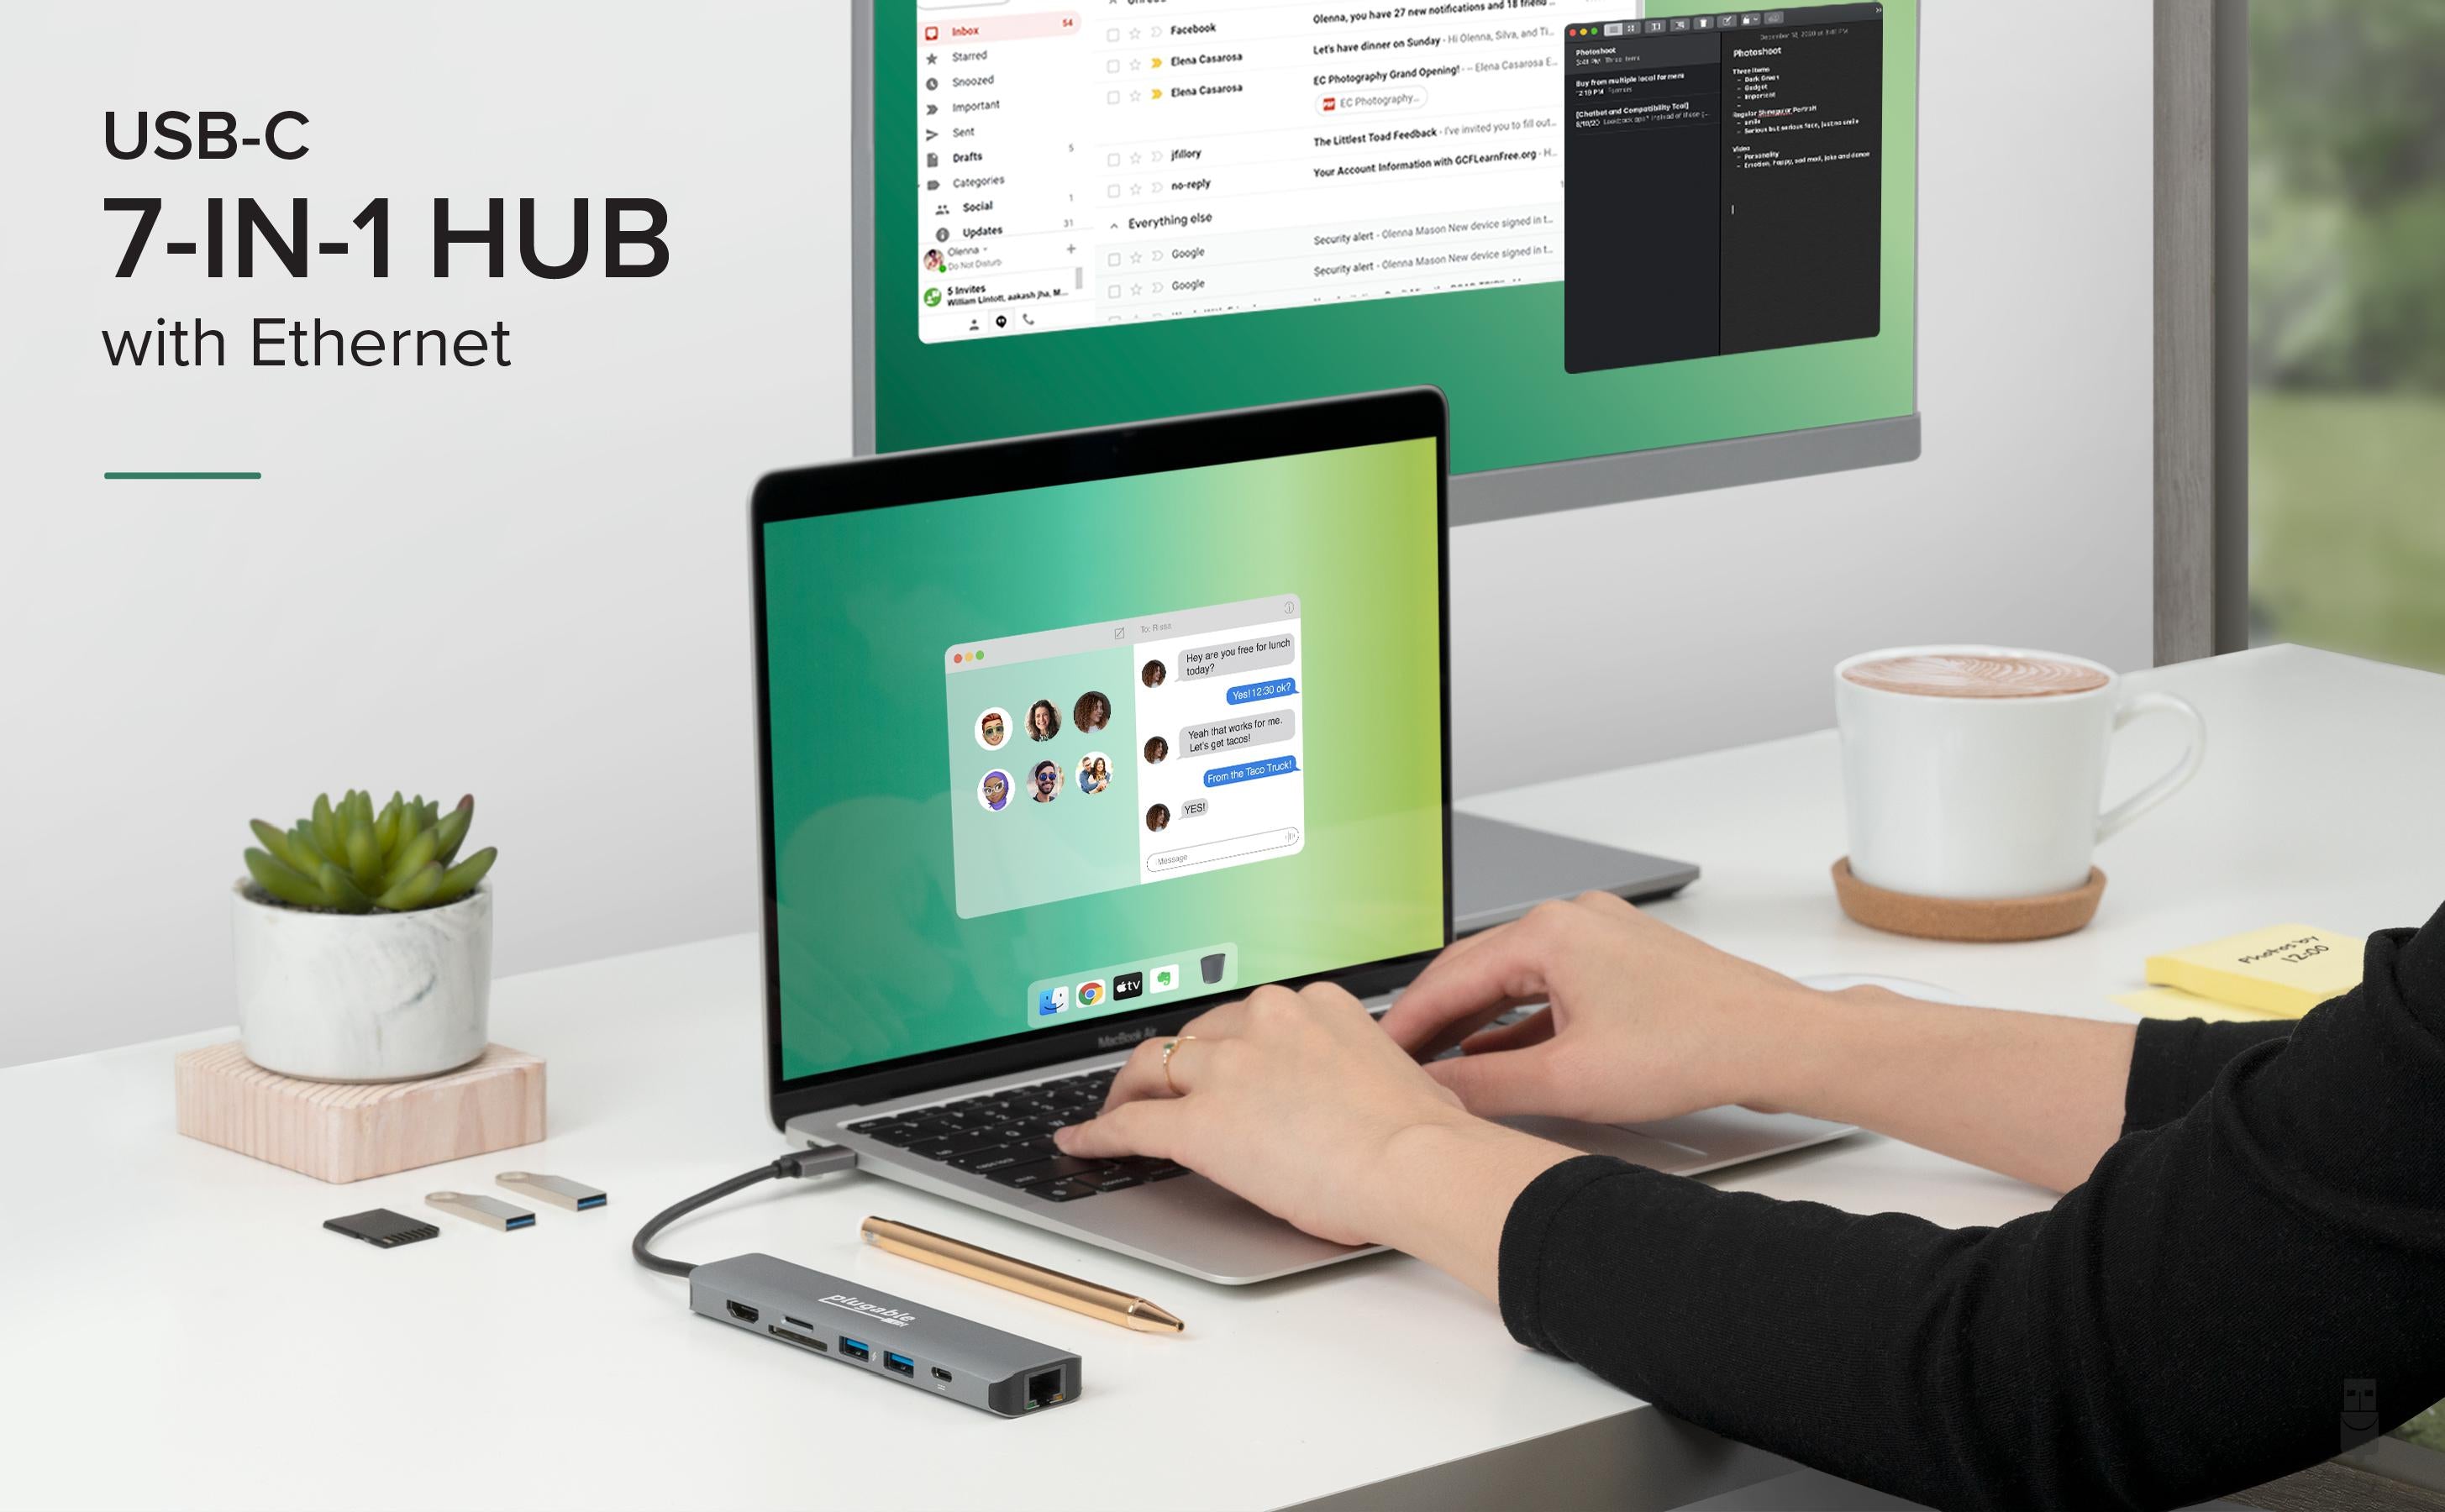
このコンパクトな USB-C ハブを使い、ノート PC に 1 つの USB-C ポート経由で様々なタイプの周辺機器を 接続しましょう。 この Plugable 7-in-1 USB-C ハブ、イーサネットポート付き(USBC-7IN1E)を使用すると、1 ポートへの接続で外付け HDMI 4K モニター、USB周辺機器 x 2、SD および microSD カード、有線イーサネット LAN、USB-C 電源アダプターを USB Type-C または Thunderbolt 3 対応システムに接続できます。充電パススルーにより、最大 87W で接続されたホストシステムを充電できます。
コンパクトなサイズのため携帯性に優れ、貴重なポートを占有する可能性のある複数のドングルを持ち運ぶ必要がありません。 長年の USB 周辺機器の開発上の経験を活かし、Plugable 社によって設計されたこのマルチポートハブは、現実のユーザーの方々から寄せられる一般的な問題を解決するために製造されました。最新技術を活用したこの 7-in-1 USB-C ハブは、より品質と信頼性の高い「DisplayPort 代替モード」による外部モニタ接続、様々な周辺機器用ポートの安定性、過電流リスクの低減、パススルー充電をする際のノート PC 保護の点にすぐれています。 更新されたチップセットを採用することで、複数のポートが同時に安定して機能します。

ホスト充電
PC にある唯一の USB-C ポートを充電専用にしてしまう必要はありません。この USB-C ハブ搭載の USB-C 充電ポートは、ハブの他のポートの安定稼働を提供しつつノート PC を充電します。
USB-C PD 充電規格(最大100W)に対応しており、ホストシステムを最大 87W 電力で充電できます。
注意:この製品には、AC 電源アダプターは同梱されていません。

高解像度ディスプレイ
このコンパクトなハブによりオフィスや家庭で簡単に外部 HDMI モニタを接続でき、最大 3840x2160@30Hz の拡張された画面領域で作業をすることができます。
さらに、もしも PC 側のシステム GPU が DisplayPort 1.4 グラフィック出力に対応している場合 には、このハブの HDMI ポートは最大 4K@60Hz 解像度に対応できます。
注意:すべてのノートパソコン搭載の DisplayPort ポートが DP 1.4 に対応しているわけではありません。DP 1.4 ポート搭載のノート PC のリストが互換性タブに掲載されていますので参照してください。自分のシステムが DP 1.4 に対応しているかどうかは、ラップトップメーカーに確認してください。
このハブには DisplayPort 入力しかないモニタは接続できません。

多種多様なデバイスを接続
2 つの USB 3.0 ポートにより 5 Gbps データ転送をサポートします。
SD カードリーダーや microSD スロットが搭載されているためデータ入出力が簡単にでき、データ統合が容易になります。
ギガビット・イーサネットポートがついており、WiFi がない環境でも有線 LAN 接続ができます。

パッケージ内容
内容物と数量 | 注記 |
---|---|
1x Plugable USB-C 7-in-1 ハブ | |
1x クイックスタートガイド |
グラフィック
ポート | 場所 | 仕様 | 最大解像度とリフレッシュレート | HDCP | チップセット |
---|---|---|---|---|---|
1x HDMI 4K (出力) |
左側面 | HDMI 2.0 | 3840x2160 @ 60Hz 3840x2160 @ 60Hz3840x1600 @ 60Hz 3440x1440 @ 60Hz 2560x1440 @ 60Hz 2560x1080 @ 60Hz 1920x1080 @ 60Hz 1600x900 @ 60Hz 1280x1024 @ 60Hz 1280x800 @ 60Hz 1280x720 @ 60Hz 1152x864 @ 60Hz 1024x768 @ 60Hz 800x600 @ 60Hz 640x480 @ 60Hz |
モニターの仕様に依存 |
電源
ポート | 場所 | 電源 ホスト/デバイス | 接続タイプ | 備考 | 電圧 | アンペア | ワット数 |
---|---|---|---|---|---|---|---|
USB-C パススルー充電用 | 左側面 | 周辺機器 | USB-C PD 充電 | 20.0V まで | 5.0A | 最大 100W | |
USB Type-C | 前面 | ホスト PC | USB-C PD 充電 | セルフパワー(USB-C 電源アダプタ接続)時のみホスト充電可能 | 20.0V まで | 4.35A | 最大 87W |
デバイス接続用 USB ポート
ポート | 場所 | バージョンとリンクレート | 機能 | 電圧 | アンペア | ワット数 |
---|---|---|---|---|---|---|
1x USB-A | 左側面 | USB 3.0 (5Gbps) | 5V | 900mA | 4.5W | |
1x USB-A | 左側面 | USB 3.0 (5Gbps) | バッテリー充電規格 BC 1.2 | 5V | 1500mA | 7.5W |
ホストへの接続
ポート | 場所 | バージョンとリンクレート | 機能 |
---|---|---|---|
1x USB-C | 前面 | USB 3.0 (5Gbps) | DP 代替モード・ビデオ |
有線 LAN ネットワーク
ポート | 場所 | バージョンとリンクレート | 機能 | チップセット |
---|---|---|---|---|
ギガビット・イーサネット | 背面 | 1000BASE-T | AX88179A ASIX |
ストレージ
ストレージポートの位置 | ホスト接続 | ホスト接続ポート仕様 | 付属ケーブル(またはポートタイプ) | スロットとメディアタイプ | 容量(メディアが含まれている場合)または最大サポート容量 | チップセット |
---|---|---|---|---|---|---|
スロット 1 | USB-C | USB 3.0 (5Gbps) | あり | MicroSD(Trans-Flash)または
MicroSDHC または
microSDXC Micro SD |
GL3224 Genesys Logic |
|
スロット 2 | USB-C | USB 3.0 (5Gbps) | あり | SD、SDHC、SDXC、MMC、RSMMC、Mobile-MMC、 MMCPlus、MMC-micro SD、SDHC、SDXC、または MMC |
GL3224 Genesys Logic |
互換性
互換性のあるシステム | DisplayPort 代替モード(Alt-Mode)ビデオ出力機能に対応した USB-C ポート搭載の Chromebook/Windows/Mac/Linux システム。この製品は、2018 iPad Pro(複製モードのみ)、MacBook Air、iMac、iMac Pro、MacBook および MacBook Pro、Google Pixelbook、Dell XPS 13 / XPS 15、Lenovo Thinkpad、HP Spectre x360、Samsung DeX 互換機器、Surface Laptop 3、Surface Go などで機能確認されています。 |
互換性のないシステム | 現在、USB-C ポートを搭載したほとんどのスマートフォンやタブレットは、DP 代替モード(グラフィック出力機能)をサポートしていません。また、ASMedia 社 USB 3.1 コントローラは、代替モードに対応していません。 複数の USB-C/Thunderbolt 3 ポートを持つほとんどのマザーボードで、代替モードによるグラフィック出力は 1 つのポートのみに制限されています。つまりシステムごとに 1 台の代替モード用変換アダプタしかサポートされていません。 |
4K におけるリフレッシュレート | 4K@60Hzは、DisplayPort 1.4 (DP 1.4)に対応した GPU を搭載しているシステムでのみサポートされています。このようなシステムの例として、Microsoft Surface Pro 7、Surface Laptop 3、Surface Book 3 などがあります。 DP 1.4 非対応のシステムでは、最大解像度およびリフレッシュレートは 4K@30Hz です。例えば、USB-C DP 1.2 までしか対応していないシステムでは、最大解像度が 4K@30Hz に制限されます。それ以下の解像度であれば、リフレッシュレートがすべて 60Hz に対応可能です。 4K@60Hz のモニタ表示がしたい場合は、お使いのパソコンが DP 1.4 出力に対応していることを、ノートパソコンのメーカーに確認してください。 |
使い方
- ノートパソコン、タブレット、携帯電話の、グラフィック出力(DP 代替モード)と充電(PD 規格)に対応した USB-C ポートに、当ハブを接続します。
- USB 周辺機器、モニター、USB-C 電源アダプタ、SD/microSD カードなどをハブに接続します。
注意:充電および HDMI 出力には、USB-C PD(Power Delivery )充電 規格および DisplayPort 代替モード(Alt モード)規格に対応したホスト機器へ接続する必要があります。全ての USB-C ポートがこの両者の規格に対応しているわけではありません。
ご質問がある場合は、「アマゾン注文番号」を添えて nihongo@plugable.com まで日本語でご連絡ください。
Filter Help Articles and Frequent Questions by Category
Articles
Well how about that, it looks like we don't have any articles matching your filters! Try removing one of your choices or clear the filters to show all articles.
You can always contact support if you need help too!
USB Port Types
USB-A
pietz, CC BY-SA 3.0 , via Wikimedia Commons
This is the standard USB connection that most computers offered prior to the introduction of USB Type-C (USB-C). Even after the introduction of USB Type-C, this is still quite common.
It can provide data transfer rates up to the USB 3.1 Gen 2 (10 gbps) specification depending on the host and device, but does not directly support video in the way that USB-C Alternate Mode does. This limitation makes DisplayLink USB graphics adapters and docking stations ideal on systems that do not have USB-C, or in instances where more displays are needed beyond available video outputs of a PC.
USB-B
Fred the Oyster, CC BY-SA 4.0 , via Wikimedia Commons
IngenieroLoco, CC BY-SA 4.0, via Wikimedia Commons
This type of connection comes in a couple different styles depending on whether USB 3.0 and higher transfer rates are supported (bottom graphic). Usually this type of connection is used to plug into USB devices that do not have a fixed cable connected, such as USB docking stations, USB hubs, printers, and others.
USB Mini-B
Fred the Oyster, CC BY-SA 4.0 , via Wikimedia Commons
One of the first connectors for charging a smartphone, wireless game controller (such as the Sixaxis and DualShock 3), and other small devices such as external hard drives. Not commonly used today, but is still used in some cases. Most devices using USB Mini B are using USB 2.0, though a USB 3.0 variant does exist. This specification also added USB On-The-Go (OTG) functionality, though it is more commonly implemented with Micro USB.
USB Micro-B
Fred the Oyster, CC BY-SA 4.0, via Wikimedia Commons
IngenieroLoco, CC BY-SA 4.0 , via Wikimedia Commons
A smaller connector that serves many of the same uses as the Mini B connector, with added optional features such as Mobile High-Definition Link (MHL) to allow devices like smartphones to output video to larger displays without requiring a dedicated port for video output.
The larger variant of USB-B is most commonly used for external hard drives for higher 5Gbps transfer rates.
USB-C, Thunderbolt™ 3, and Thunderbolt™ 4
Niridya , CC0, via Wikimedia Commons
The most recent USB connection, USB Type-C (USB-C), represents a major change in what USB can do. The connector is smaller, can be connected in two orientations, is able to carry substantially more power and data, and can directly carry video signals of multiple types (HDMI, DisplayPort, etc.) Intel has also adapted the USB-C connector for use with Thunderbolt 3 and Thunderbolt 4.
It is important to note that while all Thunderbolt 3 and Thunderbolt 4 connections are USB-C, not all USB-C connections can be used with Thunderbolt 3 or Thunderbolt 4 devices.
More details regarding physical USB connections can be found on Wikipedia . The graphics depicted here are adapted from Wikimedia Commons by various artists under the Creative Commons Attribution-Share Alike 3.0 Unported license.
Can I Connect a DisplayPort (DP) Monitor to the HDMI Port on This Device Using an Adapter or Cable?
No, this is not possible. Please note that DisplayPort to HDMI cables (as with most cables involving protocol/signal conversion) are not bidirectional adapters, which means they only work in one direction -- from a DisplayPort output to a HDMI input.
Connecting these type of cables backwards will not allow an HDMI output port (such as those on a dock) to function with a DisplayPort input on a monitor.
Understanding and Troubleshooting Network Performance
Computer networking is a complex topic. In this article, we'll be taking a deep dive on the nuances of network performance for those who need some additional explanation while striving to be concise, and to educate users of various experience levels relating computer hardware and computer networking.
If you just need to know how to perform a network performance test/benchmark, jump down to configuring iPerf.
Core Network Concepts
LAN vs WAN
With regards to network performance, it is crucial to first separate whether an issue is with Wide Area Network (WAN) performance, or if the issue is with Local Area Network (LAN) performance.
Your LAN is essentially the network inside your home or business. Many homes use a combination modem/router device provided by their Internet Service Provider (ISP). In some cases, especially in businesses, you may have a separate modem and router, along with other equipment connecting to the router such as a network switch.
Your modem, and the connection it establishes to your ISP—whether through coaxial cable, fiber, phone lines, or long-range wireless—essentially marks the point between the WAN and the LAN. The connection your modem makes to your ISP is the WAN, and any devices you connect through your router behind that modem belong to the LAN.
Link Rate
Almost every type of connection your computer makes to any piece of hardware will have a link rate of some kind. The link rate establishes how fast data can possibly be transferred across any given connection, but it does not guarantee how fast the hardware on either end of the connection will actually transfer data.
The concept of link rates, and their related bottlenecks, is likely best conveyed by giving an example of what connections might be involved in transferring a file from one computer on your LAN to another.
- 800Mbps—The file source is a USB 3.0 thumb drive capable of 100MB/s (800Mbps) read/write.
- 480Mbps—The USB 3.0 thumb drive is plugged into a USB 2.0 port on the PC, which has a maximum throughput of 480Mbps
- 1000Mbps—PC1's Ethernet connection establishes 1Gbps (1000Mbps) link to the router via Ethernet
- 300Mbps—The router connects to a second PC (we'll refer to this as PC2) via Wi-Fi, and it has established a 300Mbps link to the Wi-Fi adapter on PC2
- 480Mbps—The Wi-Fi adapter on PC2 is connected via a USB 2.0 port. The link rate of the USB connection to PC2 is at 480Mbps
- 6000Mbps—PC2 is going to store the file on an internal hard drive with a link rate of 6Gbps
- 1600Mbps—File Destination: SATA hard drive capable of 200MB/s (1600Mbps) read/write.
Following this chain, we see that 300Mbps is the slowest link rate established. This means that, regardless of the link rates established elsewhere, the absolute maximum the data can possibly be transferred is 300Mbps.
if we were to change the Wi-Fi connection to a wired Ethernet connection capable of 1Gbps, our performance bottleneck would then become the USB 2.0 connection to the USB drive where the file is stored.
Ports and Interfaces
Interfaces
A network interface represents connections, whether wired or wireless, that are made to form a network between devices.
Ports
Some may refer to physical hardware connections as "ports". For the purposes of networking, ports are logical constructs that can also be referred to as "network ports". Each network interface has 65,535 of these logical ports. Each port on a network interface is a separate data connection.
Benchmarking Network Adapter Performance
To properly benchmark network adapter performance, we need to:
- Use a simple LAN configuration
- Eliminate bottlenecks, especially link rate bottlenecks
Websites like speedtest.net, fast.com, and other performance tools in your web browser are going to use your WAN connection, and are not appropriate for determining if a network adapter is working well.
Transferring files from one computer to another on your LAN is typically not the best way to benchmark a network adapter. File transfers are bottlenecked by a number of things, including performance limitations of the disk the data is on, and often times a lack of establishing parallel network connections to perform the task.
One of the most accurate ways to benchmark network performance on a LAN is by using iPerf . To more effectively benchmark network adapter performance, it is best to establish a point-to-point connection between two PCs, rather than connecting through a router or switch.
Configuring iPerf
To test a connection using iPerf, you'll need at least two network interfaces, and preferably two computers. You'll also need to know the IP (Internet Protocol) address assigned to each network interface . One network interface will function as an iPerf server, and the other network interface will function as an iPerf client. Lastly, you'll need to download the version of iPerf 3.x that's appropriate for your computer's operating system and extract/install it .
Windows
- Make sure the drivers for both network interfaces involved in the test are using up-to-date drivers. Drivers for Plugable products can be found here.
- Download and extract iPerf for Windows
- Open Command Prompt
- Press Windows Key + R or + R, then enter
cmd
in the window that appears - Search the Start Menu for
Command Prompt
, and open it
- Press Windows Key + R or + R, then enter
- Navigate Command Prompt to the directory the directory where iPerf is located
- The
cd
command is for 'change directory'- If you have a folder named 'iperf' on your Windows desktop, you can reach it in command prompt with the command
cd %USERPROFILE%\Desktop\iperf
- If you have a folder named 'iperf' on your Windows desktop, you can reach it in command prompt with the command
- The
- Run iperf in server mode via Command Prompt
iperf3.exe -s
macOS
- Usually it is best to install iperf on macOS using brew in Terminal
- Make sure the drivers for both network interfaces involved in the test are using up-to-date drivers
- Open Terminal
- Run iPerf in server mode
iperf3 -s
Linux
- Usually it is best to install iperf using the package manager in your Linux distro. For example, in Ubuntu, use
apt
: sudo apt install iperf3
- Make sure the drivers for both network interfaces involved in the test are using up-to-date Drivers
- Open Terminal
- Run iPerf in server mode
iperf3 -s
Next, you'll need to run iPerf in client mode, targeting the IP address of the server/interface where iPerf is running in server mode. Additionally, we'll run the test for 30 seconds using -t 30
and with four parallel connections using -P 4
. Running 4 parallel connections is optimal for saturating a network link.
Windows
- Open Command Prompt
- Press Windows Key + R or + R, then enter
cmd
in the window that appears - Search the Start Menu for
Command Prompt
, and open it
- Press Windows Key + R or + R, then enter
- Navigate Command Prompt to the directory the directory where iPerf is located
- The
cd
command is for 'change directory'- If you have a folder named 'iperf' on your Windows desktop, you can reach it in command prompt with the command
cd %USERPROFILE%\Desktop\iperf
- If you have a folder named 'iperf' on your Windows desktop, you can reach it in command prompt with the command
- The
- Run iperf in client mode via Command Prompt (replace 192.168.0.200 with the IP address of the server/interface where iPerf is running in server mode)
iperf3.exe -c 192.168.0.200 -t 30 -P 4
macOS / Linux
- Open Terminal
- Run iPerf in client mode (replace 192.168.0.200 with the IP address of the server/interface where iPerf is running in server mode)
iperf3 -c 192.168.0.200 -t 30 -P 4
iPerf should start performing a network performance test. If the test fails to start, make sure that iPerf is not being blocked by your PC's/Mac's firewall.
Why iPerf is Ideal for Benchmarking
Unlike a file transfer, iPerf runs in memory on the PC and generates data to send using the CPU directly. This alleviates potential bottlenecks generated by storage devices, and allows you to explicitly control how many parallel connections are being used to transfer data rather than being unsure if parallel network connections are being used by other means.
Conclusion
There's a lot more to networking that isn't covered in this article, but we hope this helps explain enough to get an accurate measure of your network performance.
If you need assistance with your Plugable product that features network connectivity, please contact us for further assistance.
The USB-C Port on My USB-C Hub Does Not Pass Data. Why Is This?
The USB-C power passthrough port cannot transfer data or support a video connection. The USB-C port only offers USB-C Power Delivery passthrough using a USB-C power adapter/source.
My USB-C Hub Is Getting Warm/Hot, Is This Normal?
As is the case with most electronic devices, it is expected to observe that the aluminum shell of the USB-C hub gets warmer, particularly if the USB-C passthrough charging and/or all ports on the hub are utilized.
Internal testing has measured and validated operating temperatures of up to 125°F with our USB-C hubs, which is well below the maximum rated temperature of various integrated chipsets (IC) in our USB-C hub of 212°F.
In summary, please note that heat is not an indication of an issue or defect with the USB-C hub.
Self-Powered vs Bus-Powered USB Devices
While all USB ports provide some amount of power for attached devices, the available power may not be enough for certain high-current devices such as USB hubs or external hard drives. High-current devices usually come with their own power adapter, making them self-powered, in contrast to a bus-powered device that draws all of its power from the host computer's USB interface. Bus-powered devices can cause issues if they need more power than is available from the host machine.
Many of our devices that include power adapters, especially USB hubs, will function in either self-powered or bus-powered mode. However, even though the device may function, each additional device attached to the host computer reduces the total available bus power. If the power runs out, any USB device attached to the computer may suddenly disconnect. If this were to happen to a USB storage device, such an event could result in permanent data loss.
If a device comes with a power adapter, we recommend that the adapter stay connected at all times, otherwise the device may not function as designed.
Self-powered USB device - A device that takes all of its power from an external power supply
Bus-powered USB device - A device that takes all of its power from the host computer's USB interface.
Does the USBC-7IN1E Support HDMI Displays at 4K 60Hz?
Yes, but only if your computer is equipped with a USB-C port that supports DisplayPort 1.4 (DP 1.4). If you're not sure if your laptop supports DP 1.4, please contact your laptop manufacturer to confirm this important detail.
Examples of known laptops which support DP 1.4:
- MacBook Pro 15” 2018 / 2019
- MacBook Pro 16” 2019
- Surface Pro 7
- Surface Laptop 3
- Surface Book 3
If DP 1.4 is not supported, then the maximum resolution and refresh rate of the HDMI port on the USBC-7IN1E adapter is 4K 30Hz.
Please note that the adapter will not drop the USB 3.0 ports to operate at USB 2.0 speeds to support 4K 60Hz. DP 1.4 must be supported for 4K 60Hz.
When attempting to charge my laptop via the USBC-7N1E adapter, my laptop does not charge or reports that it is charging at a slower than expected rate. Why is this?
'Slow Charging scenario':
When the USBC-7N1E adapter is 'passing through' power from an external USB-C power adapter to the host laptop, a small amount of power from the USB-C power adapter is used in order to power the USBC-7N1E adapter itself.
The net result is that the amount of power provided to the host will be slightly less than the full power provided by the USB-C power adapter. Depending on power thresholds set by the laptop manufacturer, this may result in a warning that the system is charging at a slower than expected rate.
'No Charging scenario':
If the USBC-7N1E adapter is connected to the host laptop without a USB-C power adapter attached, the USBC-7N1E adapter will draw power from the laptop in order to power itself. If an external USB-C power adapter is then connected to the USBC-7N1E, the laptop may not start to charge.
This is because not all laptop models will reliably 'switch' the flow of power. Should this occur, simply disconnect the USBC-7N1E adapter from the host laptop. Once disconnected, connect the external USB-C power adapter to the USBC-7N1E adapter and then connect the combined assembly to the laptop. The laptop should now be charging.
Do Plugable products support the Apple SuperDrive?
Unfortunately Plugable products do not support the Apple SuperDrive.
The Apple SuperDrive has stringent power requirements that can only be met by directly connecting the SuperDrive to your host laptop. As a result at this time Apple recommends only using their USB-C adapter cables. You can find more information on that here -→ How to connect the Apple USB SuperDrive
If you have purchased a Plugable product to use with your Apple SuperDrive, and would like some additional assistance please do not hesitate to reach out. You can do so by emailing support@plugable.com, or going to Plugable.com/Support.
Plugable products with ASIX AX88179A based Ethernet may not perform as expected when running browser based speed tests in macOS 11.6 Big Sur.
Plugable products that have an ASIX AX88179A based Ethernet adapter may not perform as expected when using browser based speed tests, such as SpeedTest.net.
Problem:
If you are running a browser based speed test such as SpeedTest.net using a Plugable ASIX AX88179A based Ethernet product such as our USBC-7IN1E Hub on macOS 11.6 Big Sur. Example pictured below.
Resolution:
At this time the best solution would be to upgrade to macOS 12 if possible, as this problem is fully resolved in macOS 12 Monterey. Example pictured below.
You can manually start the update process to macOS 12 Monterey by following this link. --> https://apps.apple.com/us/app/macos-monterey/id1576738294
Notes:
The ASIX AX88179A is a driverless solution with macOS, and there are no drivers or firmware solutions for this problem at this time.
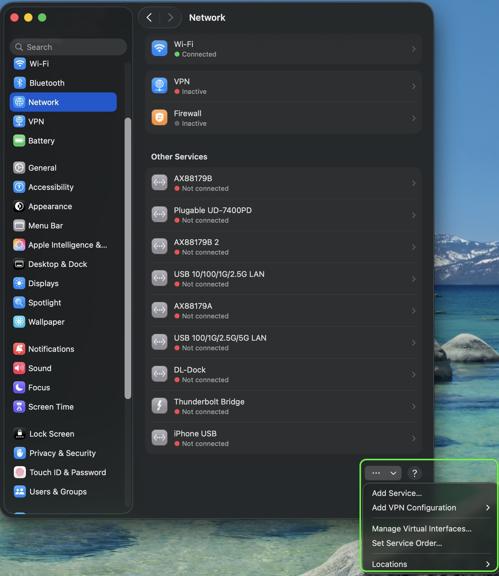
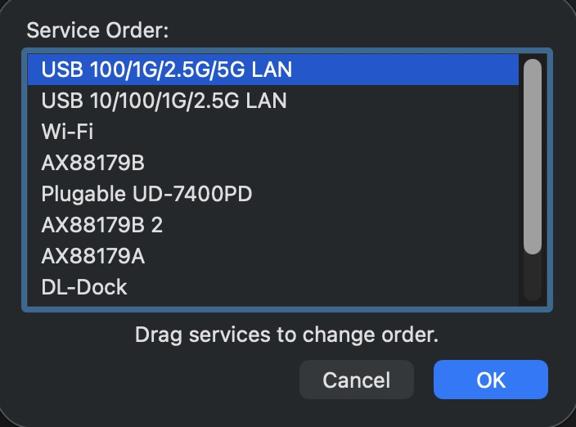
My Plugable product with wired Ethernet is no longer working on macOS. What can I do?
Please Note
The below guide is an advanced troubleshooting step, and we do not recommend doing so unless you are comfortable manually altering files on your Apple product running macOS. You may not be able to perform the below troubleshooting step if you are unable to execute administrative credentials on your laptop. Please reach out to our support first if you do not wish to attempt the below instructions. You can do so at Plugable.com/Support
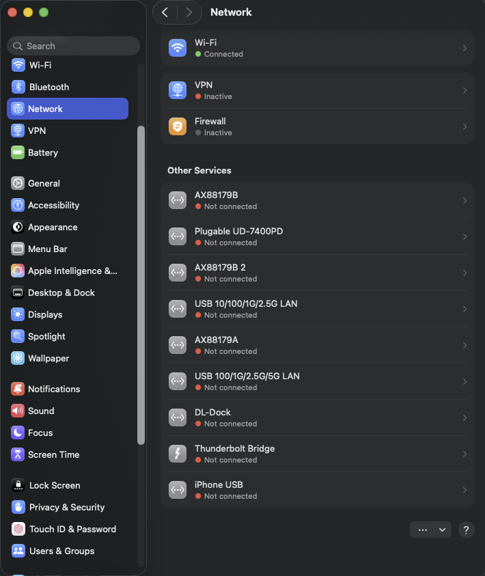
How to delete a specific Ethernet adapter from your Network devices on macOS
- Click on the Apple logo in the top left corner of your primary monitor, and select ‘System Preferences’
- Next select ‘Network’ in the ‘System Preferences' window.
- In the now visible list, please select the Plugable Ethernet, or Thunderbolt Ethernet device that may not be working as expected.
- Once selected click on the minus button in the bottom left of the network window.
- Click on Apply in the bottom right.
- Next click on the plus button in the bottom left of the network window, and add the previously removed device.
- Click on Apply in the bottom right.
- Test to see if this has resolved the unexpected behavior, and assure that your Ethernet is now working.
- If this does not resolve the problem, please proceed to the next section (As noted previously the next section is for advanced users only!)
Manually erase your macOS Network Settings to fully reset the Network configuration
(Advanced! Click to reveal)
Warning!
This will fully erase all of your Network configuration! Do not skip any steps, and proceed only if you are comfortable with each step!
- Open the ‘Finder’ app, then in the ‘Go’ menu at the top of your screen select ‘Computer’
- Click on ‘Macintosh HD’ then Library, Preferences, SystemConfiguration
- Copy the file named ‘NetworkInterfaces.plist’ to your desktop as a backup of your current configuration.
- Delete the original version of the ‘NetworkInterfaces.plist’ located in the SystemConfiguration directory.
- Restart your Mac
- Login to your Mac, and return to System Preferences → Network
- If the list is now empty, please re-add the Plugable or Thunderbolt network adapter by clicking on the plus button in the bottom left of the Network window. Once done click on 'Apply'.
- Test to see if this has resolved the unexpected network behavior
I am still unable to get my Ethernet connection working on my Mac
If this is the case please reach out to our support team. When you do please include a diagnostic log gathered using our PlugDebug tool (instructions are provided on the PlugDebug page). If you are not able to gather the PlugDebug diagnostics do not worry we are still here to help! Please reach out to our support team at support@plugable.com or Plugable.com/Support with a detailed description of your problem, and the model of Plugable product you are using.