Open Article in New Tab
Introduction
At Plugable, we make a lot of different products that can help make your computing efforts more efficient and productive.
Many of those products (such as our extensive line of docking stations → LINK) require an external power adapter in order to function.
In the course of helping our customers, we often receive questions in regard to what type of power adapter is included with the product and how those power adapters can be used in different parts of the world.
This knowledge base article will help answer those questions.
Power Adapter Types
To put it simply, in general there are two types of power adapters included with a Plugable product.
WALL PLUG
The first type is typically referred to as a ‘wall plug’ or in some cases as a ‘wall wart’ due to its size being larger than that of a standard electrical plug.
This is a small AC to DC power adapter that is completely self contained and plugs directly into an electrical power outlet.
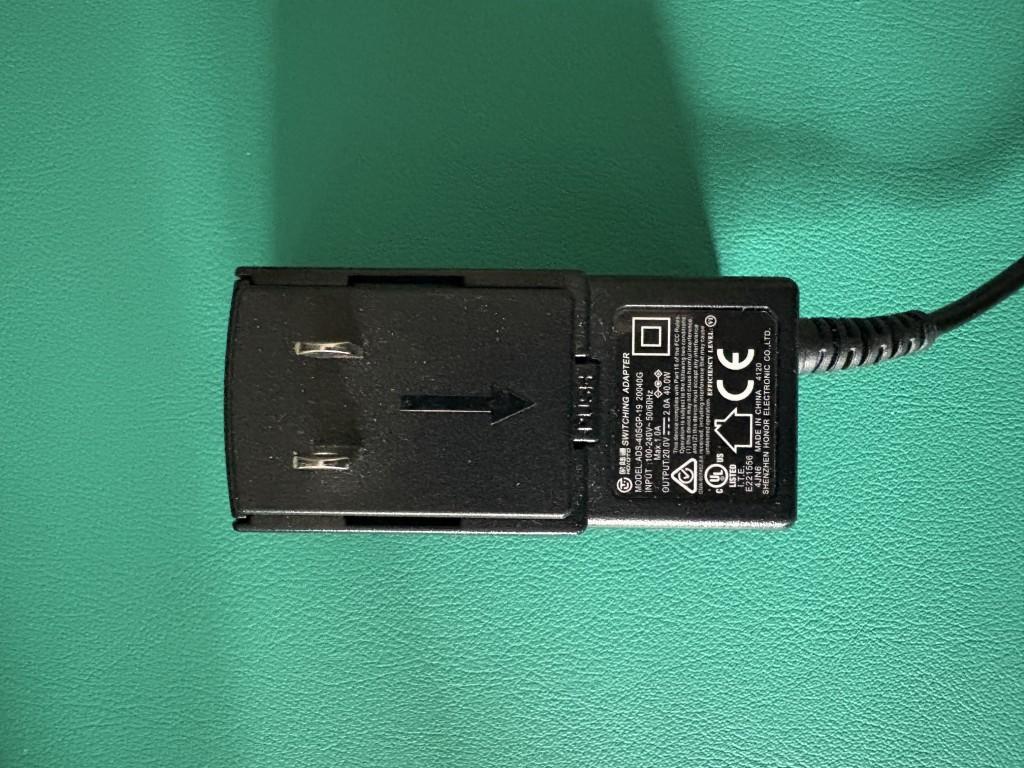
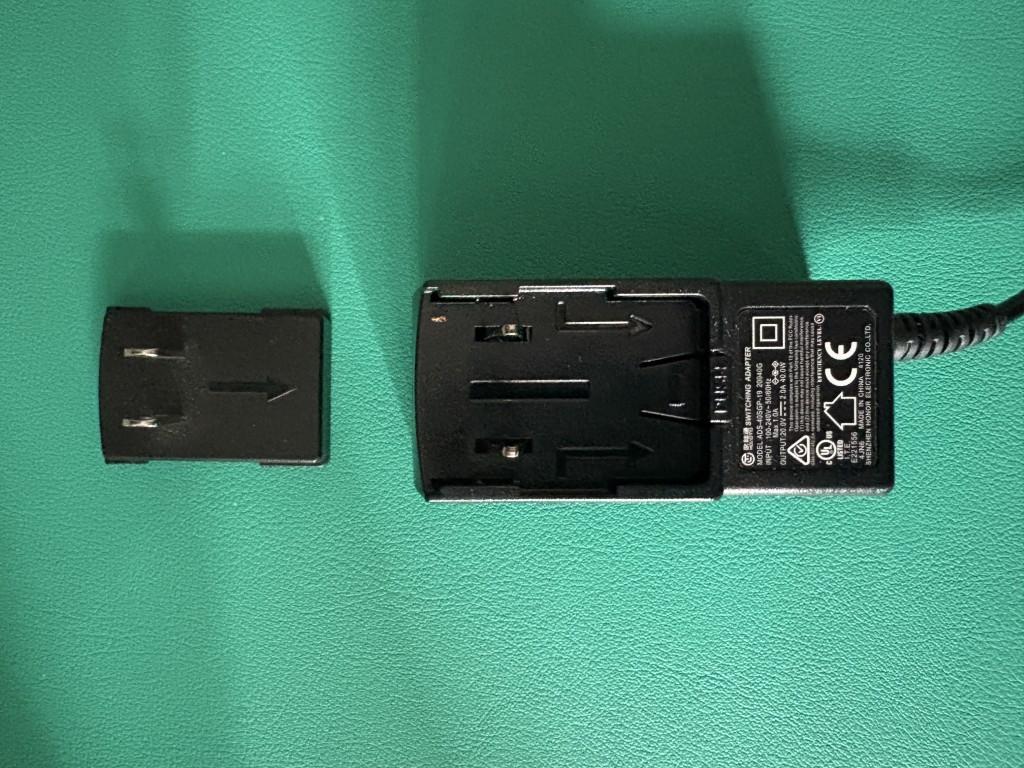
For example, here are photos of the ‘wall plug’ included in the box with the Plugable UD-6950Z docking station.
UD-6950Z U.S. Style Wall Plug Power Adapter:
UD-6950Z U.S Style Wall Plug Power Adapter with Prong removed:
Most ‘wall plug’ style power adapters included with Plugable products support all of the electrical voltages and electrical frequencies used throughout the world.
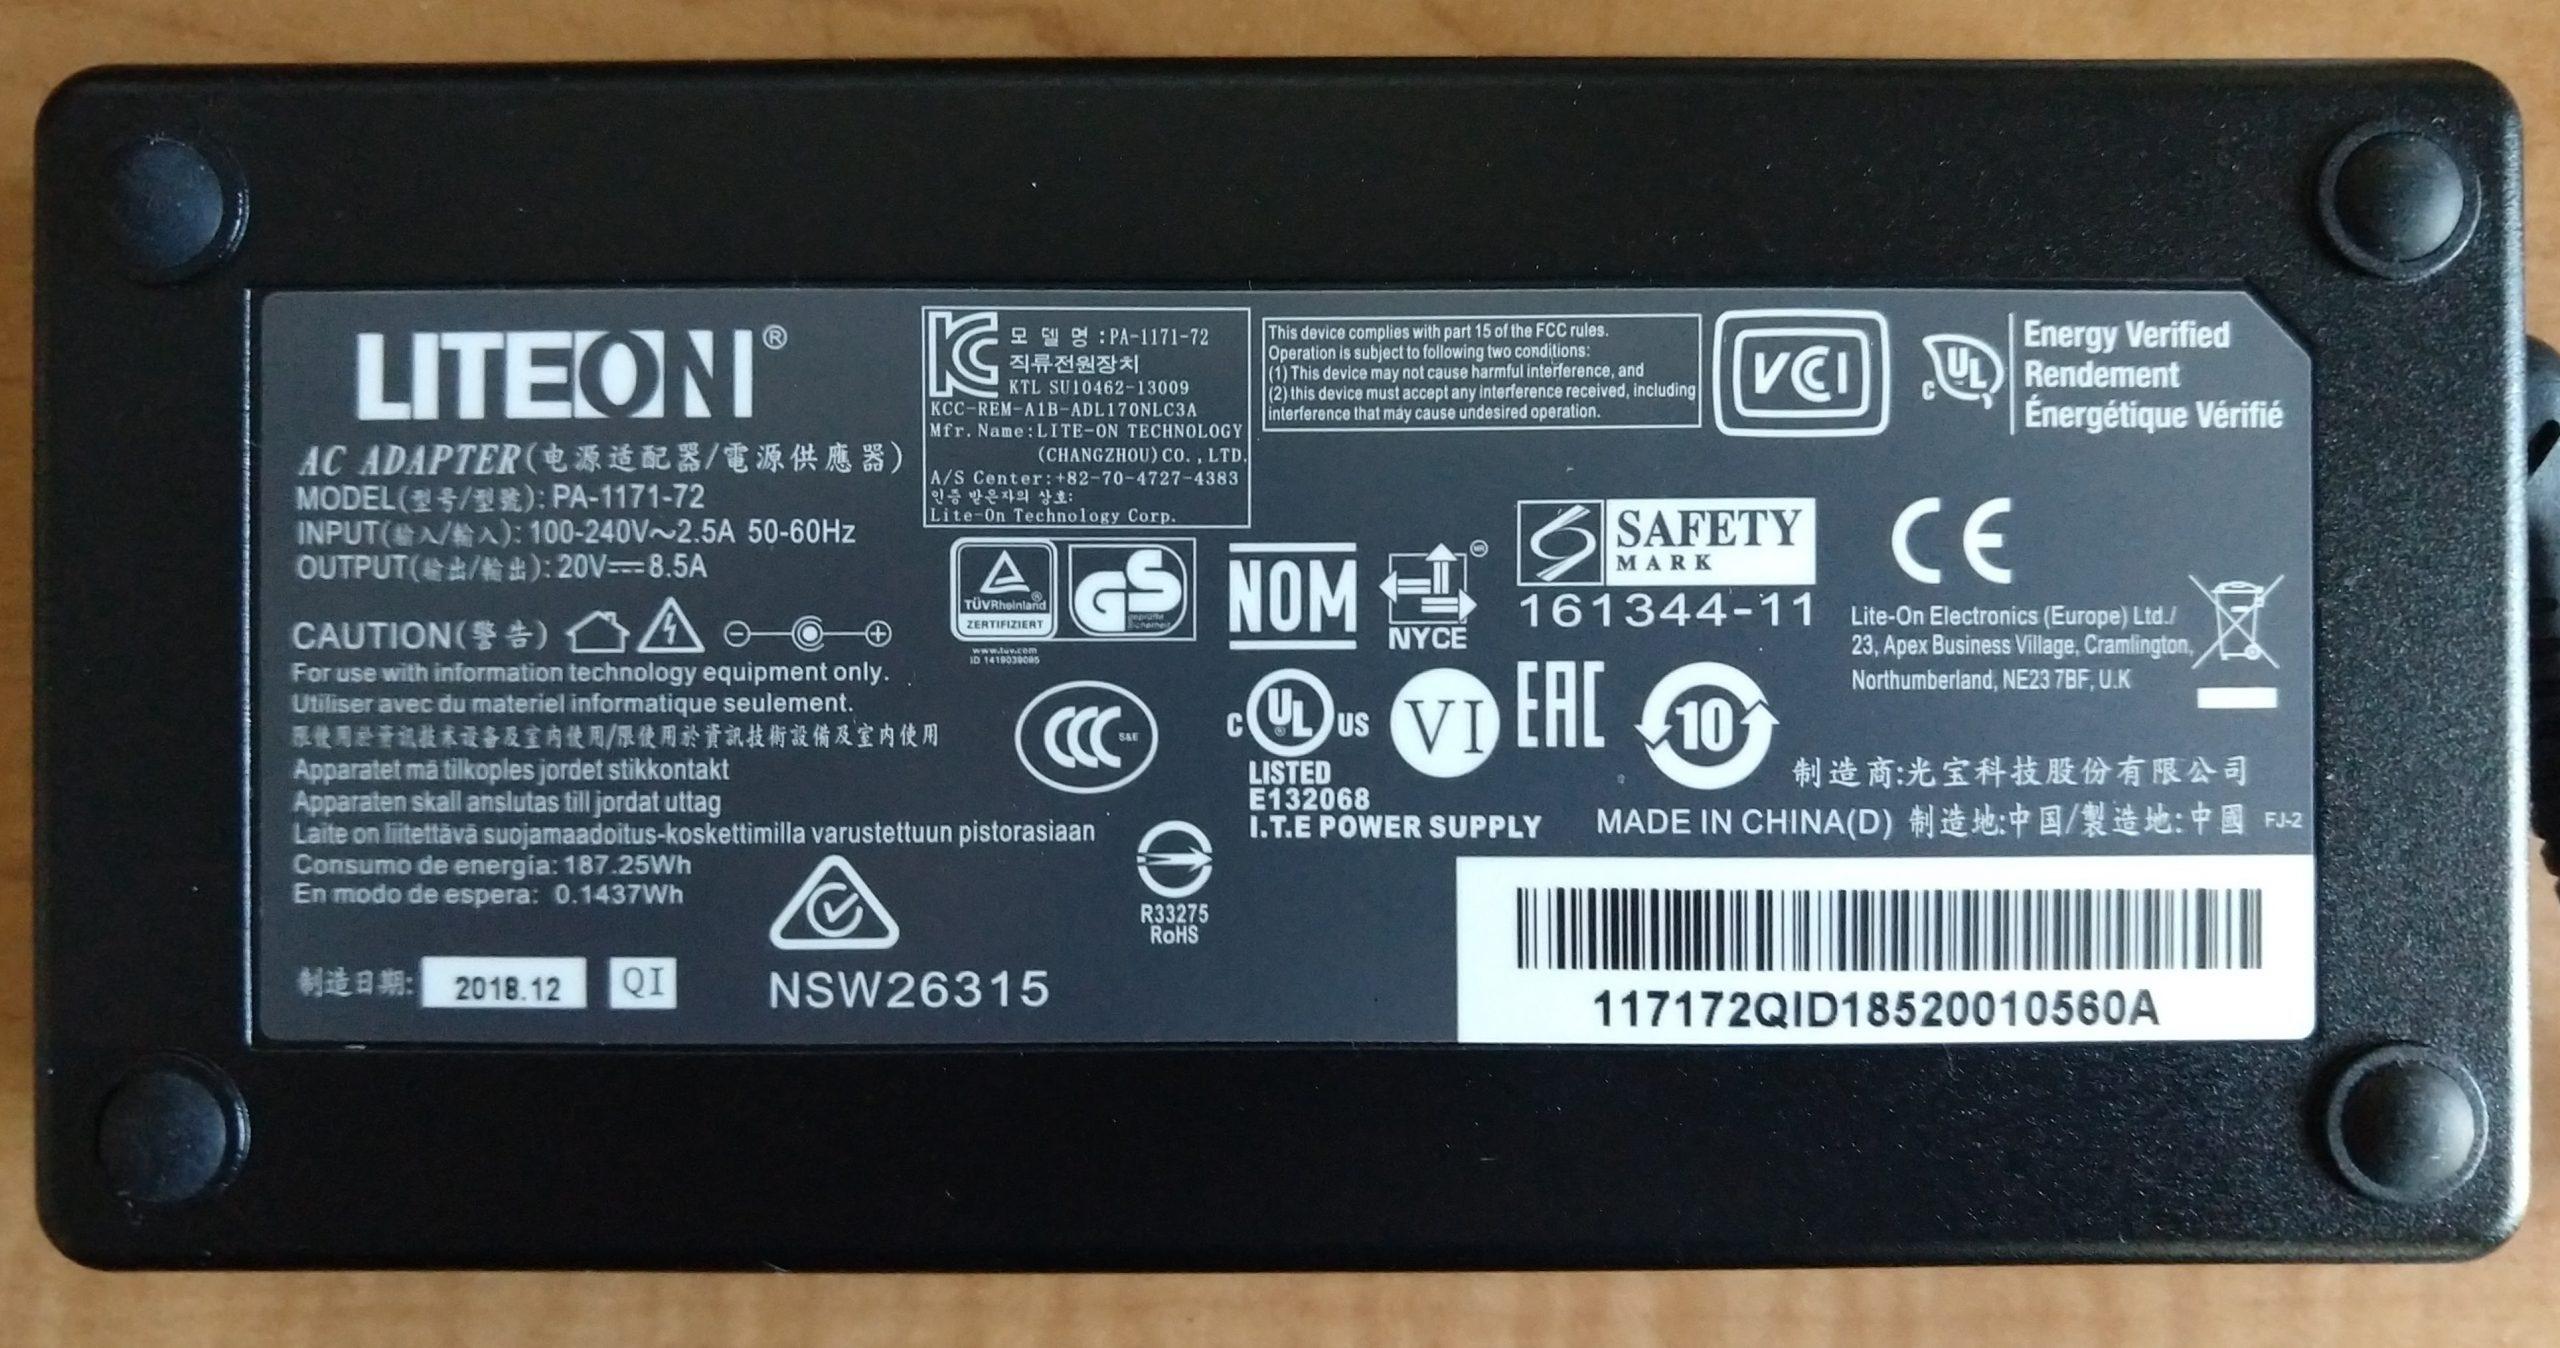
Note, you can double-check the specifications by looking at the label printed on the wall plug power adapter, or by reviewing the ‘Power’ specifications located on each Plugable product page.
However, the electrical ‘prong’ (the small plastic piece that provides the blades that insert into the electrical power outlet) included with the wall plug will only be for the country in which the product was sold.
To put that another way and using the aforementioned UD-6950Z as an example, if the UD-6950Z is purchased from Amazon.com within the United States, the electrical prong included with the wall plug power adapter will be for a United States style power outlet only.
If the wall plug power adapter needs to be used in a different part of the world, a small inexpensive ‘travel style’ adapter that converts the United States style plug to the local plug type is required.
POWER ADAPTER BRICK
The second type is typically referred to simply as a ‘power adapter’ or by some as a ‘power adapter brick’.
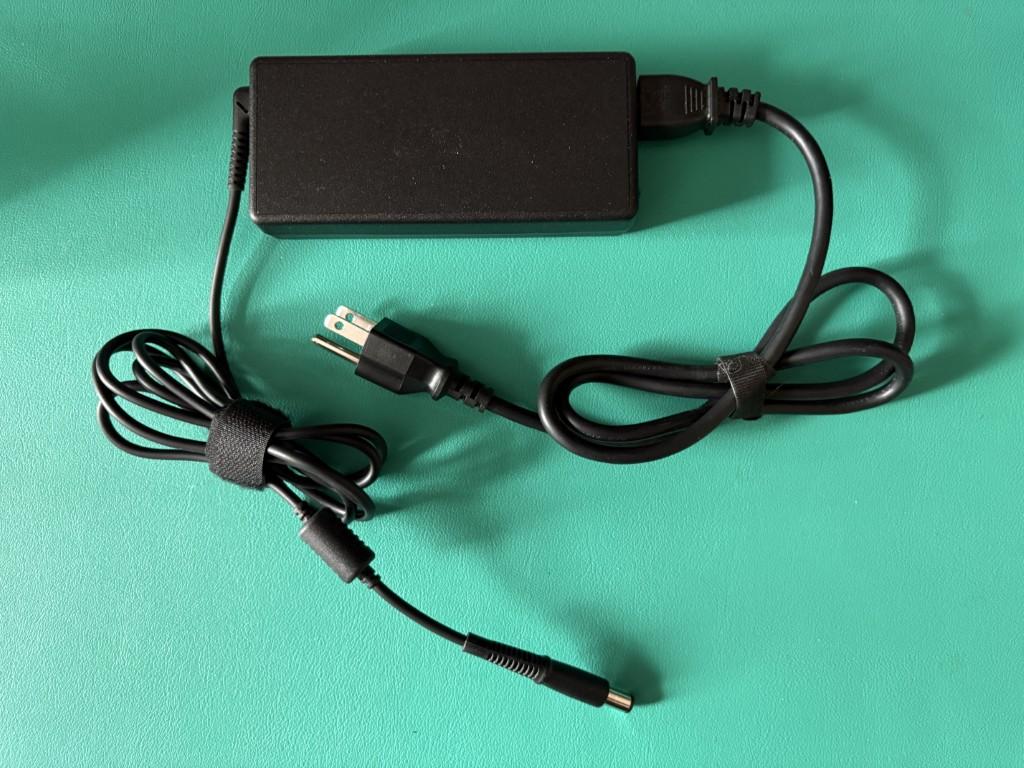
The power adapter is a combination of two separate components. One component is the power adapter itself, which is typically rectangular in shape and why some people refer to it as a ‘brick’.
The second component is the power cable that connects to the power brick. This cable has an electrical wall plug on one end and an industry standard connector on the opposite end.
Looking at two different example power adapters will allow us to expand further.
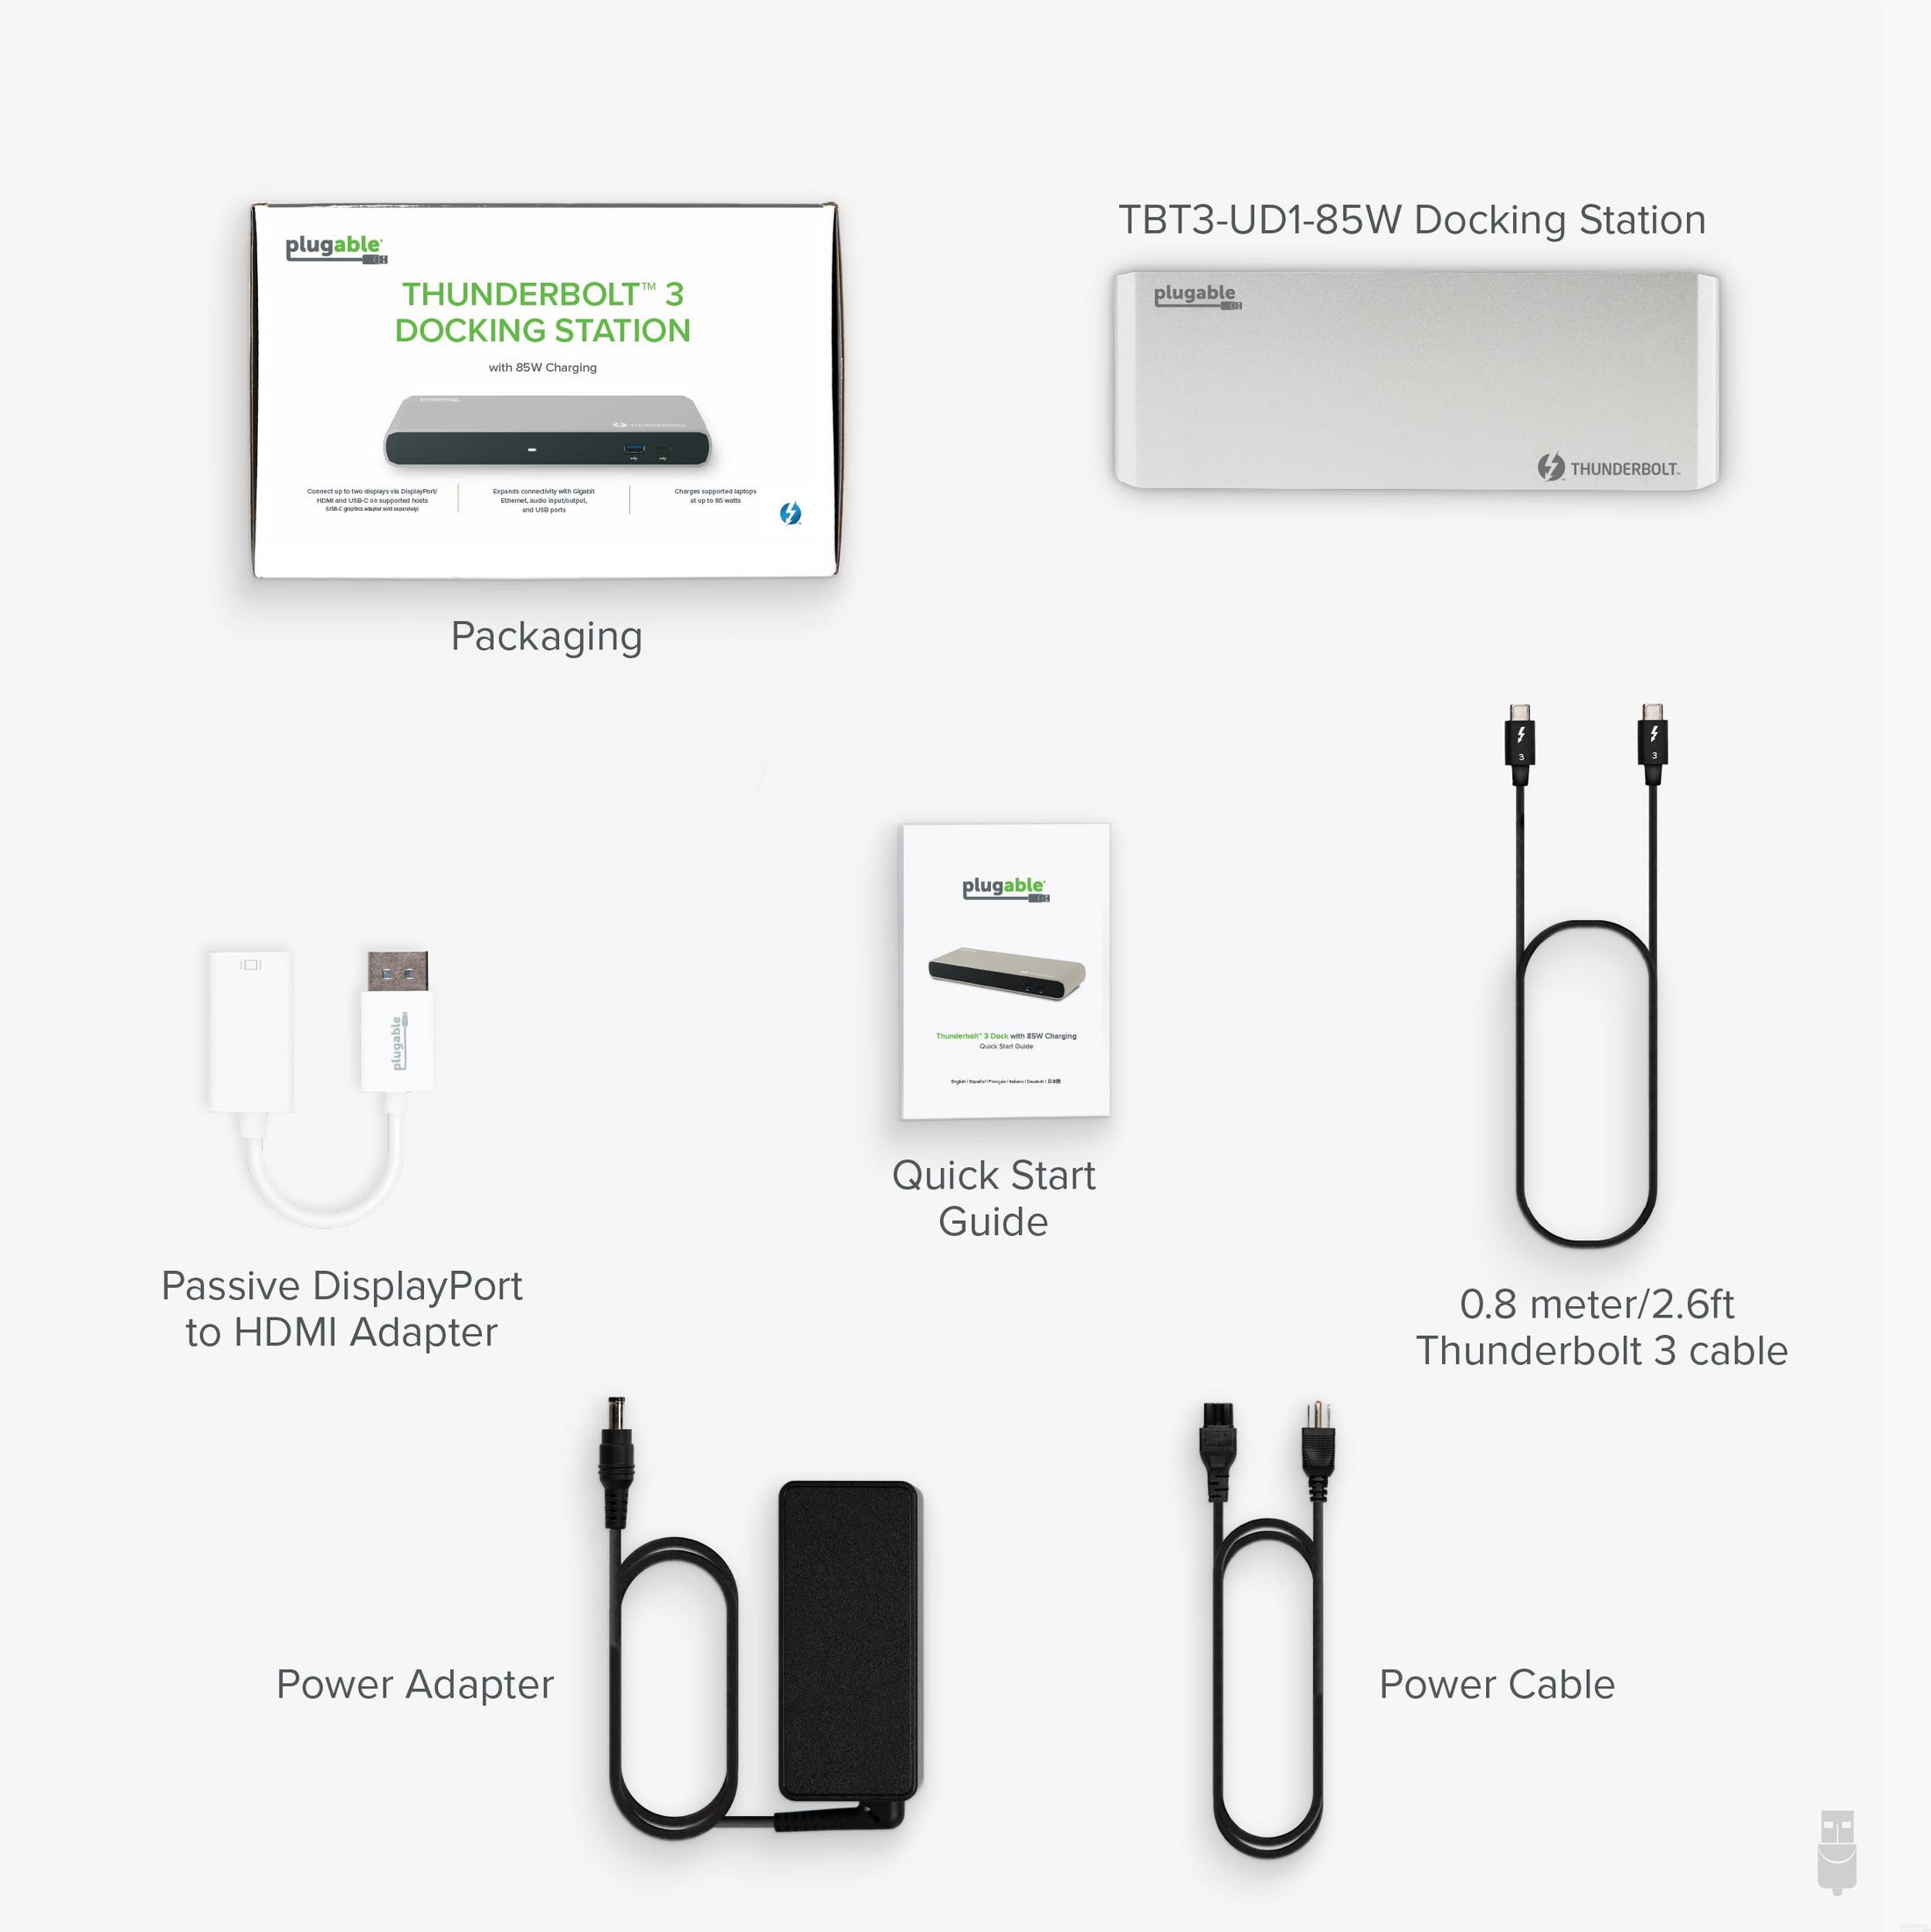
Let’s look at the power adapter and power cable for our TBT4-UDZ Thunderbolt 4 docking station:
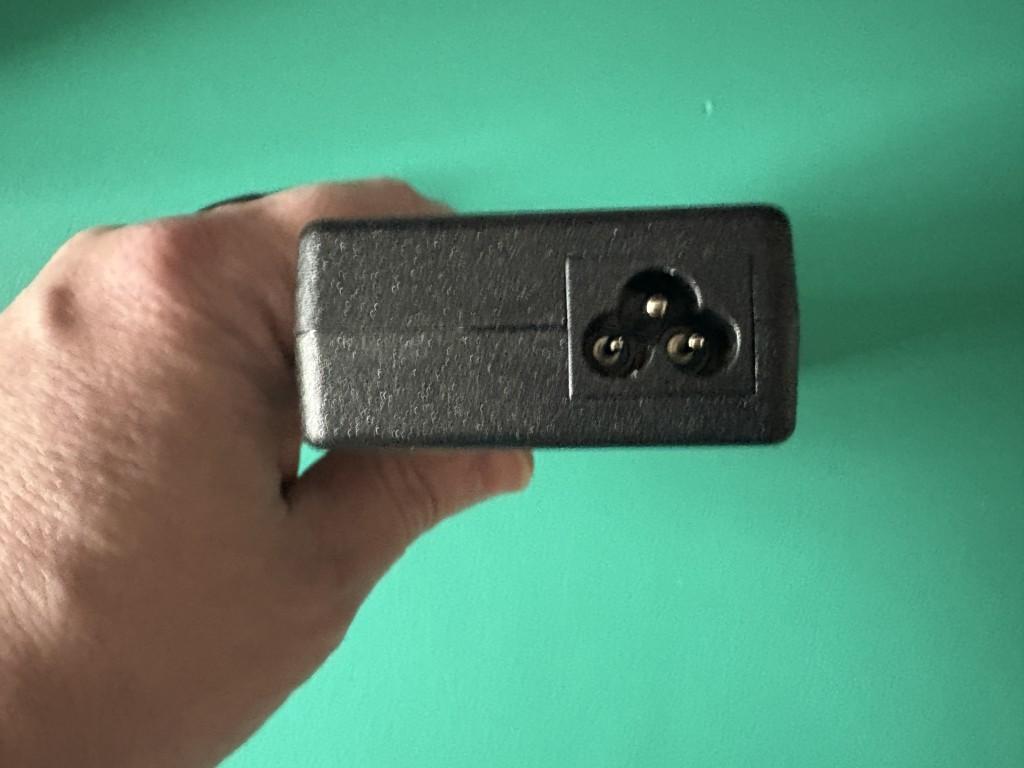
Within the power adapter brick, there is a female inlet:
On one end of the power cable, there is an electrical wall plug.
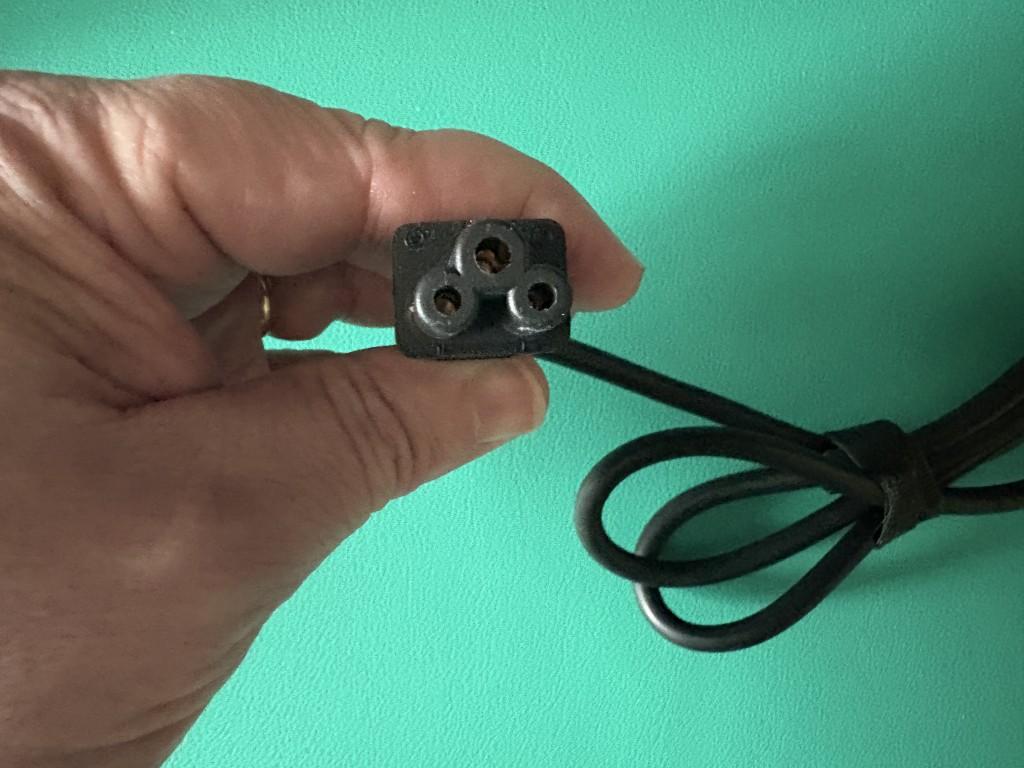
On the opposite end of the power cable, there is a male connector. This connector will be inserted into the power brick.
There is an international standard that governs the shapes and sizes of the connectors in use, specifically IEC 60320 → LINK
In this example, the male connector on the end of the power cable is known as a ‘C5’ connector:
In this example, the female inlet is known as a ‘C6’ connector.
Some refer to this type of connection as a ‘Mickey Mouse’ connection, because the overall shape of the connector visually resembles the outline of a silhouette of the cartoon character Mickey Mouse.
Now, let’s look at the power adapter and power cable for our USB4-HUB3A Thunderbolt 4 hub.
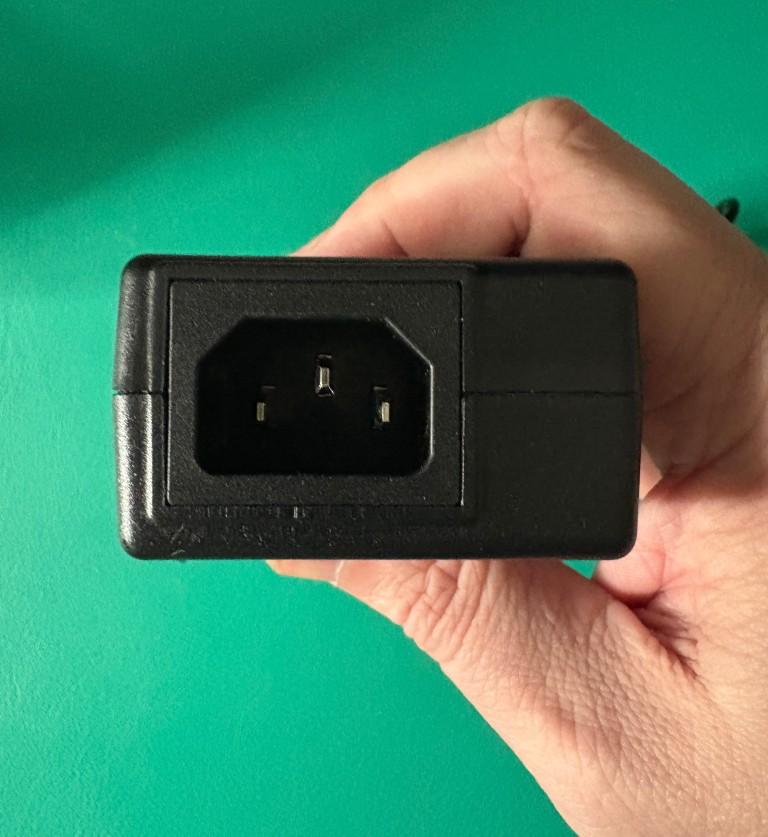
Within the power adapter brick, there is a female inlet:
On one end of the power cable, there is an electrical wall plug.
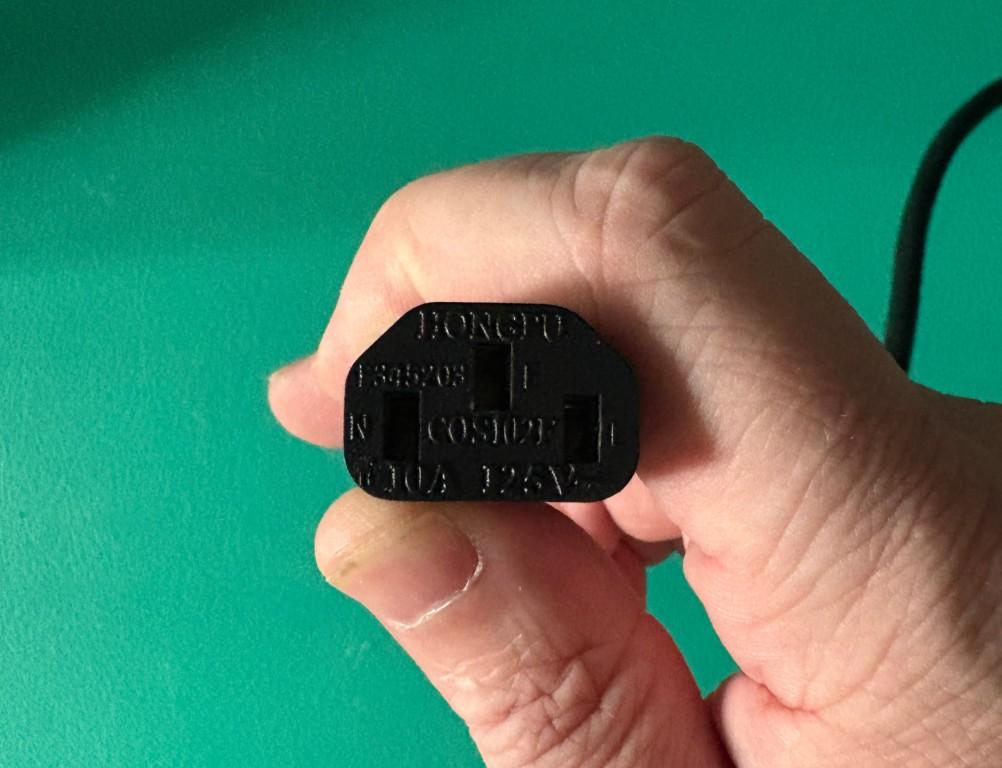
On the opposite end of the power cable, there is a male connector. This connector will be inserted into the power brick.
Note that the shapes on the inlet and connector are different as compared to the TBT4-UDZ example we looked at previously, however as was the case before the IEC 60320 standard governs the design.
In this example, the male connector on the end of the power cable is known as a ‘C13’ connector.
In this example, the female inlet is known as a ‘C14’ connector.
While the cables are different, the benefit of both cables being based on a common standard is that replacement cables for use in different parts of the world can typically be sourced locally.
Most Plugable power adapters support the electrical frequency and electrical voltages used throughout the world.
Note, you can double-check the specifications by looking at the label printed on the wall plug power adapter, or by reviewing the ‘Power’ specifications located on each Plugable product page.
If necessary, the power cable can be replaced with a different one with the necessary wall plug in order to use the product in different parts of the world.
Note, when replacing the cable with a different one please be sure to purchase a cable from a reputable brand and that also meets the electrical specifications printed on the power adapter.
Summary
In summary, there are two different types of power adapters included with Plugable products and the power adapters support the electrical voltage and frequency used throughout the world.
However, the plug that inserts into the power outlet will be specific to the region in which the product was sold.
If a wall plug type power adapter is in use, then a ‘travel style’ adapter is needed to convert the power adapter for use in a different part of the world.
If a power adapter brick is in use, then an industry standard replacement power cable can be used to convert the power adapter brick for use in a different part of the world.
Should you have any additional questions, please reach out to us via support@plugable.com and we will be happy to assist you further.
