Hassle free, 2-Year Warranty
Fast, Free Shipping on Orders $35+
Lifetime Technical Support
30-Day Money Back Guarantee
PLUGABLE USB-C 電流電圧チェッカー 100W 対応、 パソコン ケーブル スマートフォン 充電器を計測
$26.95 USD
SKU: USBC-VAMETERAmazon Rating : (674 Reviews)
機能
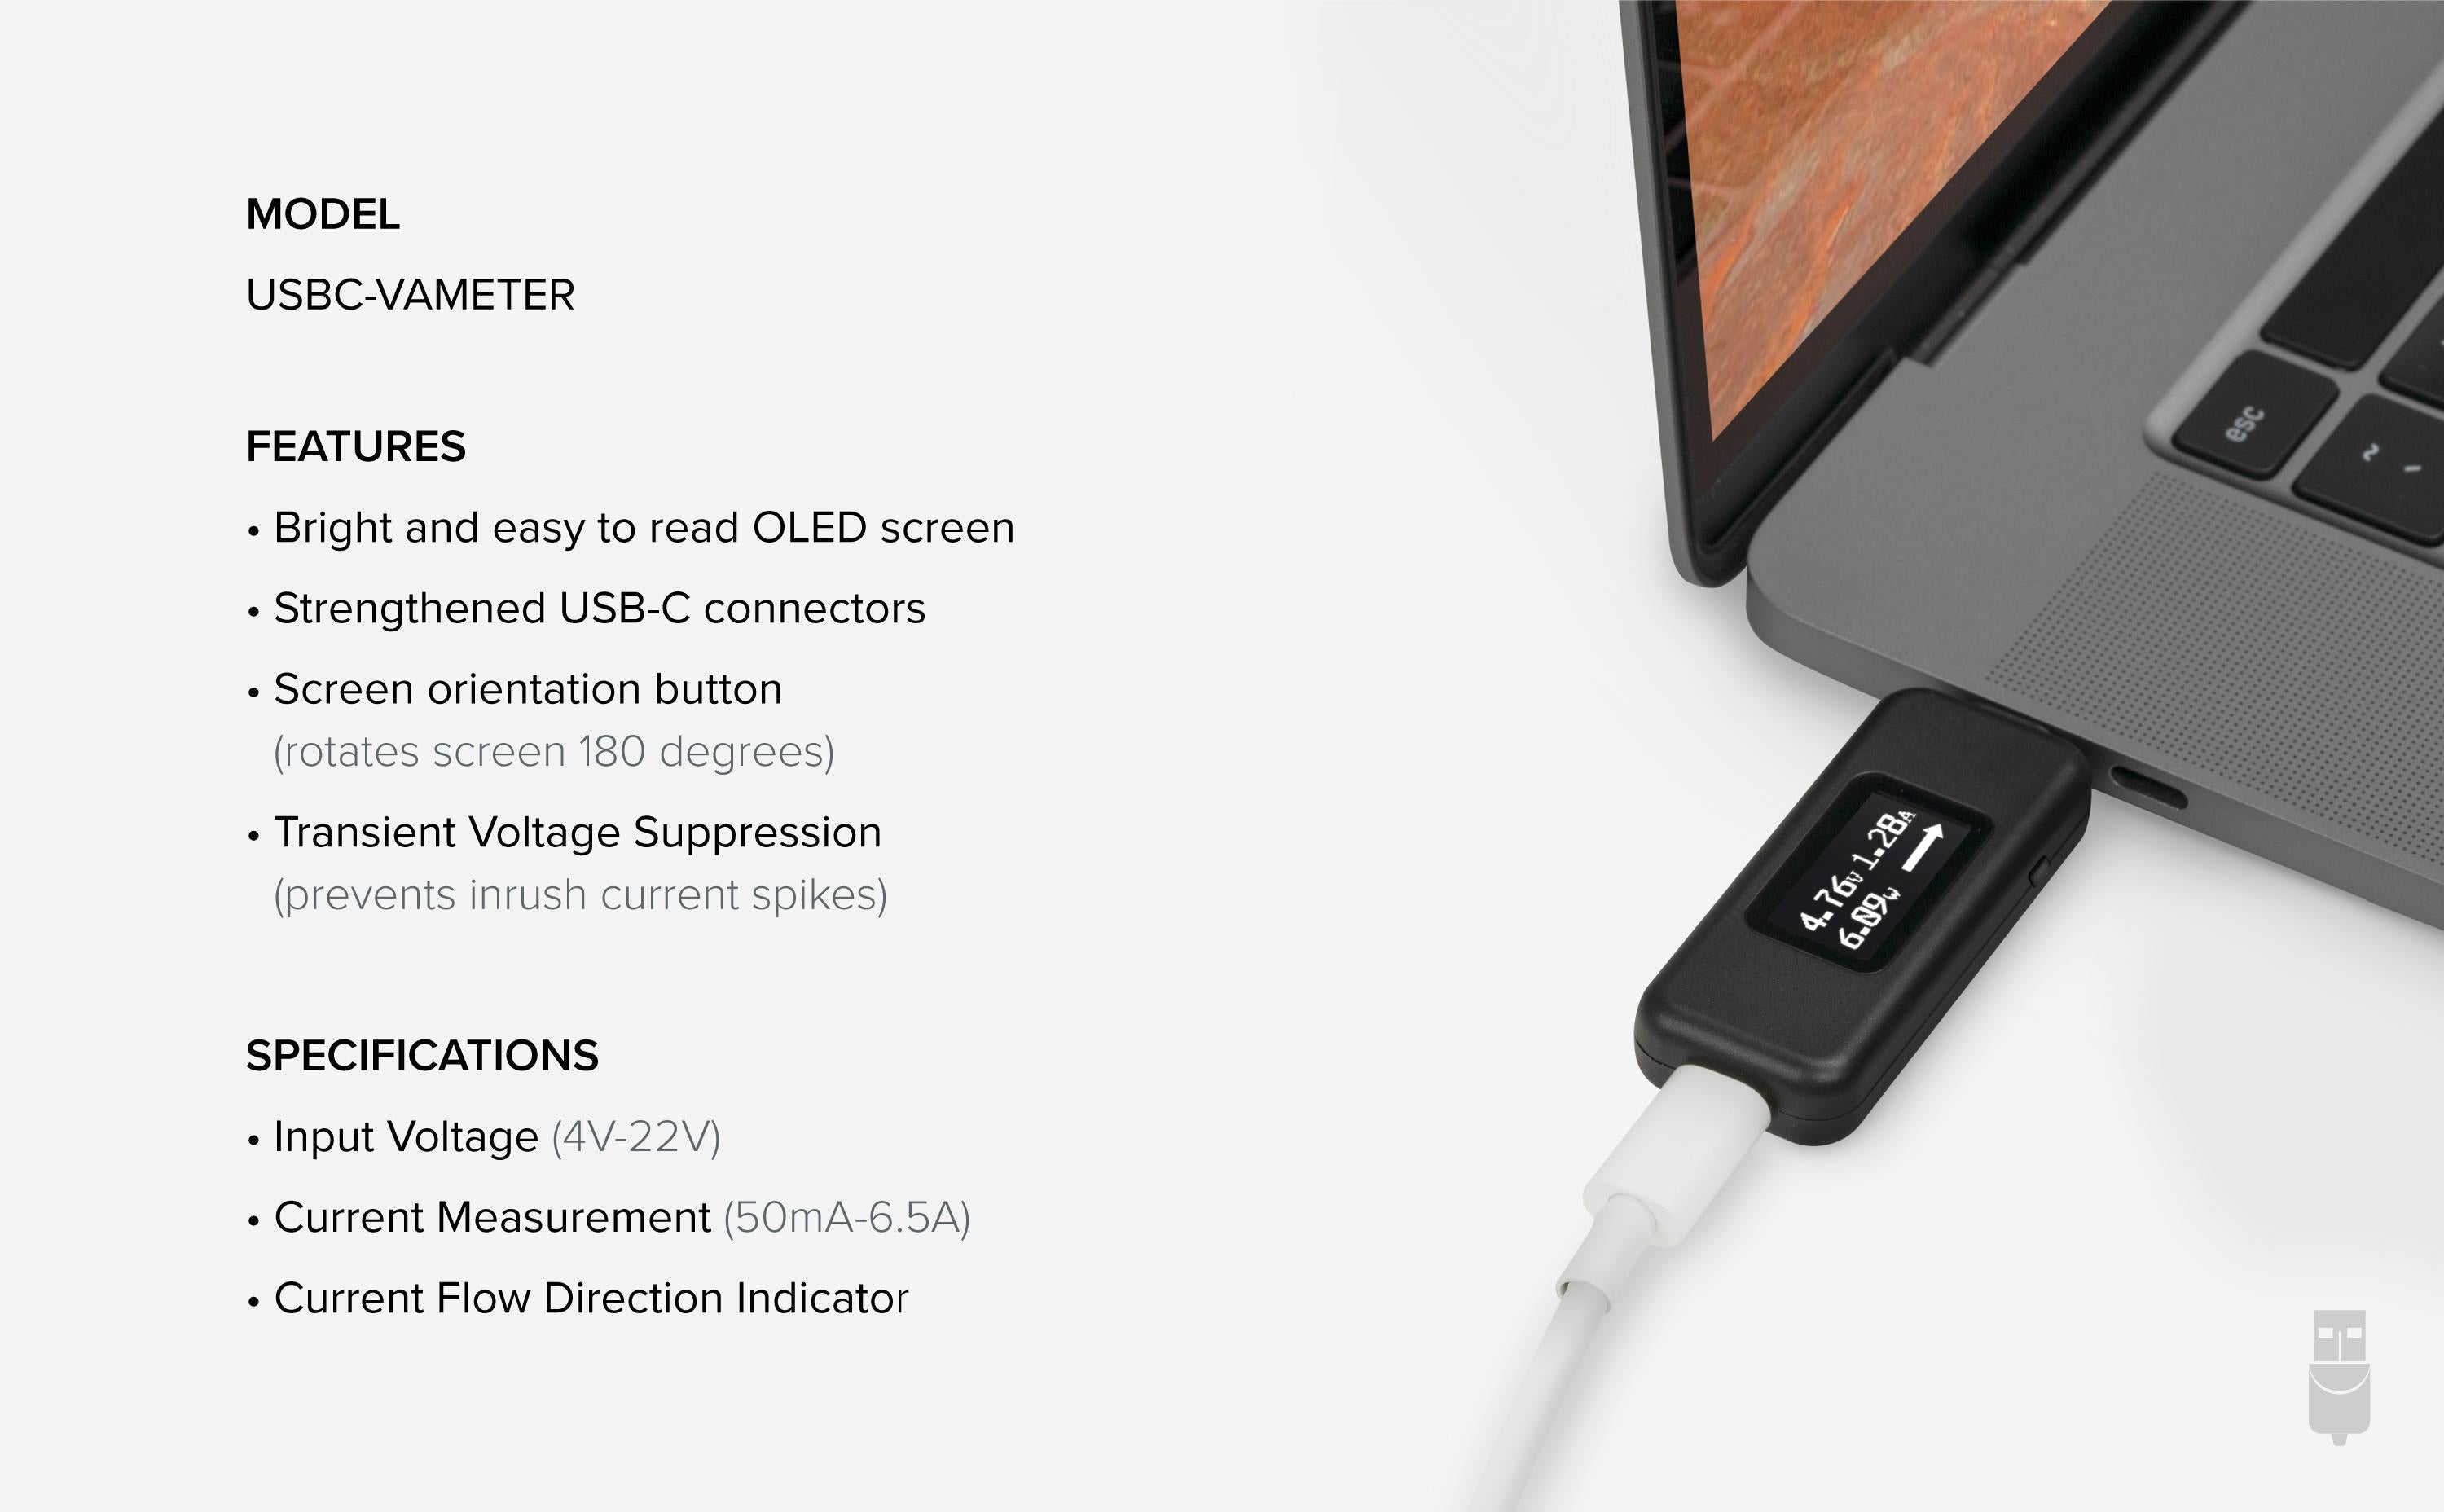
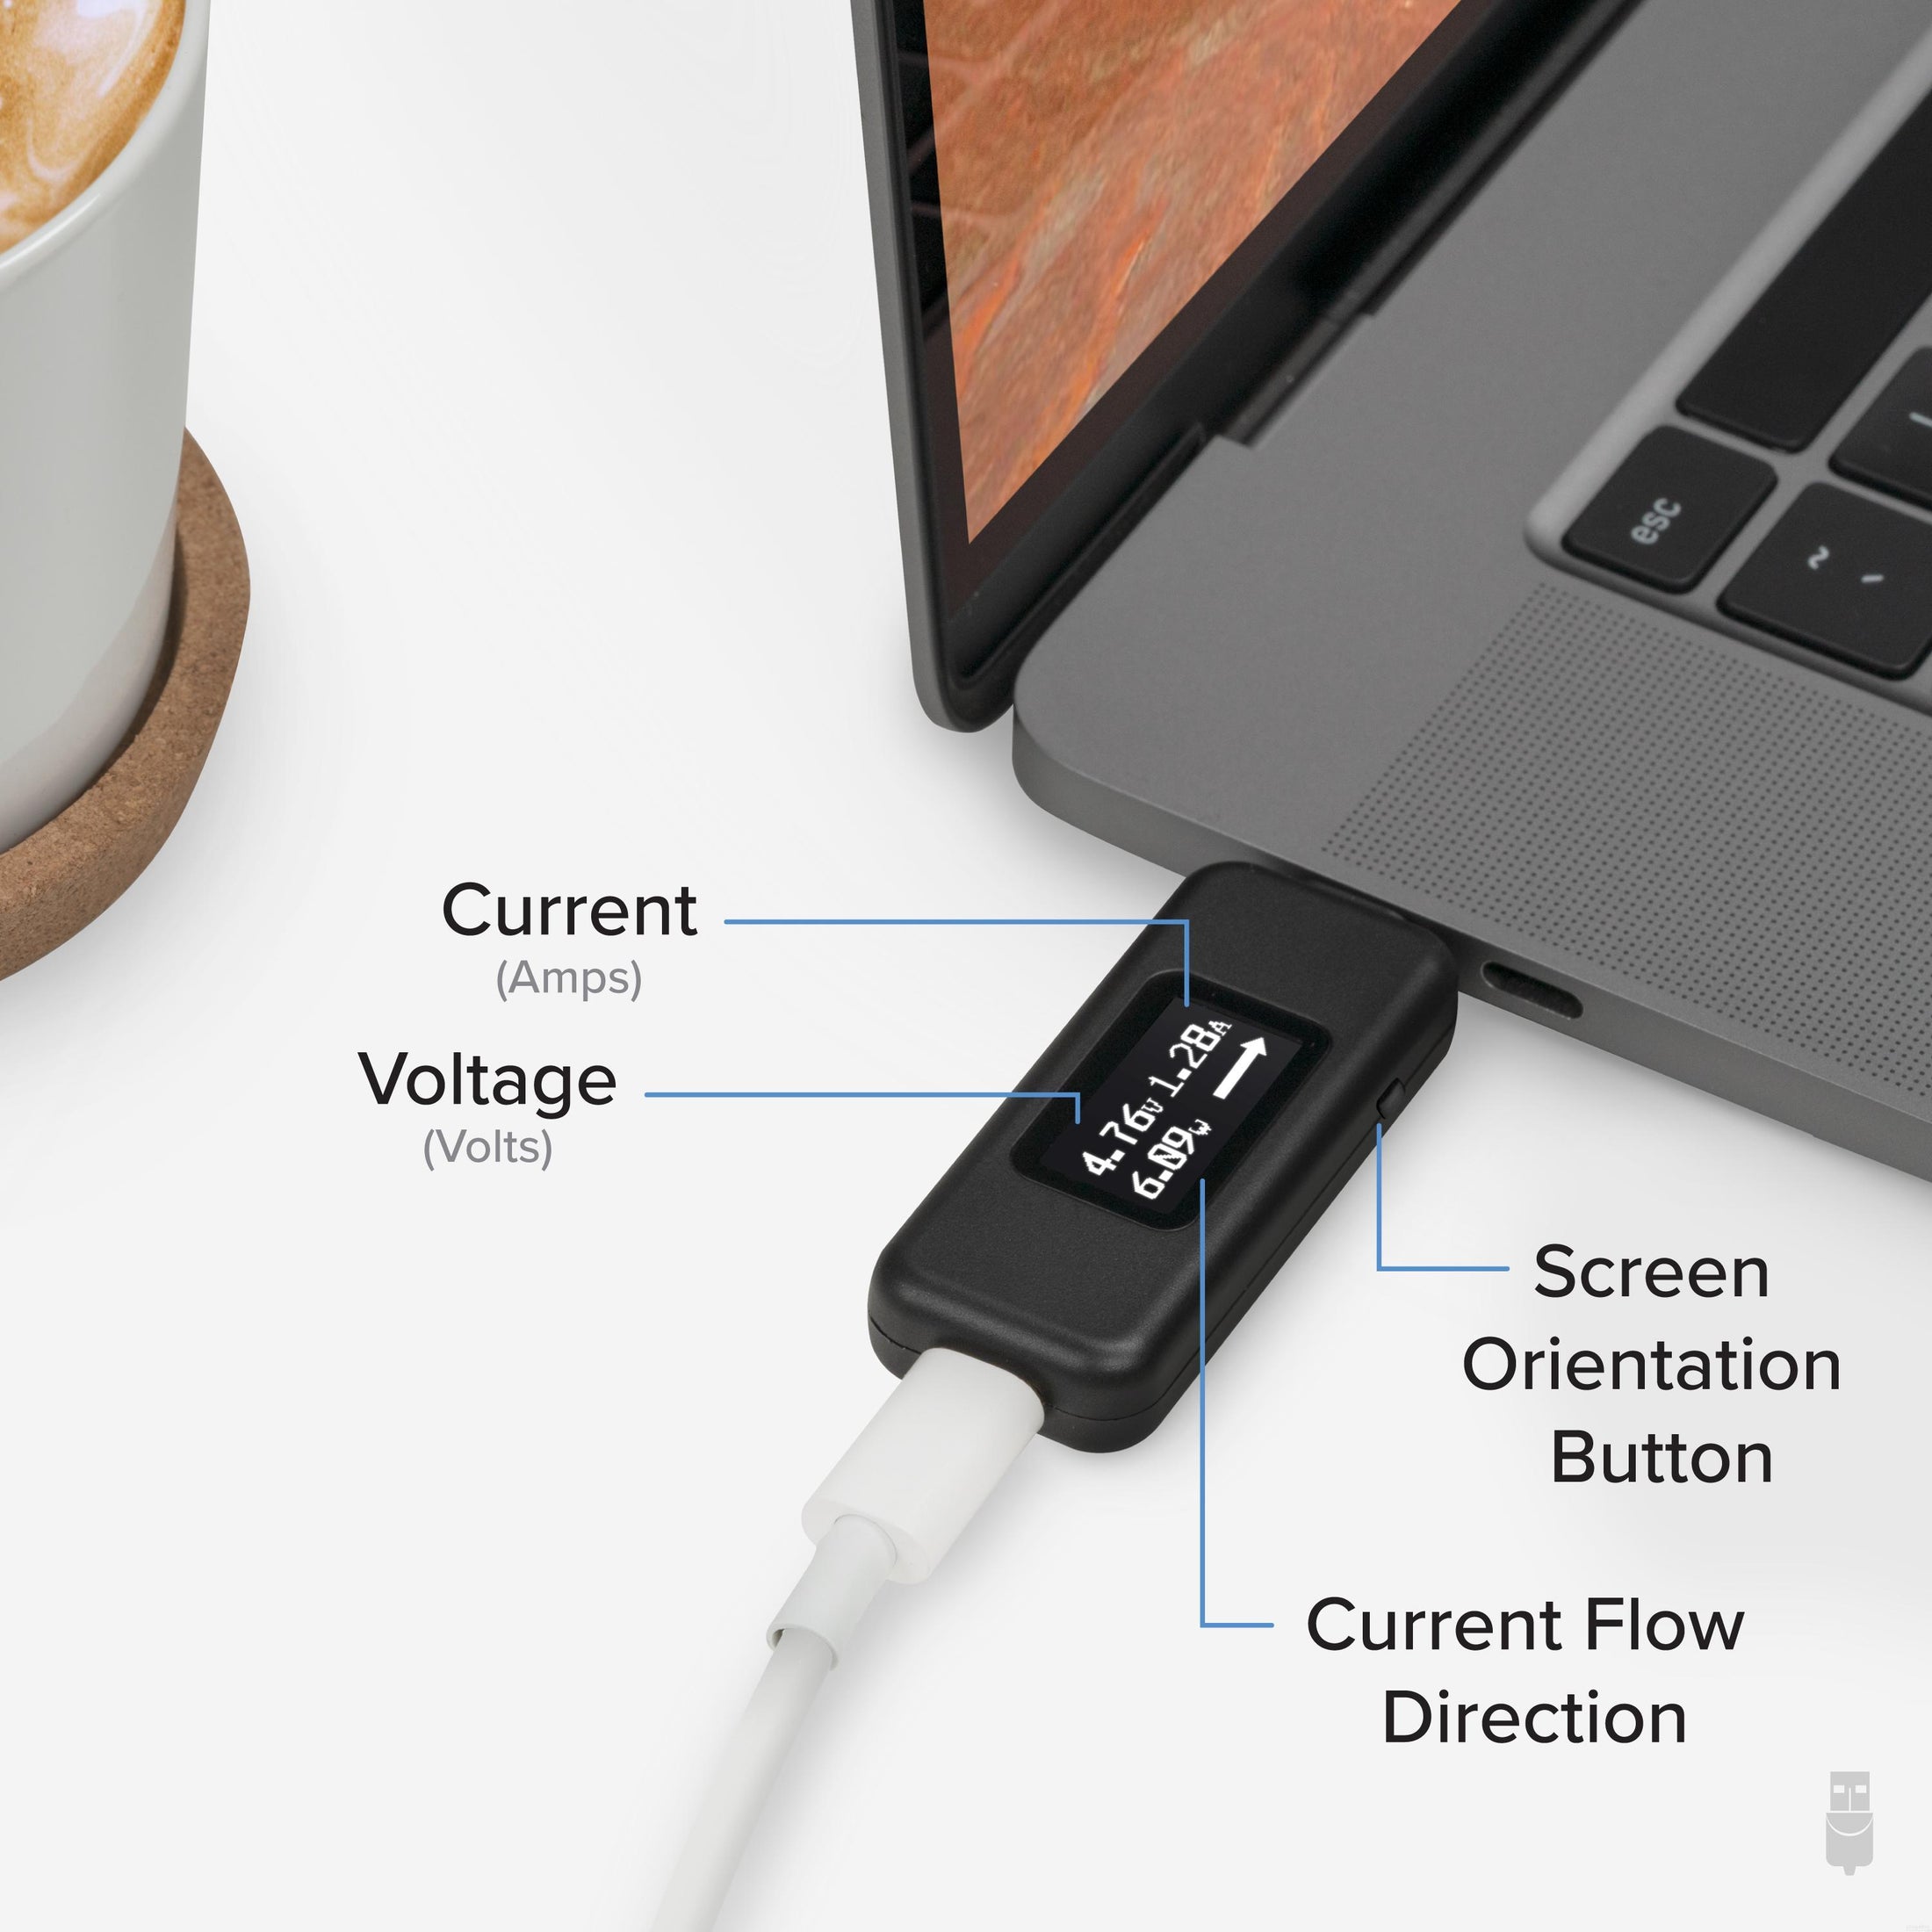
- 計測が容易 - USB Type-C ポートからの電圧・電流や充電を簡単にモニターすることができます。電圧(ボルテージ)および電流(アンペア)を計測し、どちら方向に電気が流れているかを表示します。明るく読み取りやすい有機 LED(OLED)画面付きです。ボタンを押すと、表示の上下を 180 度入れ替えることができます。ただし、当製品はプロフェッショナル用の計測器ではありません。
- 双方向の電流を計測 - 方向や上下を気にする必要がなく、差し込む方向を選びません。USB Type-C PD 規格の 5V から 20V まで対応します。(4-22V、50mA-6.5A の範囲で機能します。)
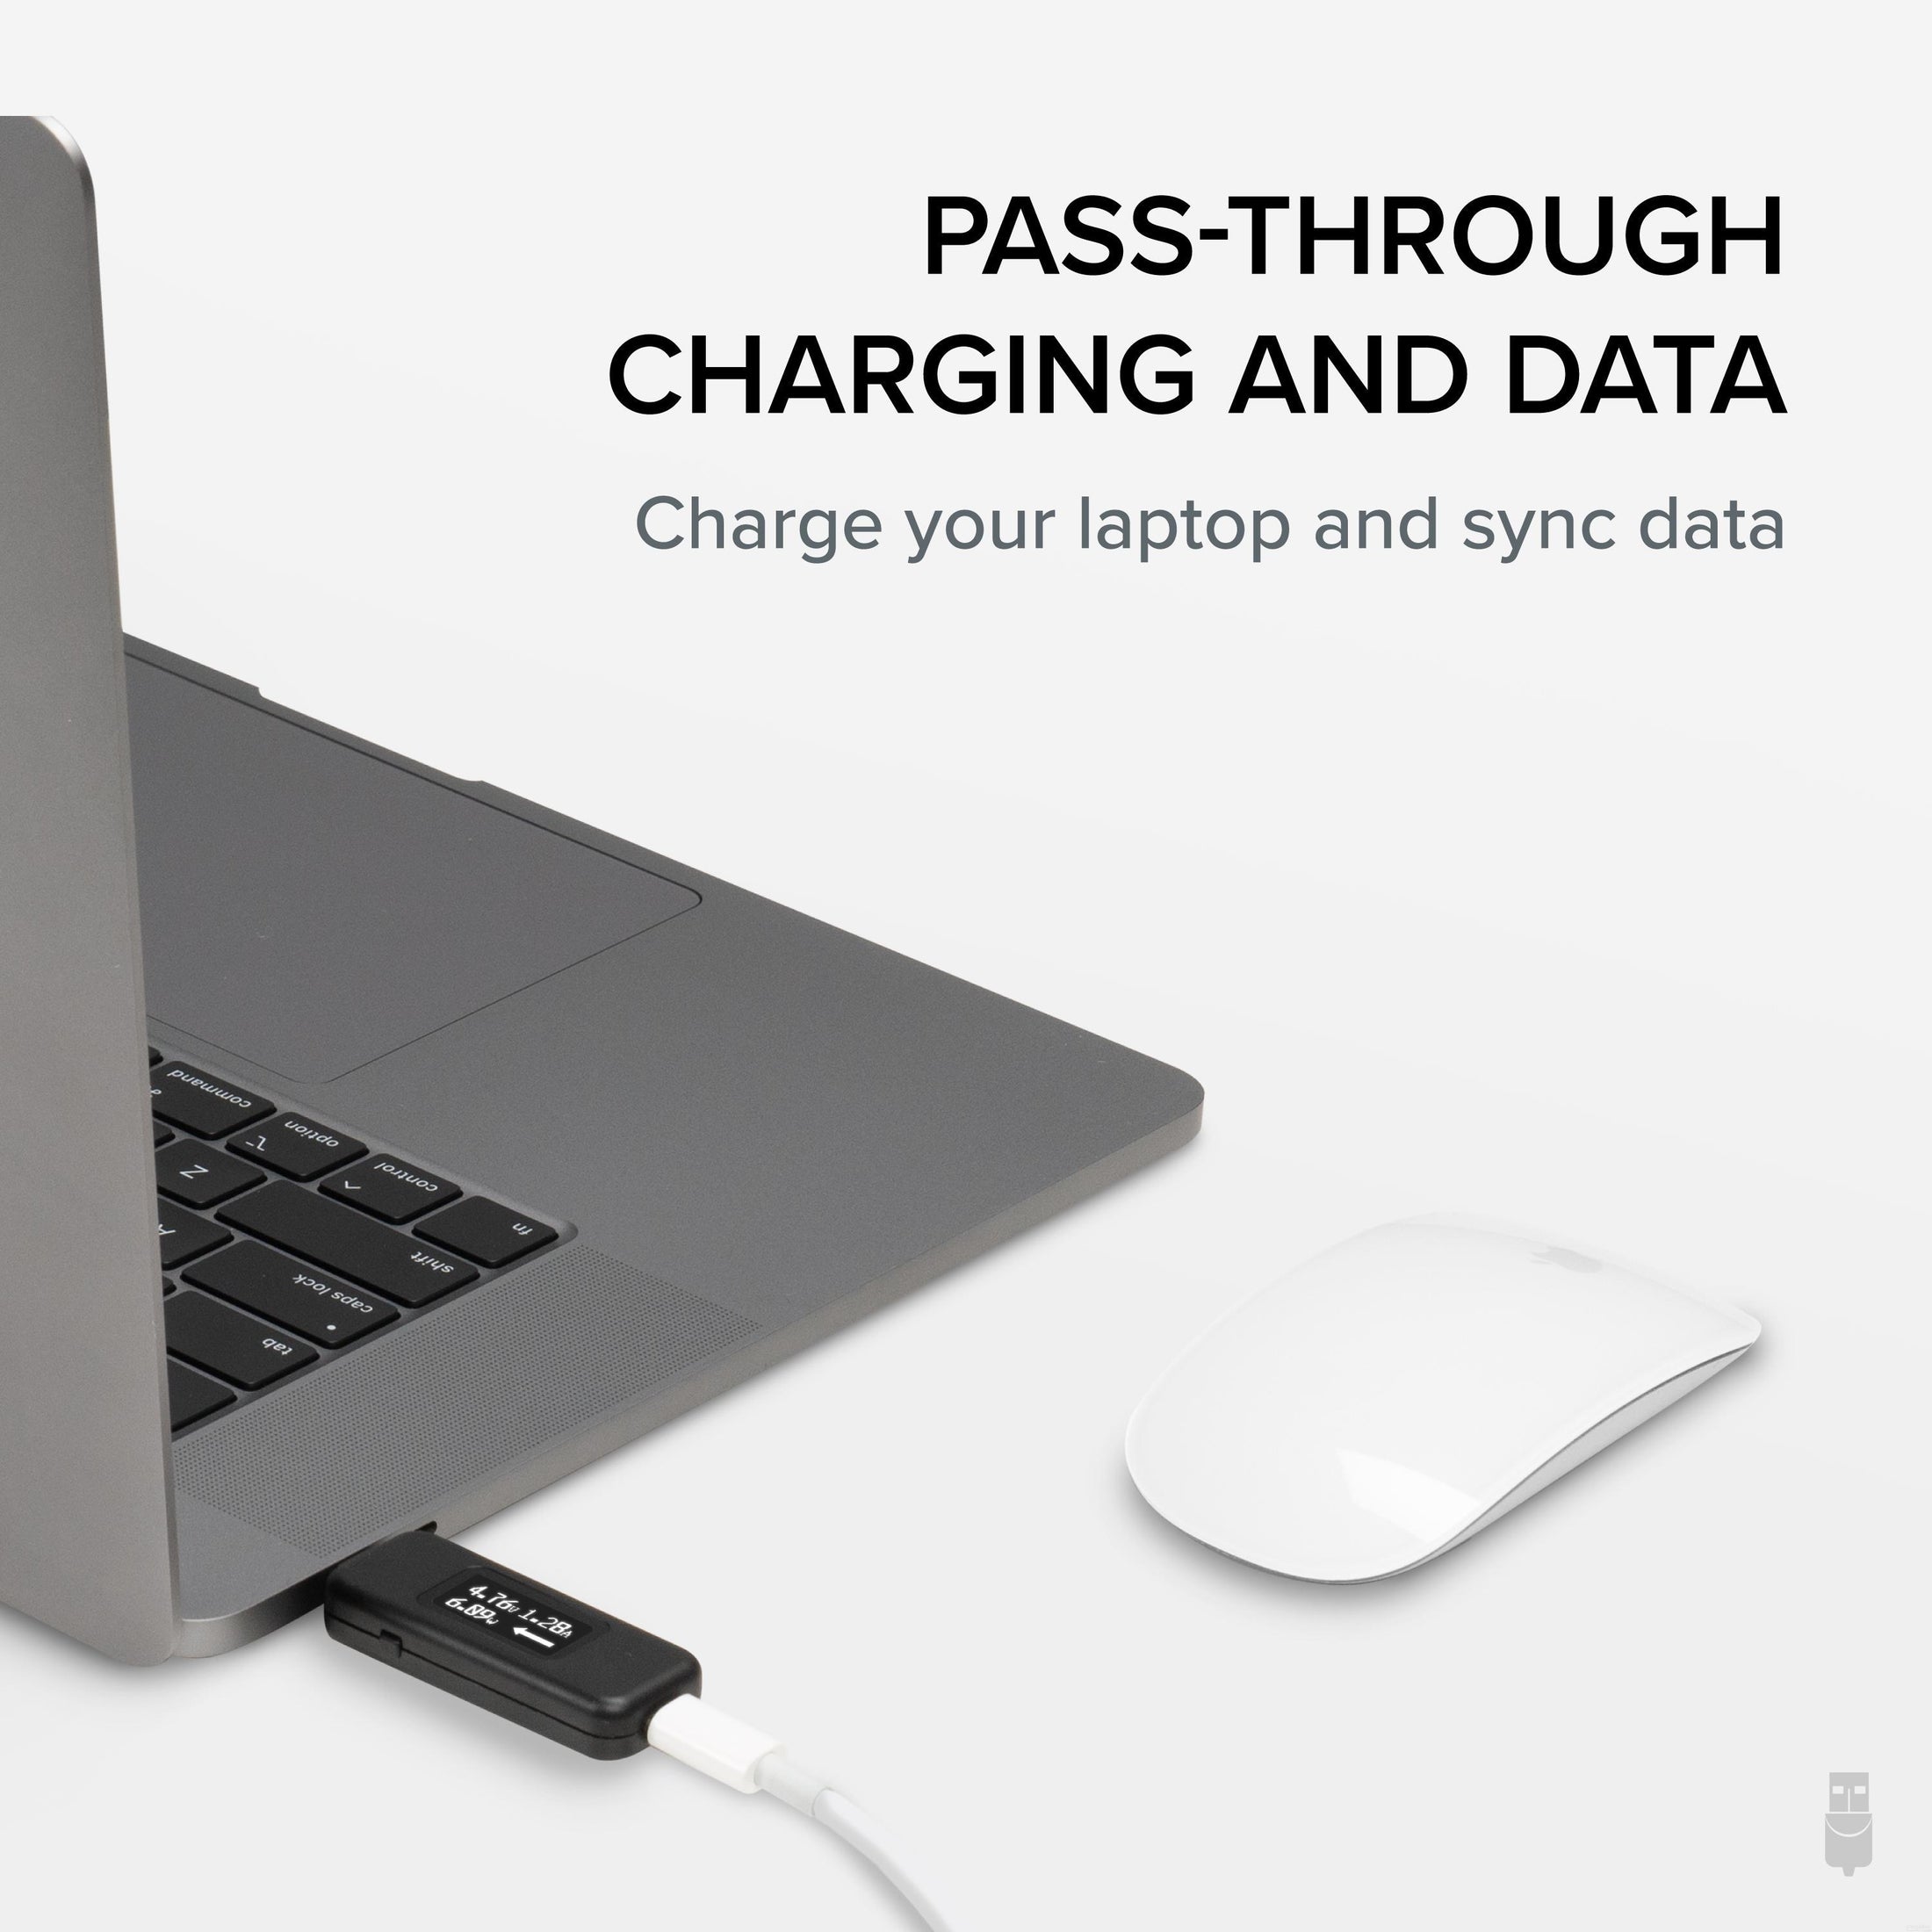
- 様々な機能に対応 - このチェッカーは、USB 1.1~3.1 Gen 2、DisplayPort 代替モード、USB Type-C 充電など、すべてのタイプの USB データをパススルーします。通常の USB Type-C 機能に何らかの影響を及ぼすことはありません。USB Type-C ドッキング・ステーション、充電器、その他の USB Type-C アクセサリーなどとホスト・システムの間に差し込んで使用します。注意:Thunderbolt 3 対応機器では使用できません。
- 小型で丈夫 - 非常に小型で、ほとんどの場合スマーとフォンやタブレットのカバーがついた状態でも計測できます。USB-C コネクタは直線型で、丈夫です。
- 2 年の品質保証 - Plugable は 2 年間の品質保証およびメールでのサポートをご提供いたします。正規販売元よりご購入ください。製品について質問がございましたら、Plugable Japan サポートまでお気軽にご連絡ください。
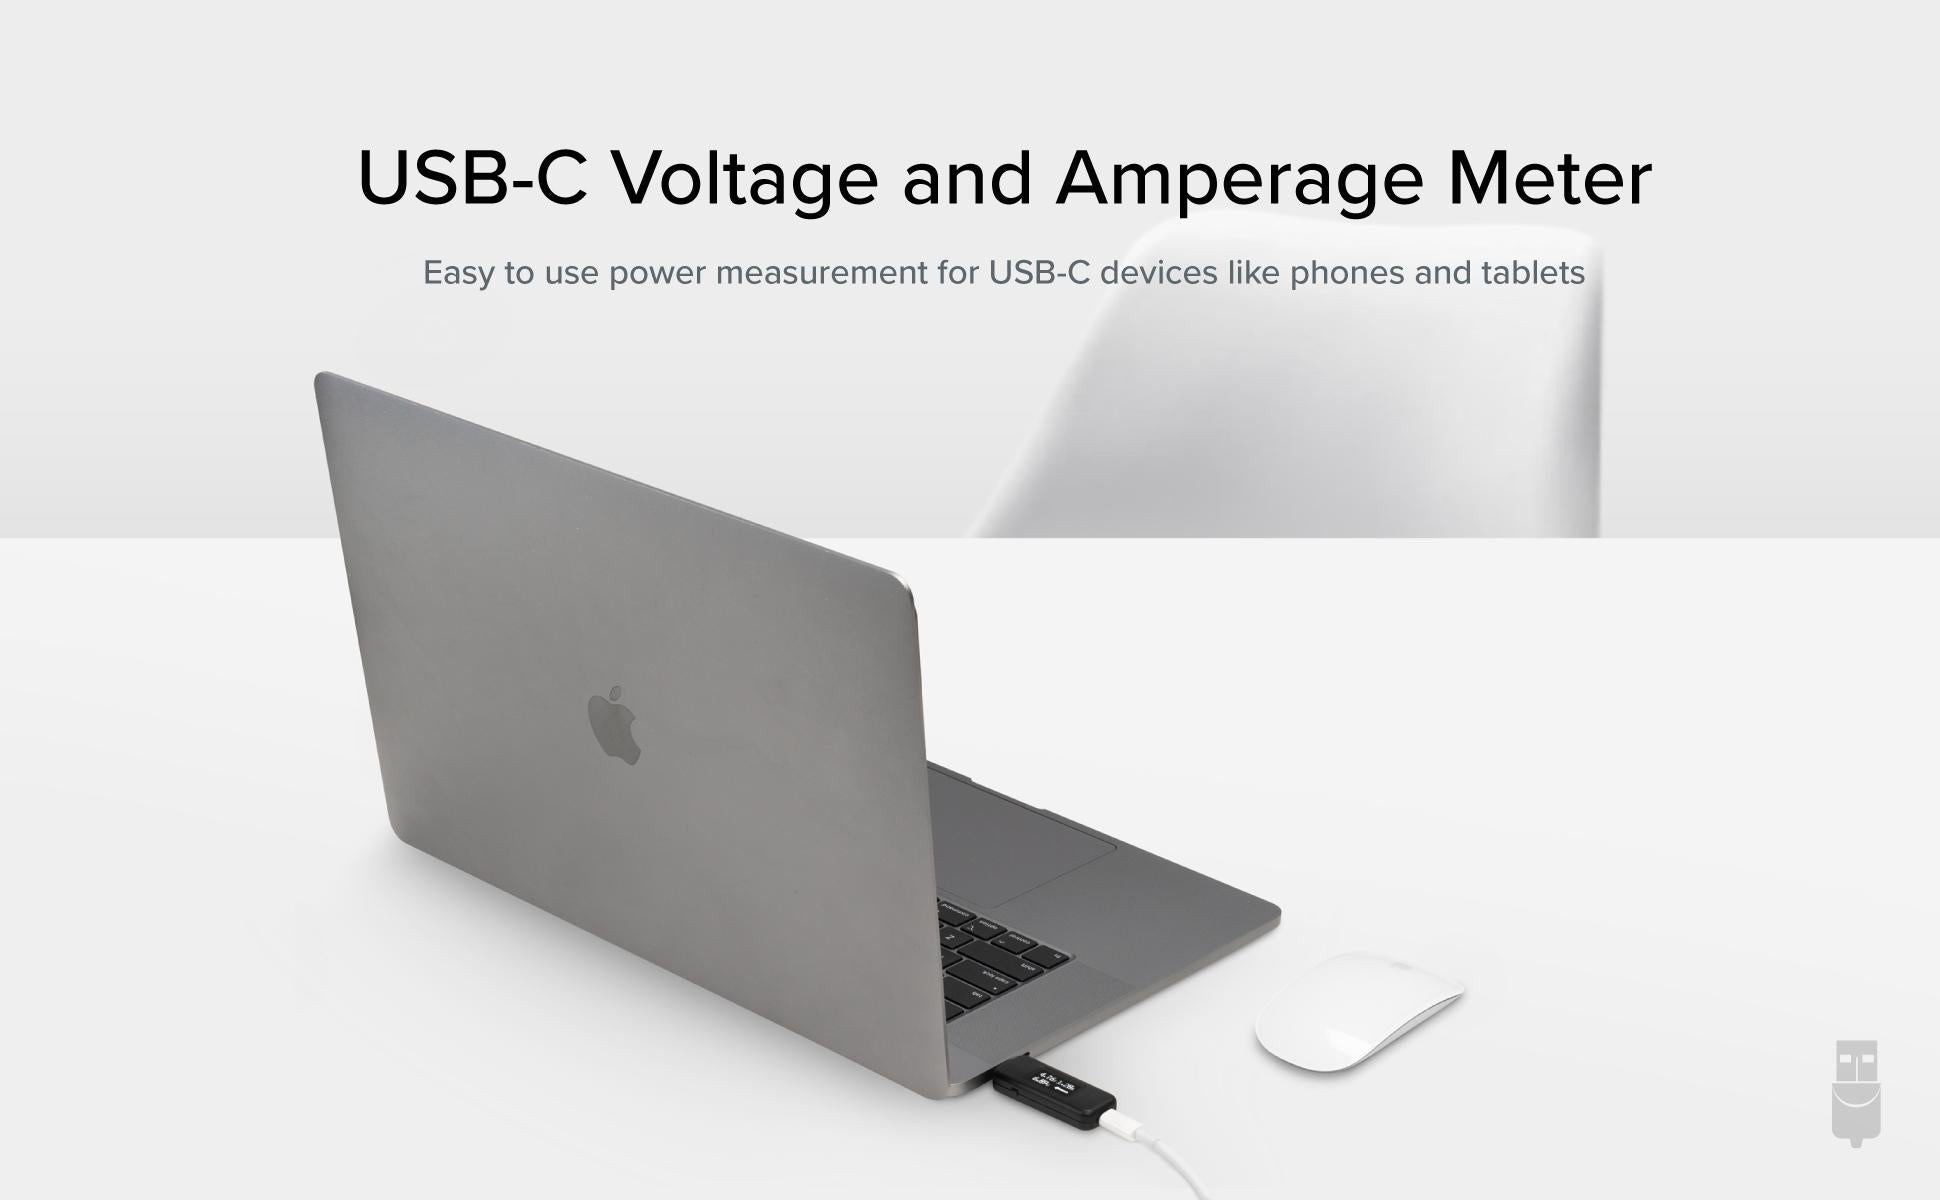
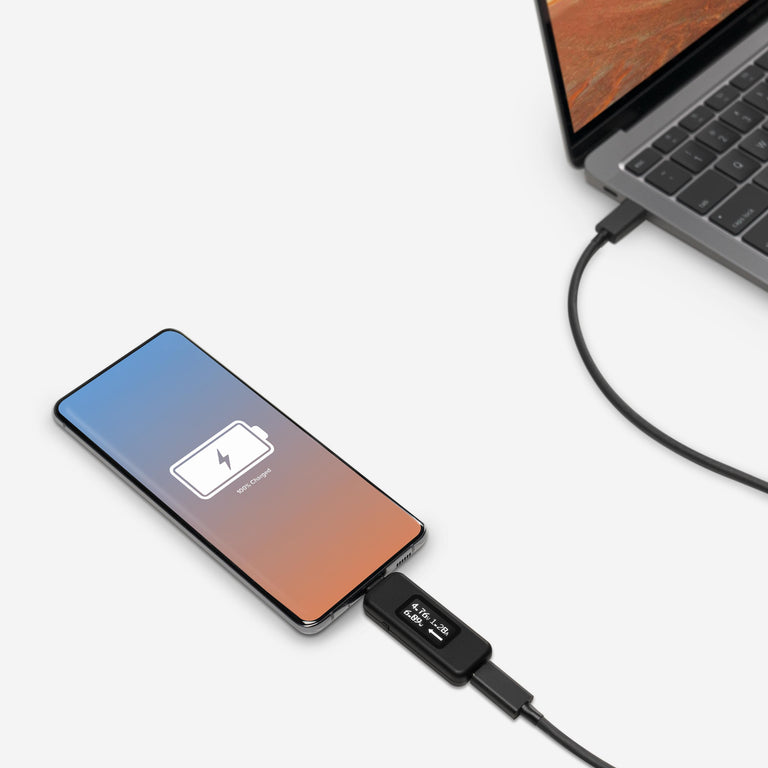
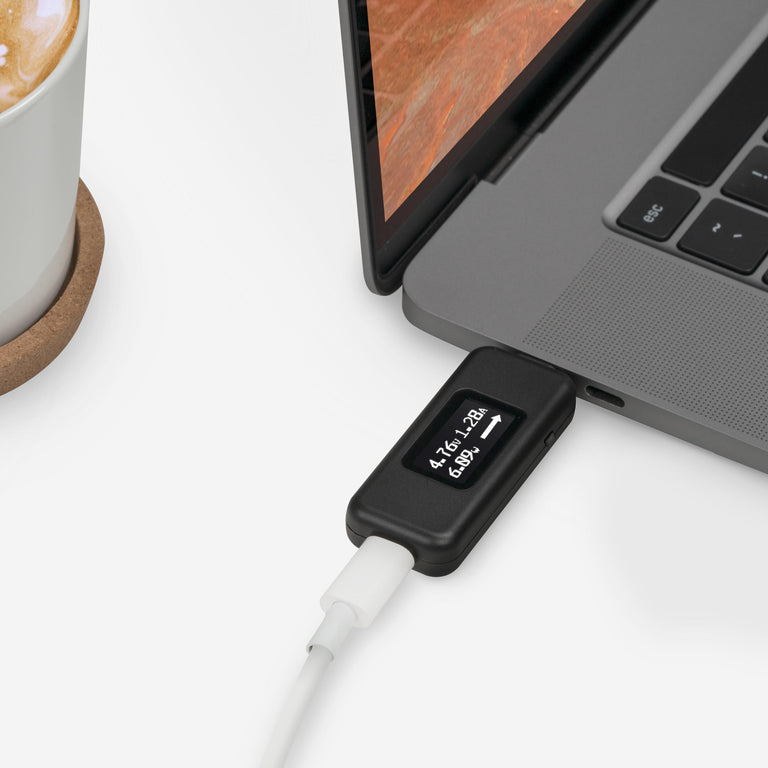
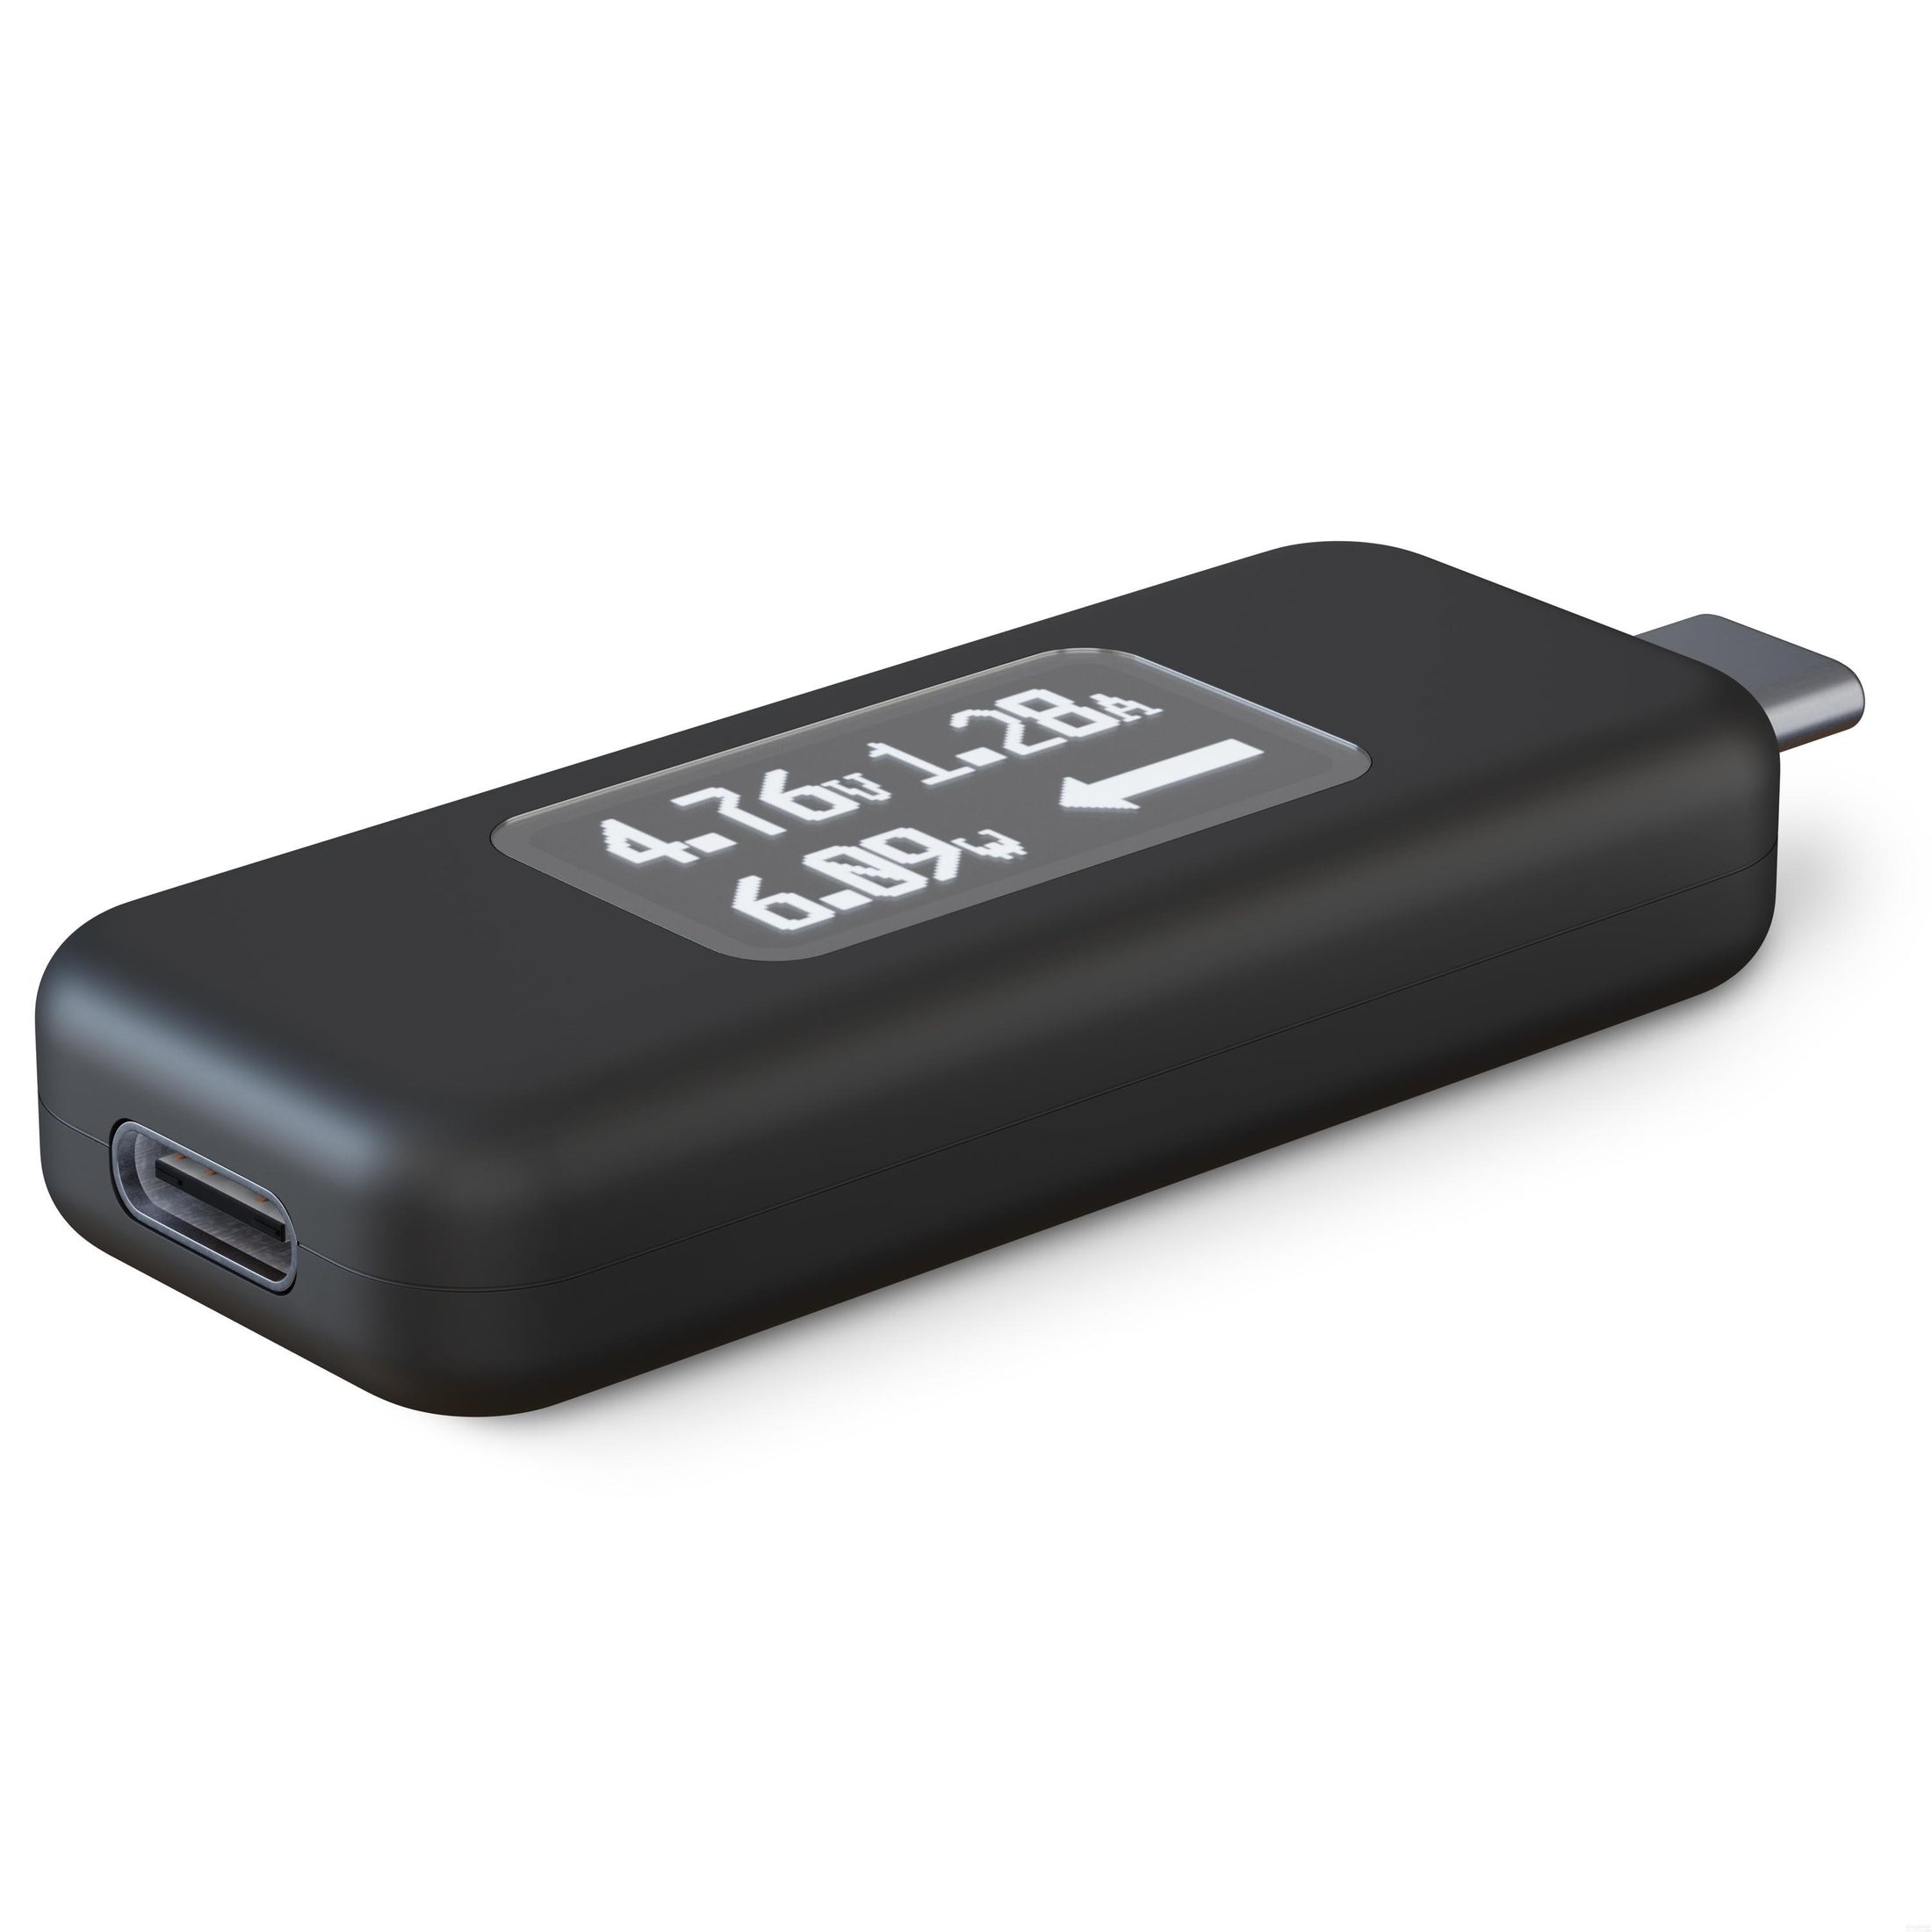
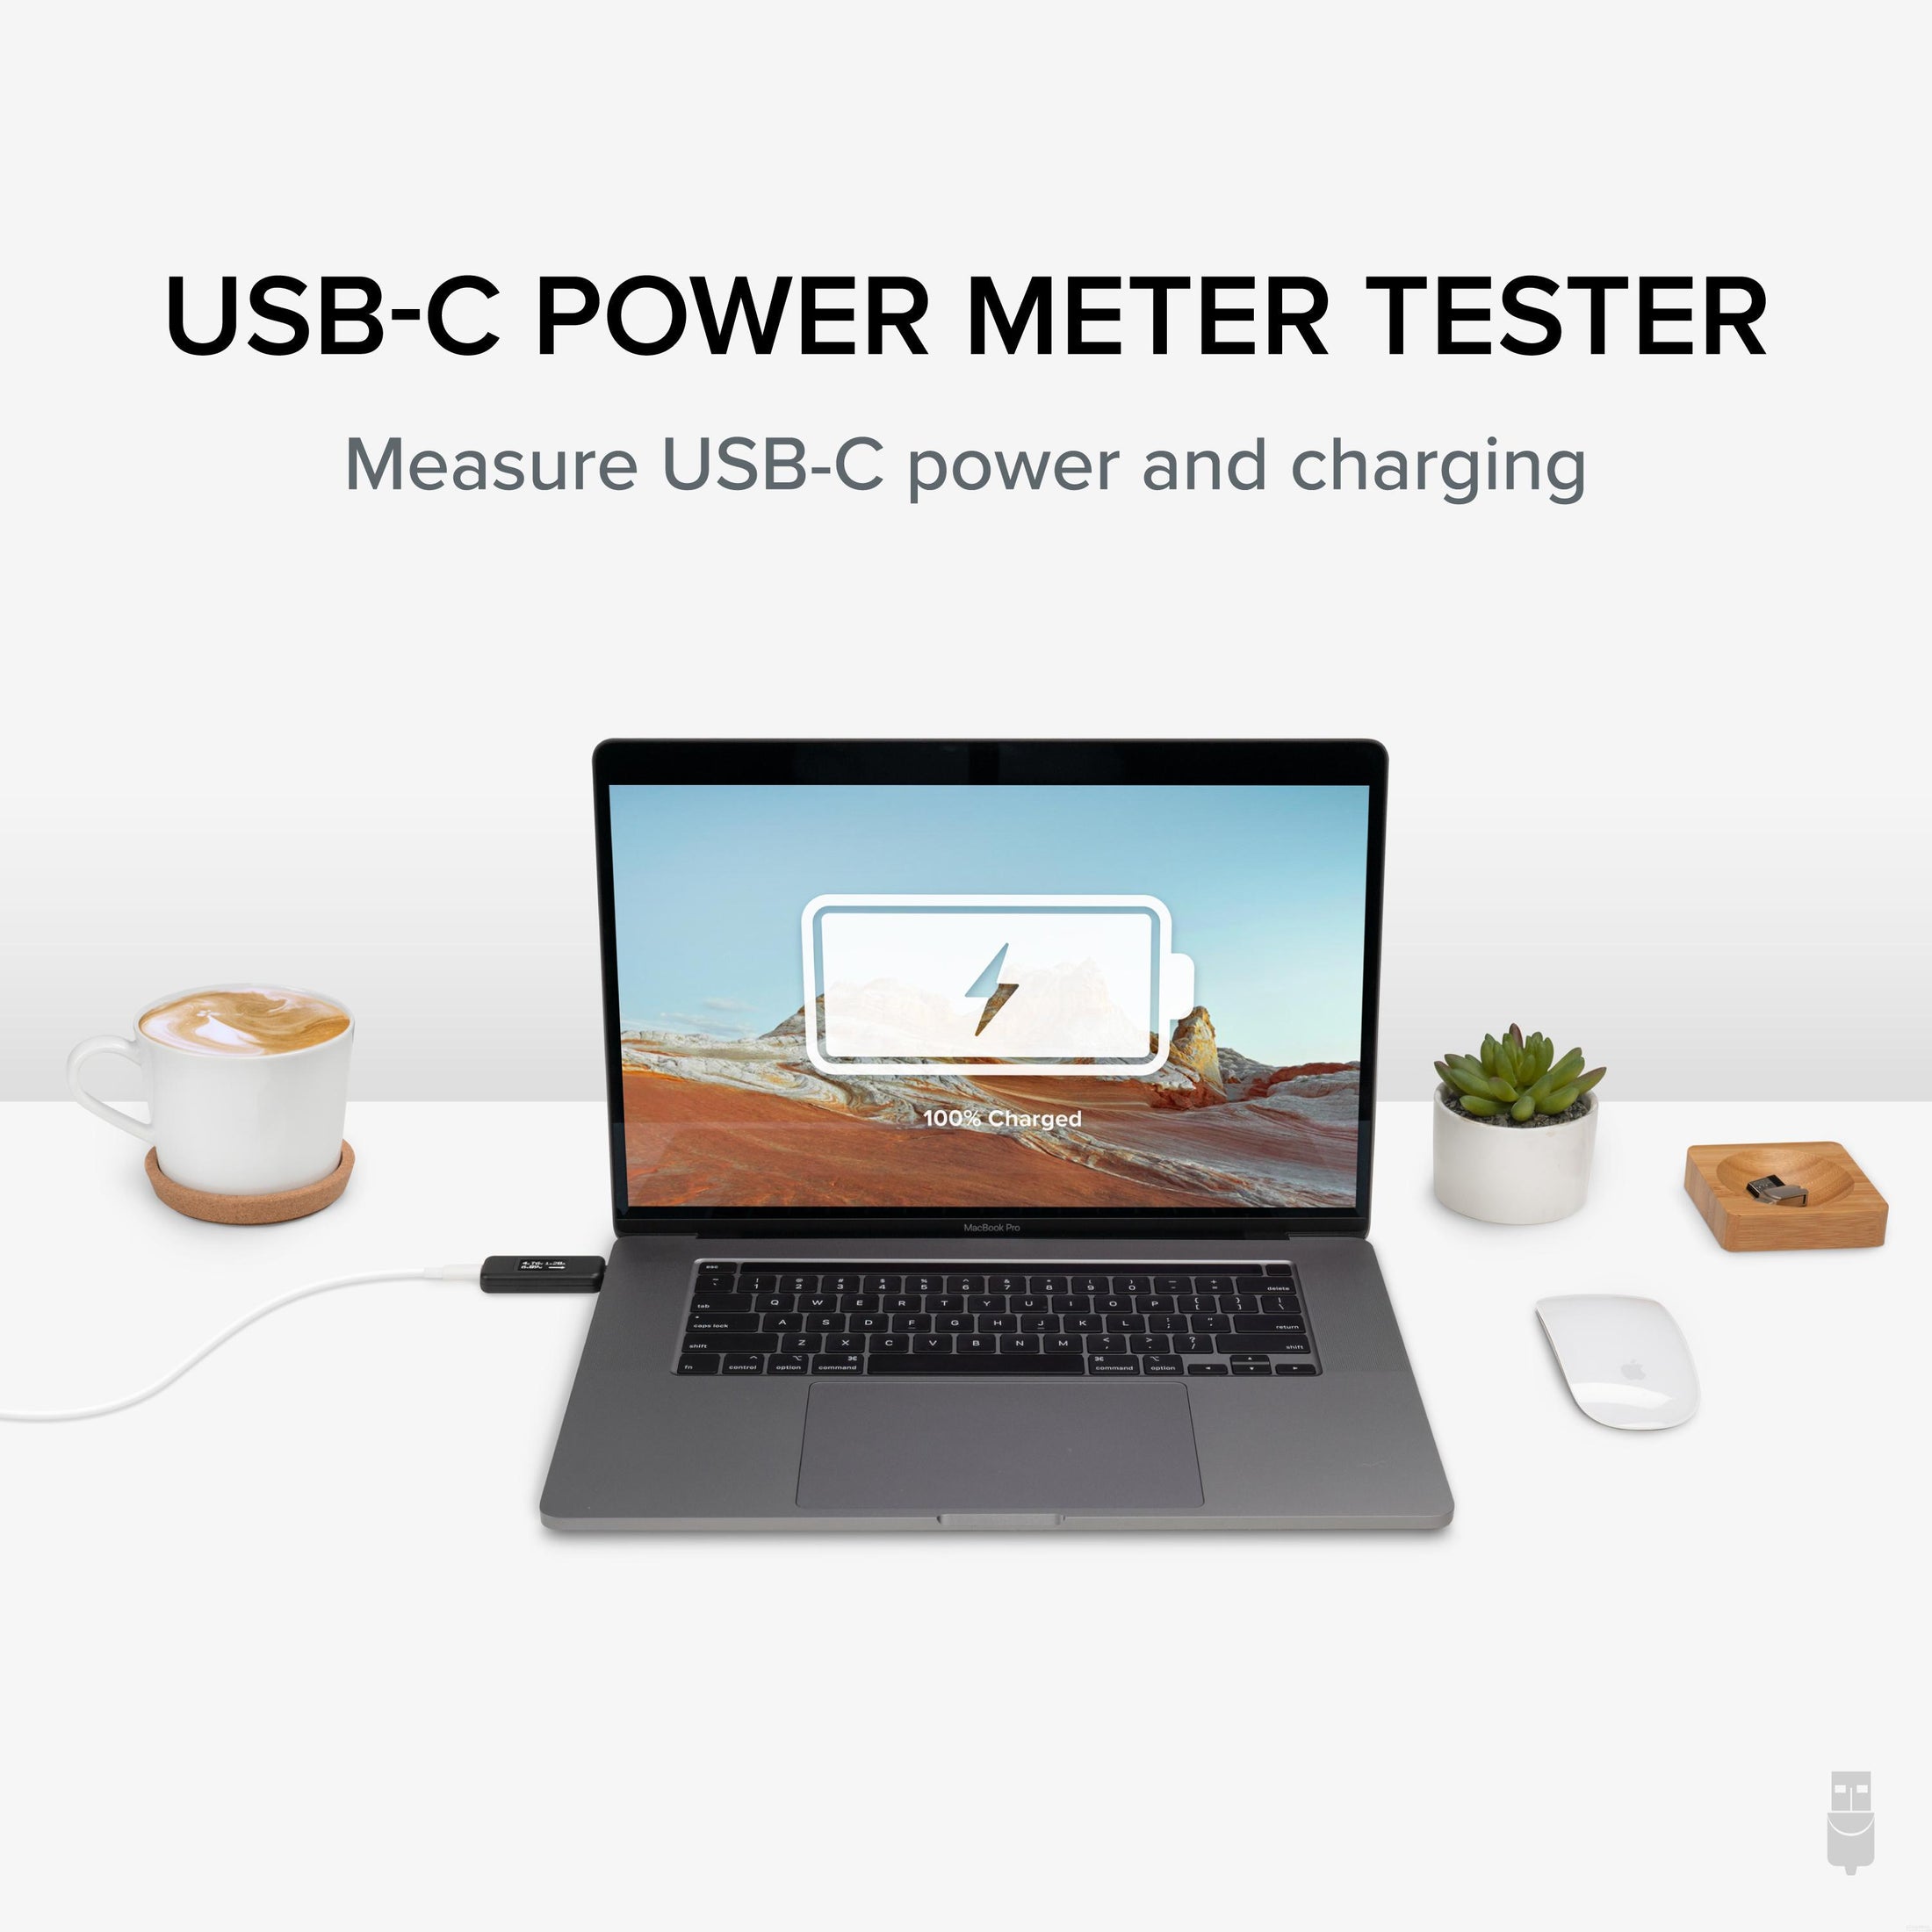
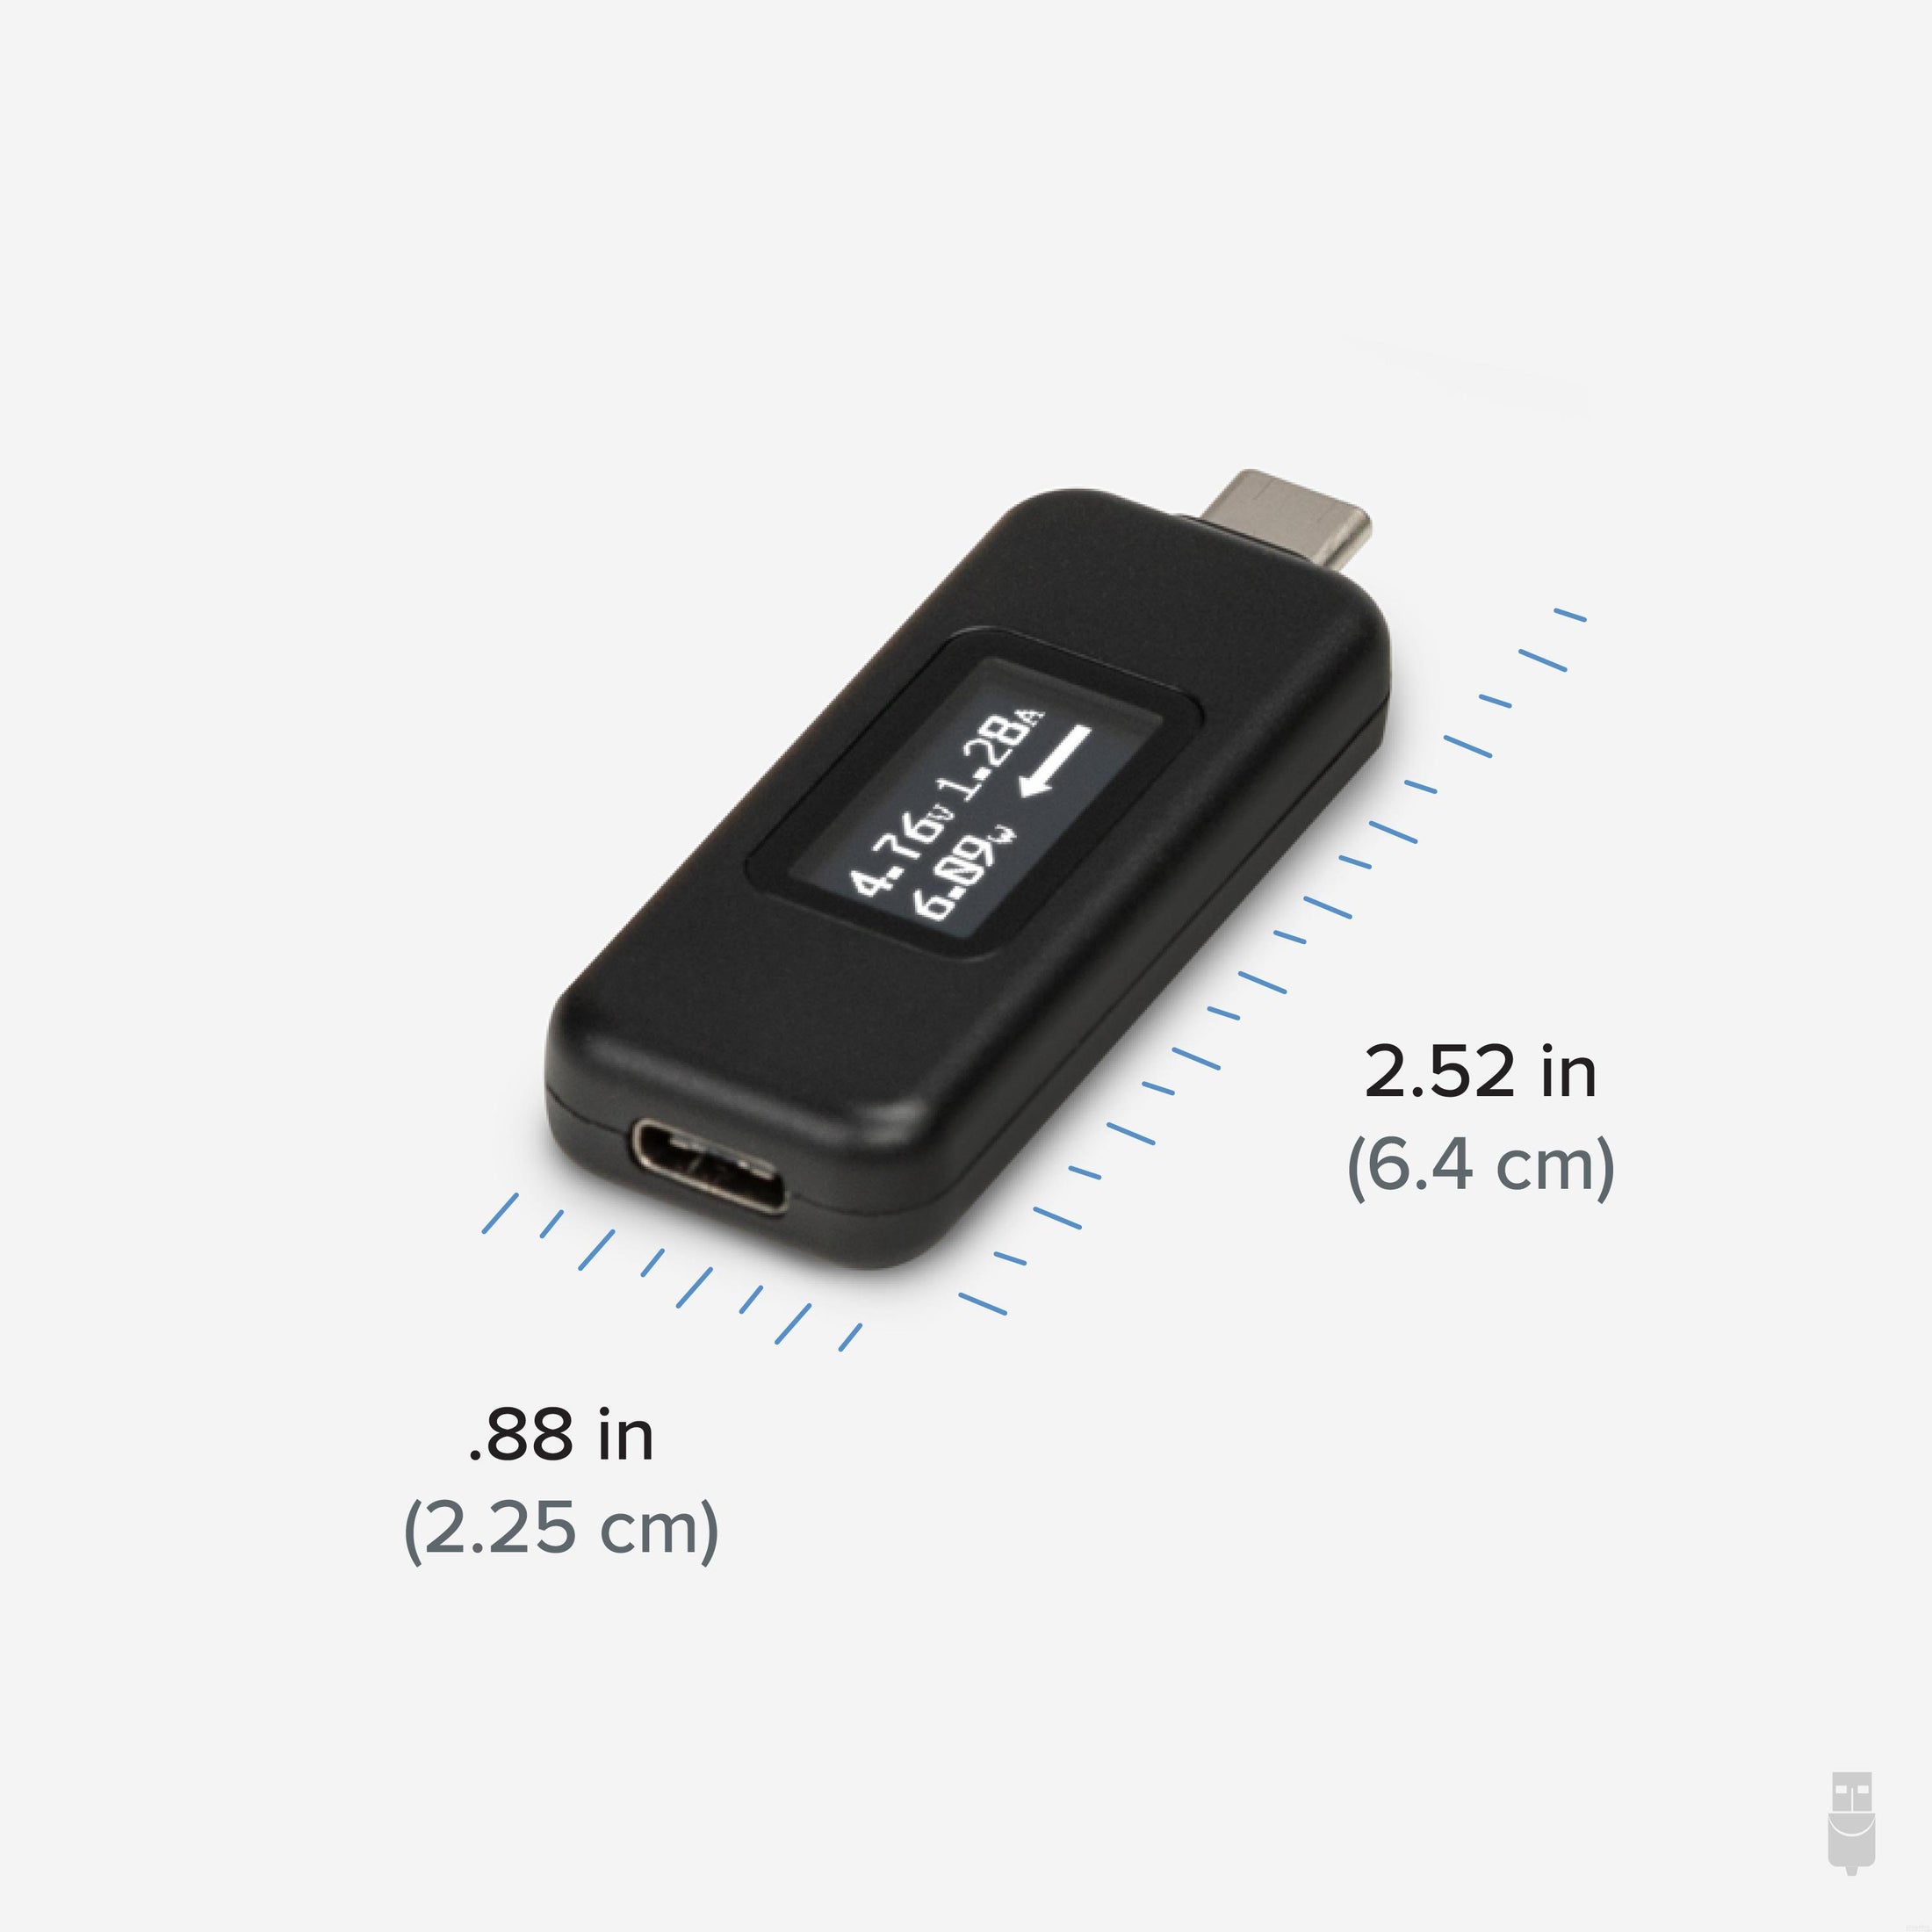
この Plugable USB-C 電圧・電流チェッカー(USBC-VAMETER)は、USB Type-C が付属した様々な機器の電圧・電流(充電レート)を簡単に計測するためにデザインされています。非常に小型で軽量です。USB Type-C ポートがついたスマートフォン、タブレット、ラップトップやその他の USB Type-C 機器で使用できます。 USB フラッシュドライブとほぼ同じサイズで、USB Type-C ポート経由のリアルタイムの電圧・電流を表示し、電流の方向を矢印で示します。両方向の電流を計測可能で、差し込む方向を選びません。
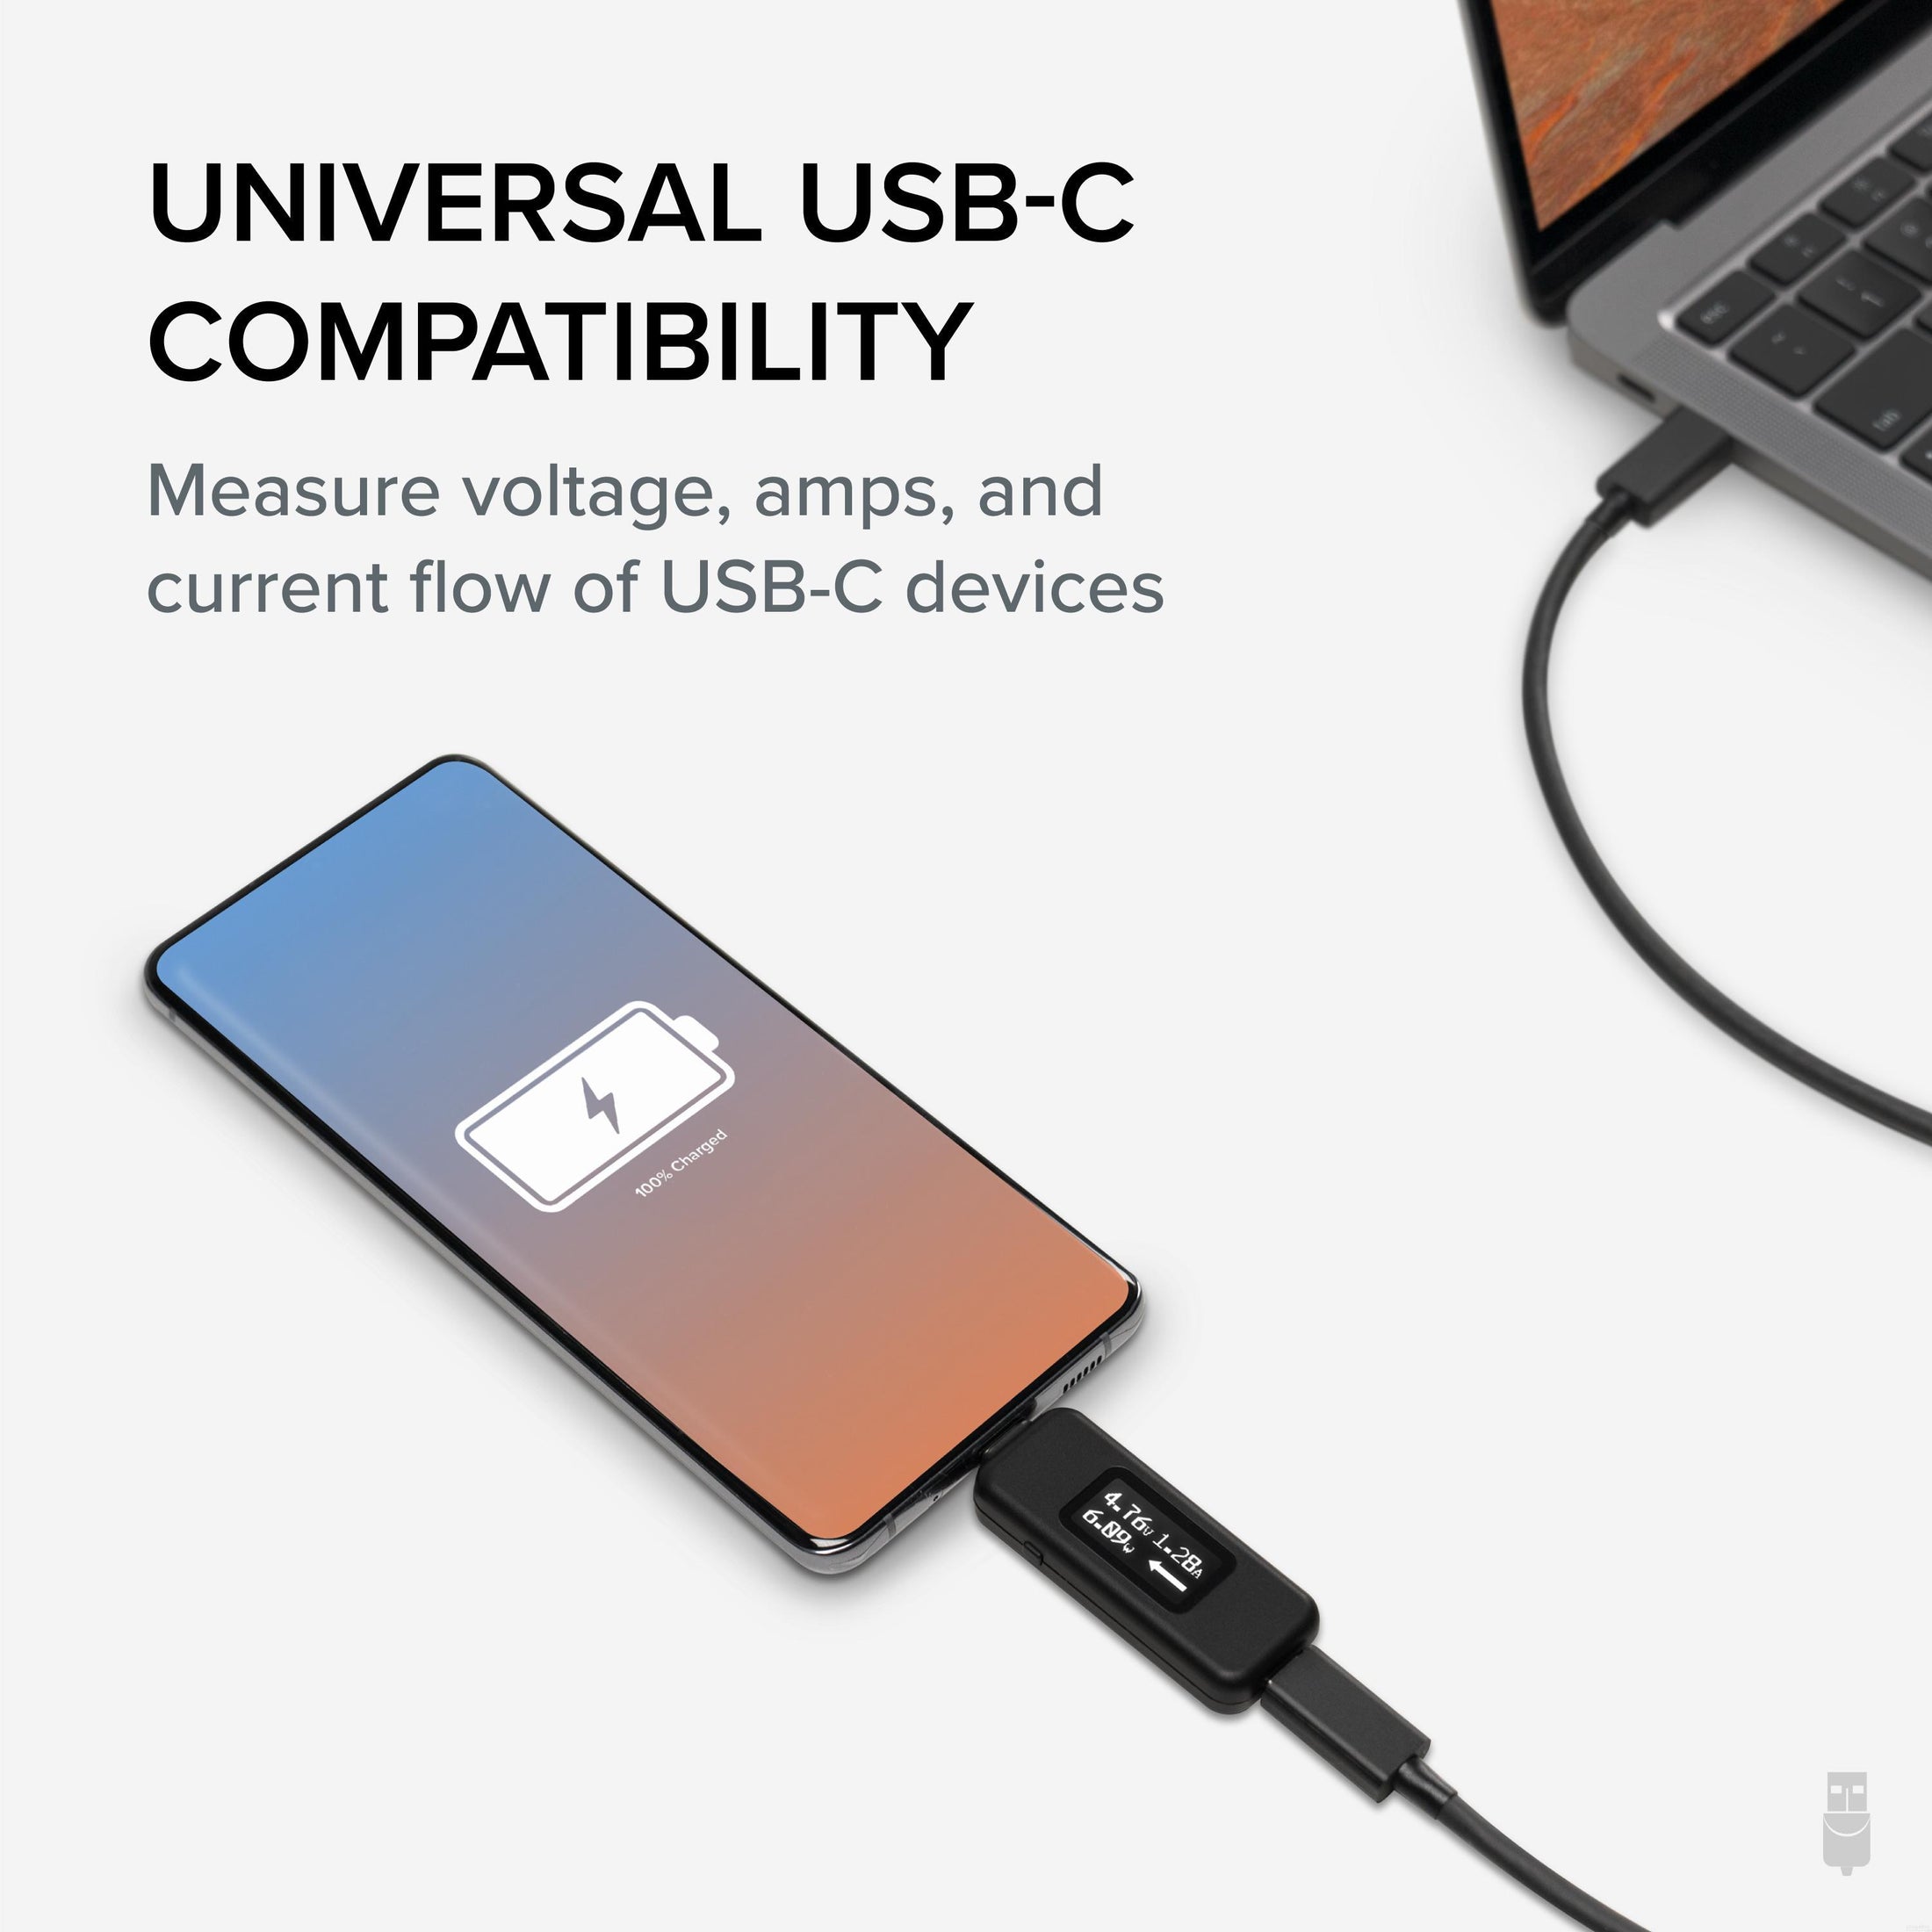
USB Type-C 対応のホスト・システムと、ドッキング・ステーション、充電器、その他の USB Type-C アクセサリーなど周辺機器との間に差し込んで、電流や電圧を計測するために使用してください。 有機 LED スクリーンは明るく明瞭で見やすく、ボタン一つで表示の上下が反転できるようになっています。
計測の仕組み
このチェッカーは、電流の間に挿入されても透過的に機能する用設計されています。したがってUSBデータ(USB 1.1~USB 3.1 Gen2まで)や、USB-C DisplayPort 代替モードによる画像データ、USB-C 充電に影響を与えることはありません。 USB Type-C 対応のドッキング・ステーション、充電器、その他の USB Type-C アクセサリーなどとホスト・システムの間に差し込んで使用できます。 USB-Cコネクタ・ポート内の電力(VBUS)とグラウンド(接地)用専用信号ラインの値を計測するのみで、別に独立したデータ用ラインには一切干渉しないようになっています。
用途
- USB Type-C 付きのラップトップやタブレット等のホストシステムと充電器を接続した際の、おおまかな充電レートを知りたいとき
- USB Type-C 付きのホストシステムとドッキングステーションを接続した際の、おおまかな充電レートを知りたいとき
- USB Type-C 付きのホストシステムと、USB Type-C コネクタ付きのバスパワー機器(HDDドライブ、フラッシュ・ドライブなど)を接続した際に、バスパワー機器にどれだけの電力が供給されているかを知りたいとき
- VBUS ホット・コンディションや電圧低下など、その USB Type-C ポートが仕様に準拠しているかを確認したいとき
重要な注意点
- このチェッカーは、プロ仕様の計測機器の代替として使用することを目的とはされておらず、使いやすさや簡単さを重視したユーザレベルの計測用です。
- このチェッカーは Thunderbolt 3 プロトコル対応機器では使用できません。
技術仕様
- 双方向の電流を計測可能です。
- 4~22V、50mA~6.5A の動作範囲に対応します。
- USB-PD R3.1 EPR(拡張パワーレンジ)28V、36V、48V をサポートしていません 。
- USB 1.1~3.1 Gen2 対応のシステムや機器で使用できます。
使用に際しての注意点:
このチェッカーを使用する際、通常は「両側に」何らかの USB Type-C 機器(USB ホスト、充電器、PC アクセサリなど)が接続されない限り電源はオンになりません。もし一方だけに機器を接続して電源がオンになる場合、接続されたその USB 機器は「VBUS ホット」と呼ばれ、USB Type-C の仕様に準拠していないことを意味します。
パッケージ内容
パッケージ内容と数量 | 注記 |
---|---|
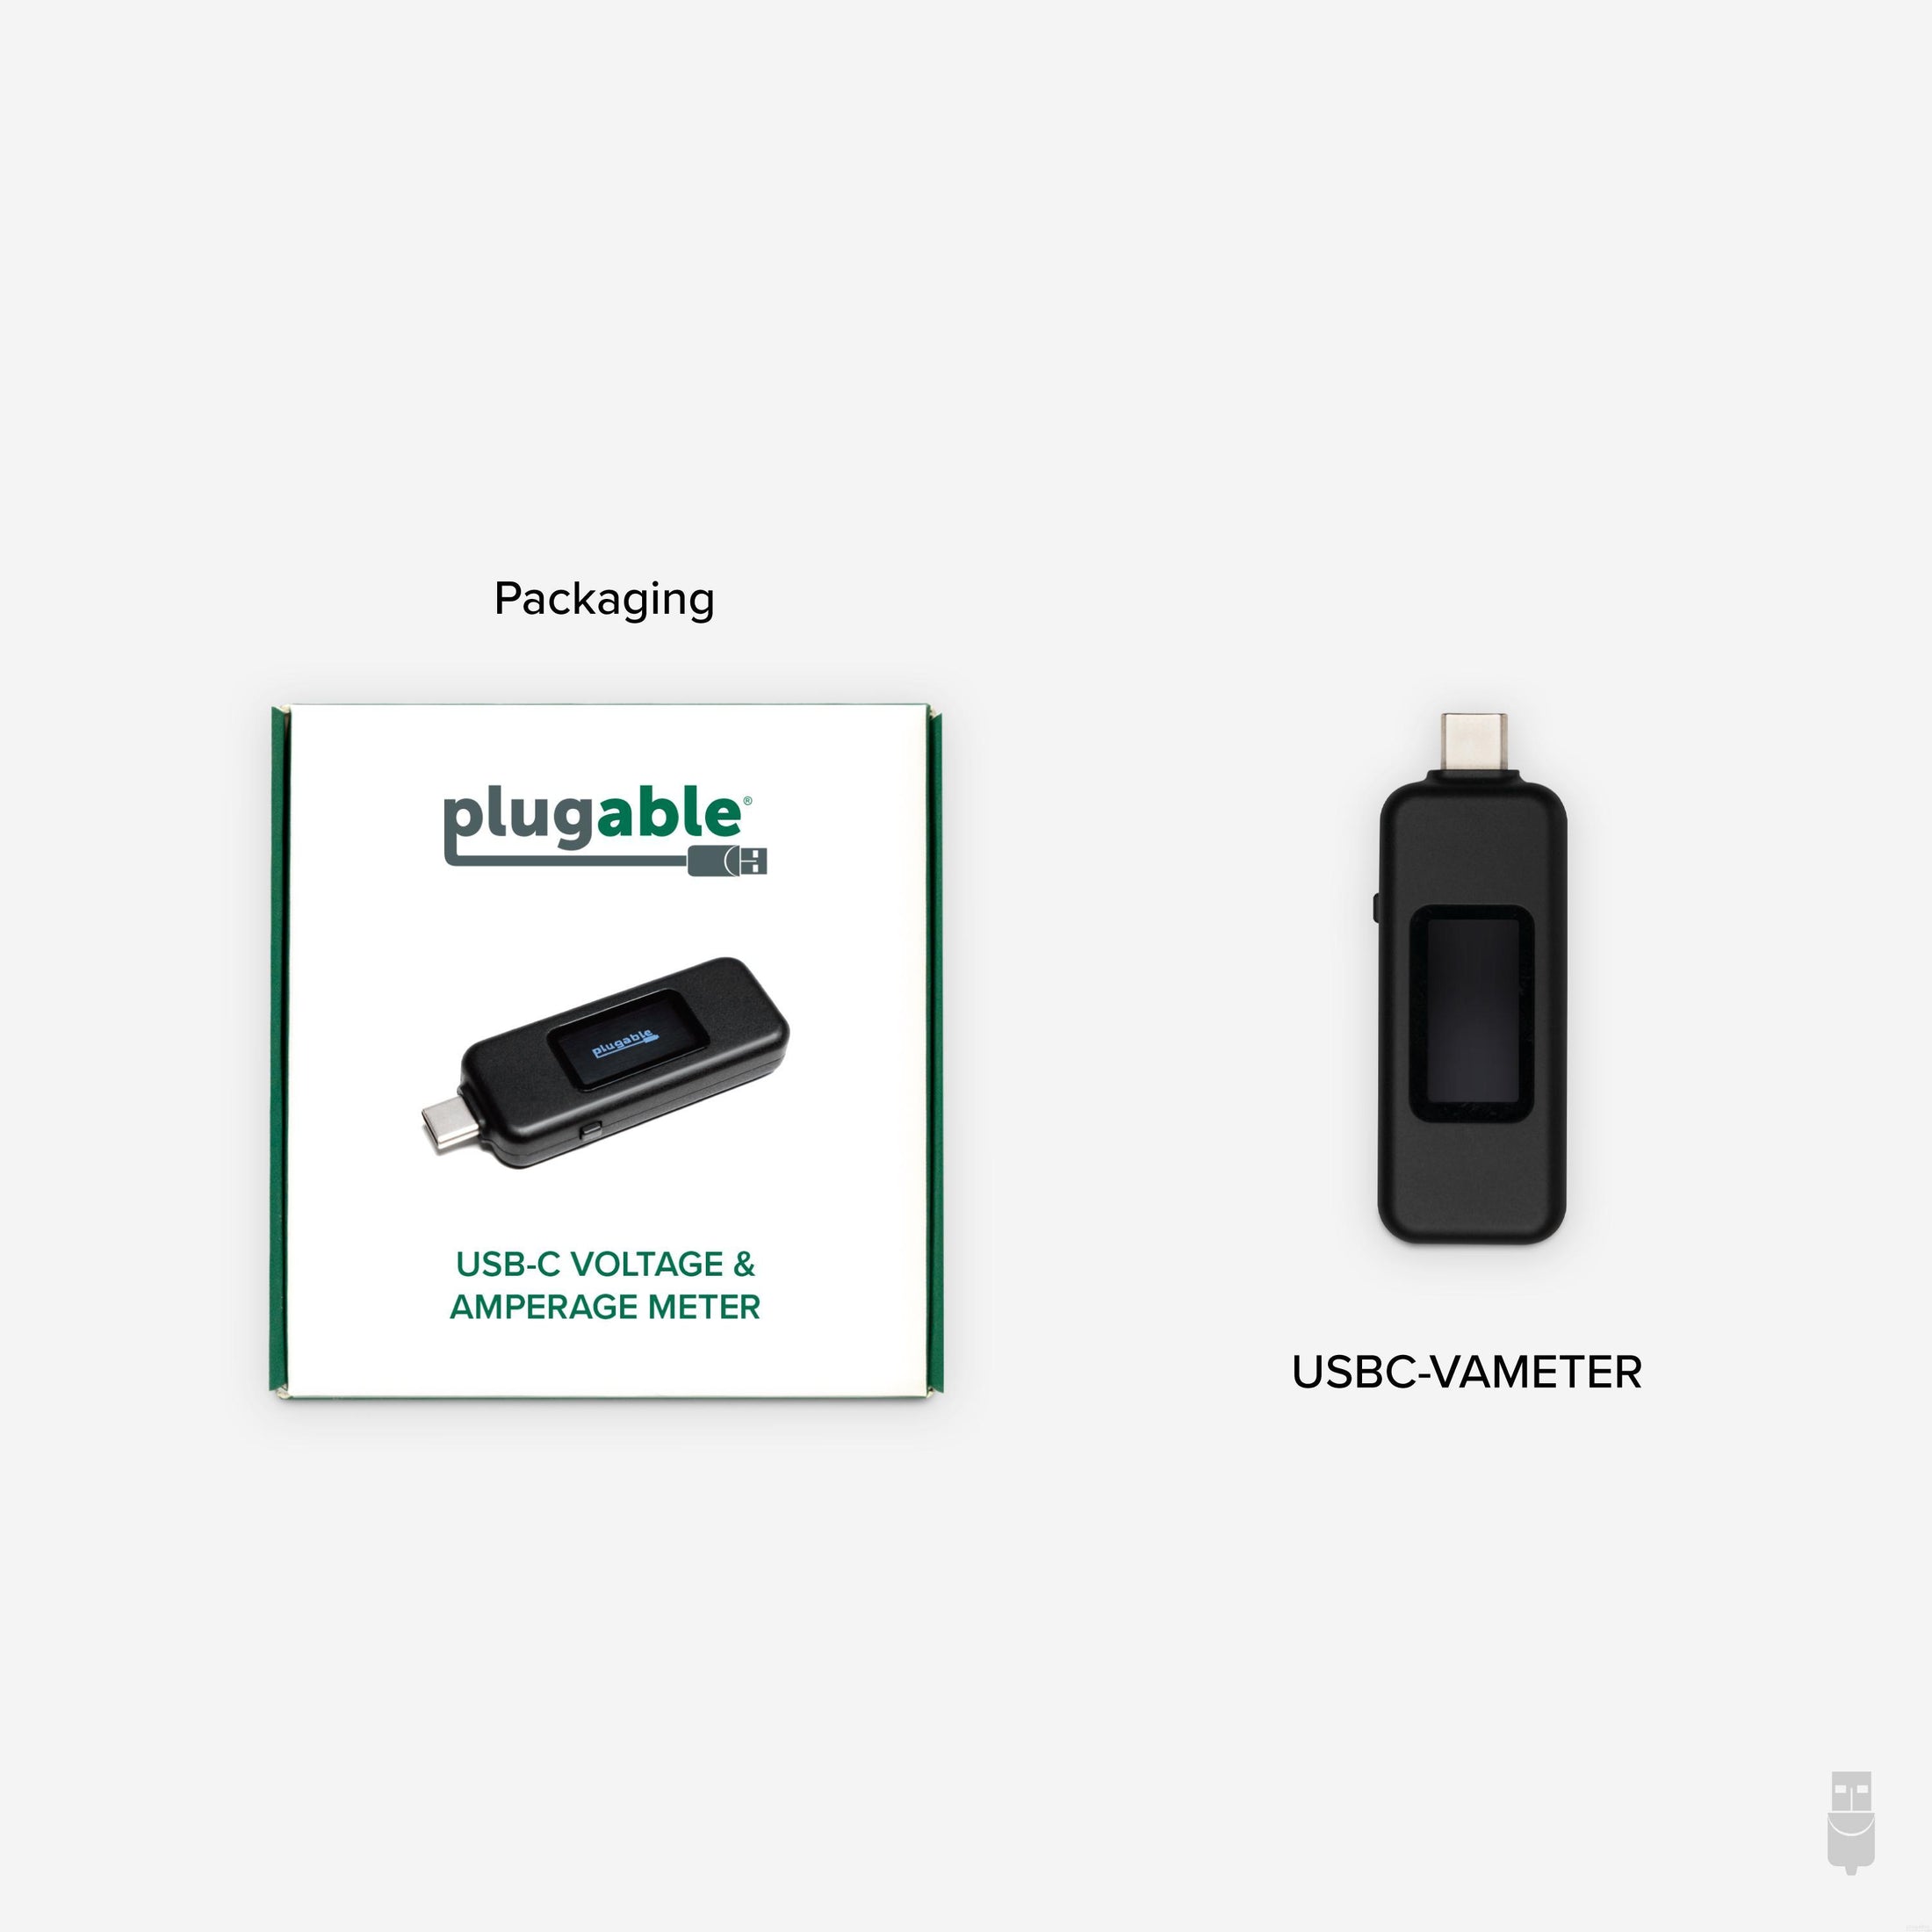
1x USBC-VAMETER |
デバイス接続用 USB ポート
ポート | 場所 | バージョンとリンクレート | 機能 | 電圧 | アンペア | ワット数 |
---|---|---|---|---|---|---|
1x USB-C | 側面 | USB 3.2 Gen 2(10Gbps) | 20V | 5000mA | 100W |
ホストへの接続
ポート | 場所 | バージョンとリンクレート | 機能 |
---|---|---|---|
1x USB-C | 側面 | USB 3.2 Gen 2(10Gbps) |
物理仕様
項目 | サイズ(高さ×幅×奥行き)または長さ | 重量 | 製品番号 |
---|---|---|---|
USB-C Voltage/Amperage Meter | 1.22 x 2.3 x 6.43 centimeters 0.5 x 0.9 x 2.5 inches |
8.7 grams 0.3 ounces |
USBC-VAMETER |
使い方
USB-C 対応機器と、USB-C 充電またはデータケーブルを当 Plugable USB-C 電圧・電流チェッカーのどちらか一方に差し込みます。双方向の電流を計測できるため、どちら側が入力または出力であるかは関係ありません。電流が流れるとチェッカーのディスプレイが点灯し、電流の方向、アンペア、ボルテージ、おおよその充電レート(ワット)が表示されます。
このチェッカーを使用する際、通常は「両側に」何らかの USB Type-C 機器(USB ホスト、充電器、PC アクセサリなど)が接続されない限り電源はオンになりません。もし一方だけに機器を接続して電源がオンになる場合、接続されたその USB 機器は「VBUS ホット」と呼ばれ、USB Type-C の仕様に準拠していないことを意味します。
この USBC-VAMETER チェッカーの側面には小さなボタンがあり、これを押すとディスプレイの上下が 180 度回転します。接続した機器のポートの場所や向きによって上下が逆さまになっている場合に使用してください。
この製品についてご質問がありましたら、「アマゾン注文番号」を添えて nihongo@plugable.com まで日本語でご連絡ください。
Filter Help Articles and Frequent Questions by Category
Choose one or more filters within each category to narrow down the articles. Each selection will result in only displaying articles that include all of your choices.
Articles
Well how about that, it looks like we don't have any articles matching your filters! Try removing one of your choices or clear the filters to show all articles.
You can always contact support if you need help too!
USB Port Types
USB-A
pietz, CC BY-SA 3.0 , via Wikimedia Commons
This is the standard USB connection that most computers offered prior to the introduction of USB Type-C (USB-C). Even after the introduction of USB Type-C, this is still quite common.
It can provide data transfer rates up to the USB 3.1 Gen 2 (10 gbps) specification depending on the host and device, but does not directly support video in the way that USB-C Alternate Mode does. This limitation makes DisplayLink USB graphics adapters and docking stations ideal on systems that do not have USB-C, or in instances where more displays are needed beyond available video outputs of a PC.
USB-B
Fred the Oyster, CC BY-SA 4.0 , via Wikimedia Commons
IngenieroLoco, CC BY-SA 4.0, via Wikimedia Commons
This type of connection comes in a couple different styles depending on whether USB 3.0 and higher transfer rates are supported (bottom graphic). Usually this type of connection is used to plug into USB devices that do not have a fixed cable connected, such as USB docking stations, USB hubs, printers, and others.
USB Mini-B
Fred the Oyster, CC BY-SA 4.0 , via Wikimedia Commons
One of the first connectors for charging a smartphone, wireless game controller (such as the Sixaxis and DualShock 3), and other small devices such as external hard drives. Not commonly used today, but is still used in some cases. Most devices using USB Mini B are using USB 2.0, though a USB 3.0 variant does exist. This specification also added USB On-The-Go (OTG) functionality, though it is more commonly implemented with Micro USB.
USB Micro-B
Fred the Oyster, CC BY-SA 4.0, via Wikimedia Commons
IngenieroLoco, CC BY-SA 4.0 , via Wikimedia Commons
A smaller connector that serves many of the same uses as the Mini B connector, with added optional features such as Mobile High-Definition Link (MHL) to allow devices like smartphones to output video to larger displays without requiring a dedicated port for video output.
The larger variant of USB-B is most commonly used for external hard drives for higher 5Gbps transfer rates.
USB-C, Thunderbolt™ 3, and Thunderbolt™ 4
Niridya , CC0, via Wikimedia Commons
The most recent USB connection, USB Type-C (USB-C), represents a major change in what USB can do. The connector is smaller, can be connected in two orientations, is able to carry substantially more power and data, and can directly carry video signals of multiple types (HDMI, DisplayPort, etc.) Intel has also adapted the USB-C connector for use with Thunderbolt 3 and Thunderbolt 4.
It is important to note that while all Thunderbolt 3 and Thunderbolt 4 connections are USB-C, not all USB-C connections can be used with Thunderbolt 3 or Thunderbolt 4 devices.
More details regarding physical USB connections can be found on Wikipedia . The graphics depicted here are adapted from Wikimedia Commons by various artists under the Creative Commons Attribution-Share Alike 3.0 Unported license.
How Accurate Are the Voltage and Amperage Measurements From the USBC-VAMETER?
In our testing we’ve found that compared to a professional multimeter, our USBC-VAMETER is within +/- 3% of the true value (measured at 20V).
Please note that this meter is not meant to replace professional USB-C testing equipment, it is designed for quick and easy measurements for users at any skill level.
How Do I Calculate the Wattage From the Provided Voltage and Amperage Information on the USBC-VAMETER?
The USBC-VAMETER will display voltage, amperage, and the calculated wattage on screen. If you would like to manually calculate the wattage (how much power a device using) you can follow this simple formula:
The power (P) in watts (W) is equal to the voltage V in volts (V) times the current (I) in amps (A), P = V × I.
Example: A device is charging at 20V, 5A: 20V × 5A = 100W.
I Have a USBC-VAMETER but It Looks Different Than What Is on the Plugable Website, Why?
The USBC-VAMETER has had three revisions.
- Units purchased before Q1 2018 are our original design.
- Units purchased after Q1 2018 through Q1 2021 are an updated design.
- Units purchased after Q2 2021 are our newest design.
If you have issues with your USBC-VAMETER of any revision please feel free to contact us at support@plugable.com and we'll be happy to assist!
What is the Difference Between the USBC-VAMETER and USBC-VAMETER3?
The USBC-VAMETER is designed for USB-C Power Delivery Revision 3.0 (5-20 volts, up to 5 amps, 100 watts maximum). Most devices currently on the market use PD R3.0.
The USBC-VAMETER3 is designed for the latest USB-C Power Delivery Revision 3.1 Extended Power Range (EPR) (5-48 volts, up to 5 amps, 240 watts maximum). As of July 2022 there are not many EPR devices available yet, but a good example is the 16" Apple MacBook Pro with 140W charger.
If unfamiliar with Extended Power Range feel free to take a look at our blog post on this topic here: https://plugable.com/blogs/news/what-is-240w-usb-extended-power-range-epr
Do Plugable products support the Apple SuperDrive?
Unfortunately Plugable products do not support the Apple SuperDrive.
The Apple SuperDrive has stringent power requirements that can only be met by directly connecting the SuperDrive to your host laptop. As a result at this time Apple recommends only using their USB-C adapter cables. You can find more information on that here → How to connect the Apple USB SuperDrive
If you have purchased a Plugable product to use with your Apple SuperDrive, and would like some additional assistance please do not hesitate to reach out. You can do so by emailing support@plugable.com, or going to Plugable.com/Support.
How to Use Two External Displays with the Lid Closed on MacBook Air and MacBook Pro M3
Overview
With the release of Apple’s M3 CPU chips and the Sonoma 14.6 update your base MacBook Air and MacBook Pro systems with M3 chips can now host two external displays natively in clamshell mode. This guide will walk you through the process of setting up and using two external displays with the lid closed on your MacBook Air or MacBook Pro equipped with an Apple M3 chip.
Requirements
Before getting started, ensure you have the following:
- MacBook Air or MacBook Pro with an Apple M3 chip.
- macOS Sonoma 14.3 or later for an M3 MacBook Air or macOS Sonoma 14.6 or later for an M3 MacBook Pro.
- Two external displays with compatible video inputs (e.g., HDMI, DisplayPort, USB-C).
- A dock or graphics adapter can be used as well.
- External keyboard and mouse (wired or wireless).
- Power adapter or power source for your MacBook
- A docking station that provides adequate charge can be used in place of the native power adapter, be sure to check the wattage your dock provides.
Steps to Set Up Dual External Displays with the Lid Closed
1. Set Up Your External Keyboard and Mouse
- If you’re using a wired keyboard and mouse, connect them directly to your MacBook or Plugable dock.
- For wireless peripherals, ensure they are paired with your MacBook and functioning properly.
- An AC adapter/power cable of some kind will also need to be connected for clamshell mode to function properly. This adapter can be one from a docking station or the included Apple adapter.
2. Connect Your Displays
- Connect the first external display to your MacBook using the appropriate cable (e.g., HDMI, DisplayPort, USB-C)
- Close your laptop’s lid.
- Connect the second external display using a similar method.
- Ensure both displays are powered on and set to the correct input source.
3. Configure Display Settings
- Open System Settings on your MacBook.
- Go to Displays.
- You should see both external displays listed. Arrange them according to your preference by dragging the display icons.
- Adjust the resolution, refresh rate, and other settings as needed.
4. Enable "Clamshell Mode" (Lid Closed Mode)
- With your external displays connected and set up, close the lid of your MacBook.
- Your MacBook will automatically switch to "Clamshell Mode," where the internal display turns off, and the external displays become your primary screens.
- Ensure your MacBook is connected to a power source to prevent it from entering sleep mode.
5. Check the Display Arrangement
- With the lid closed, check that the external displays are functioning as expected.
- If necessary, re-open the Displays settings to adjust the arrangement, resolution, or other preferences.
Troubleshooting Tips
- No Display on External Monitors: If the external displays are not showing anything, open the lid of your MacBook and check the connections.
- MacBook Sleeps When Lid Is Closed: Make sure your MacBook is connected to a power adapter. Clamshell Mode requires the MacBook to be plugged into an external power source.
- Performance Issues: If you experience lag or performance drops, try lowering the resolution or refresh rate of the external displays.
Thunderbolt Dock Users
With these steps, one can use Plugable Thunderbolt docks to enjoy a dual-display setup without the need for additional software installation. The dock leverages the native capabilities of the MacBook Air M3 and MacBook Pro M3, providing a straightforward and efficient solution for expanding your workspace with additional USB ports, audio, and ethernet (as well as the dual displays).
Additional Resources
If you should need any assistance with your setup, please feel free to reach out to our support team at support@plugable.com.