Hassle free, 2-Year Warranty
Fast, Free Shipping on Orders $35+
Lifetime Technical Support
30-Day Money Back Guarantee
Plugable USB 3.0 4 ポートハブ、バスパワー、回転タイプ
$19.95 USD
SKU: USB3-HUB4RAmazon Rating : (422 Reviews)
機能
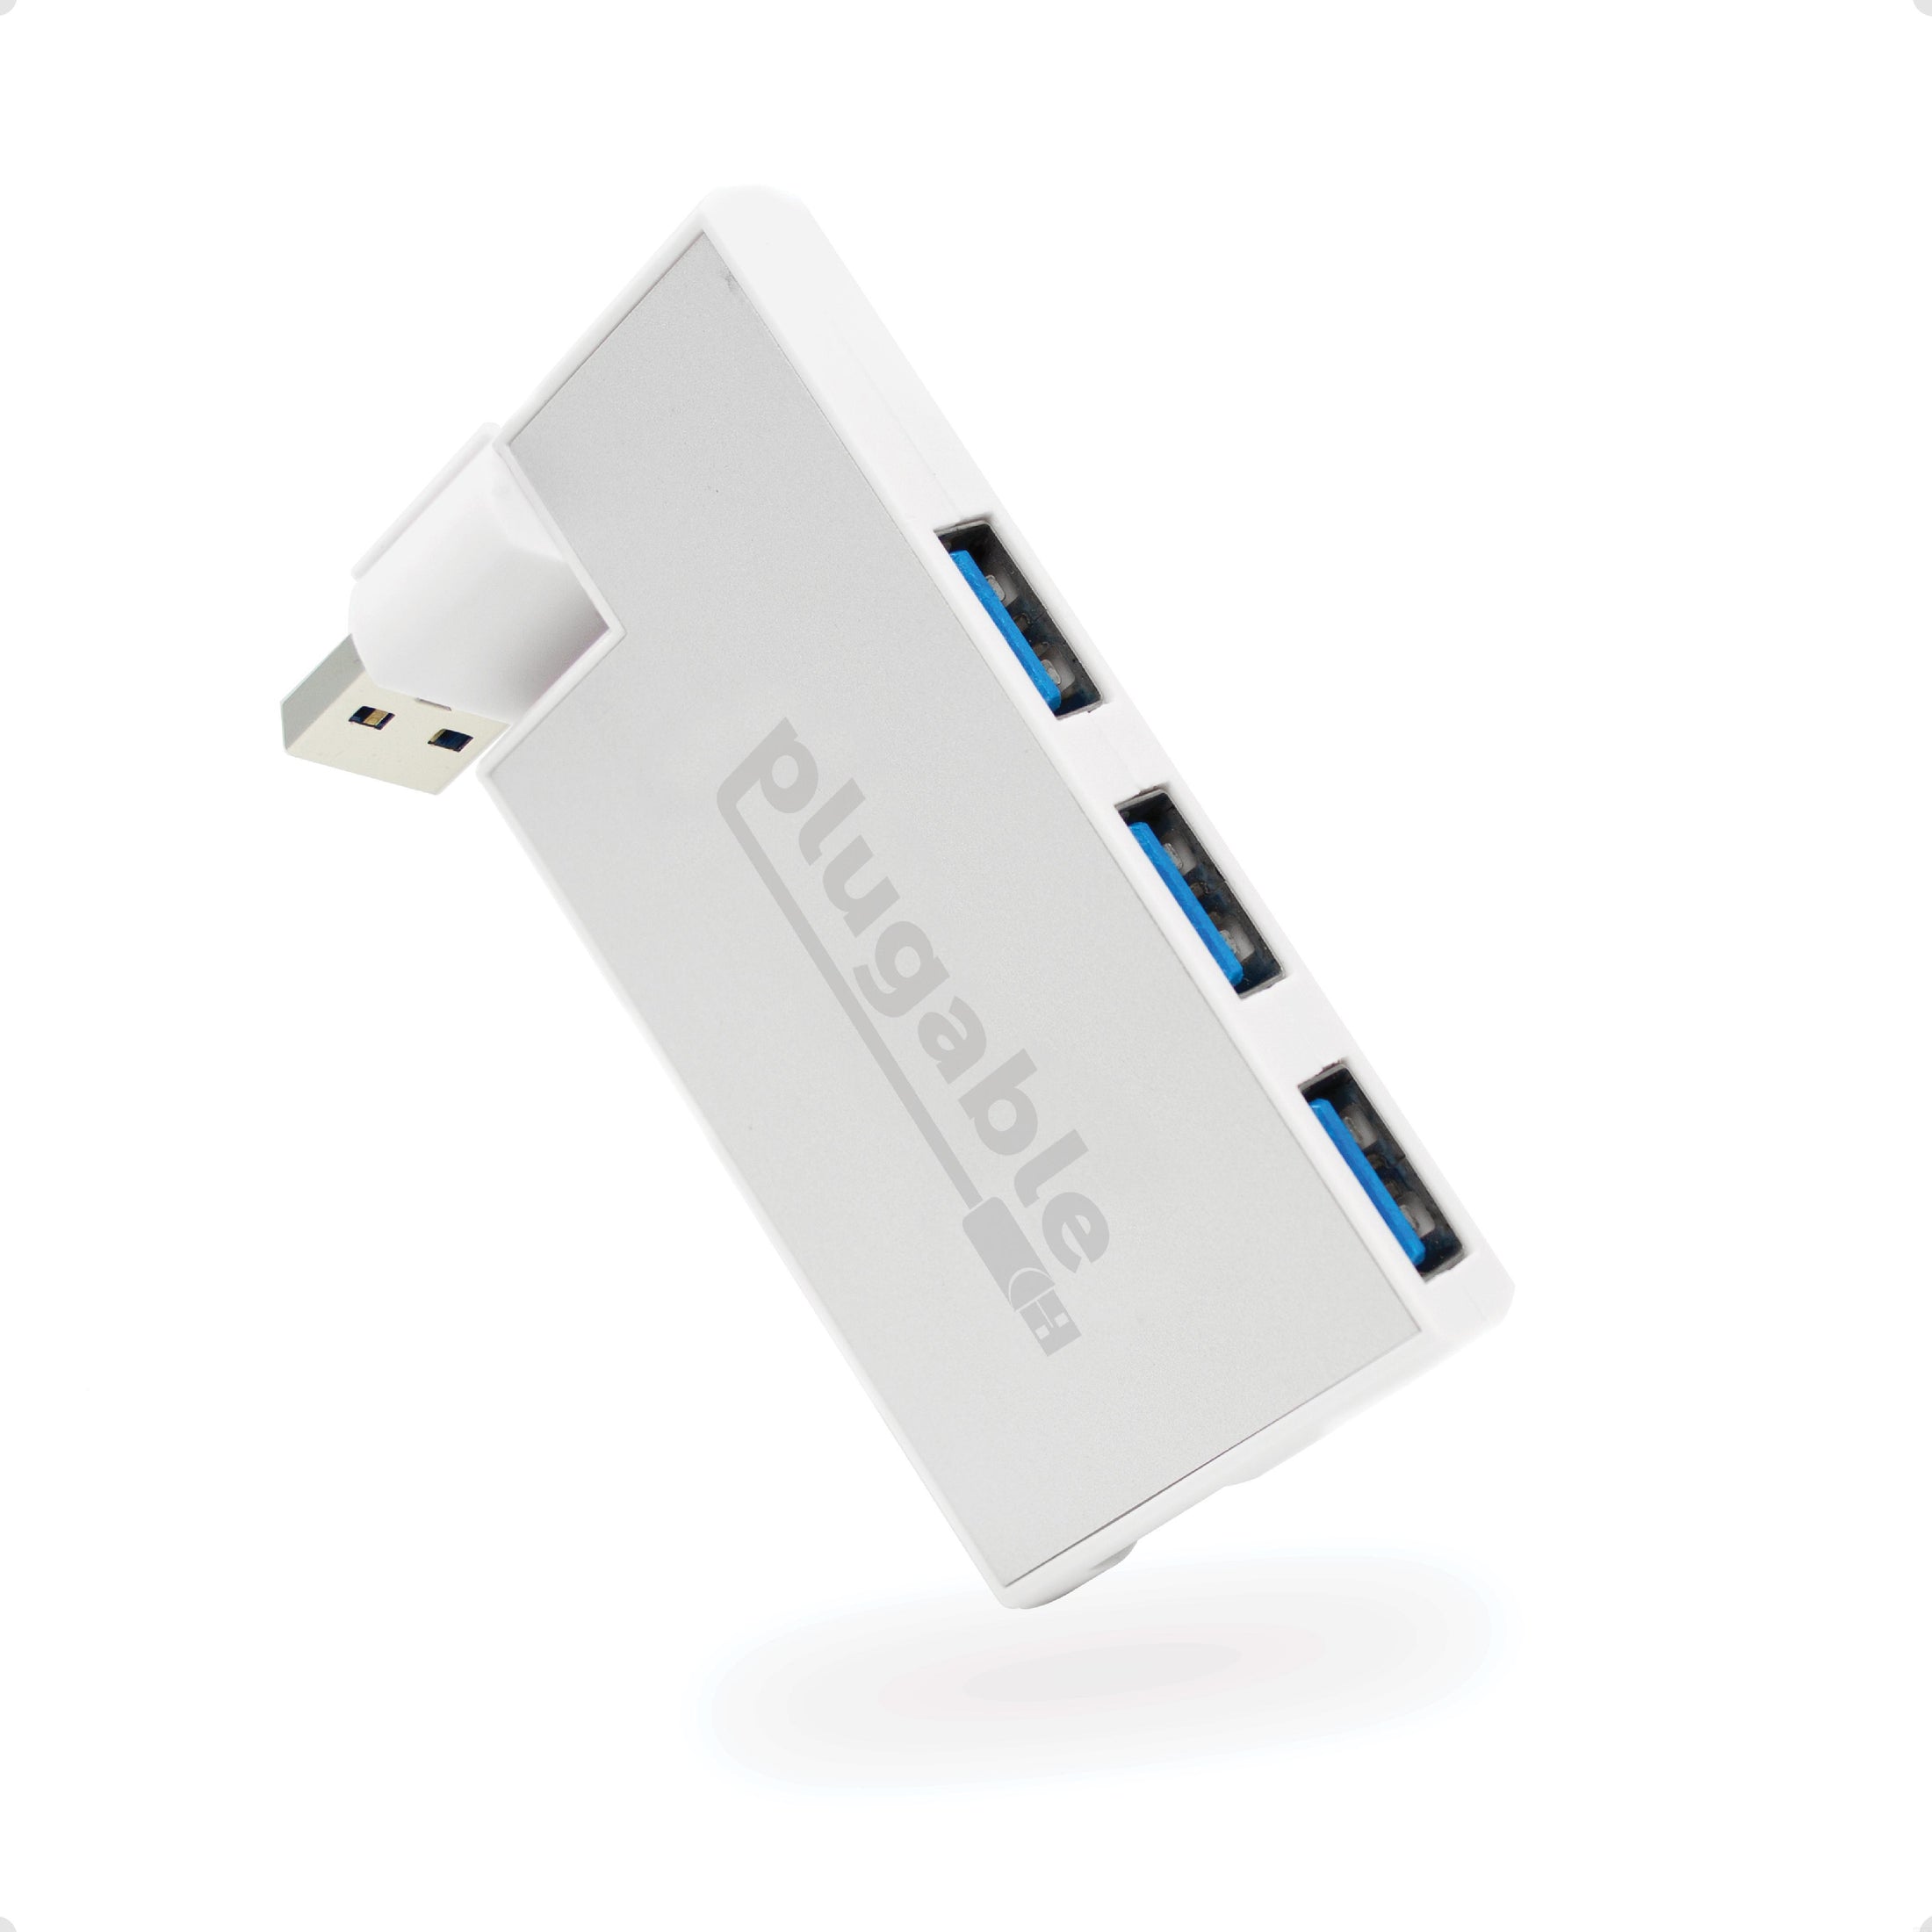
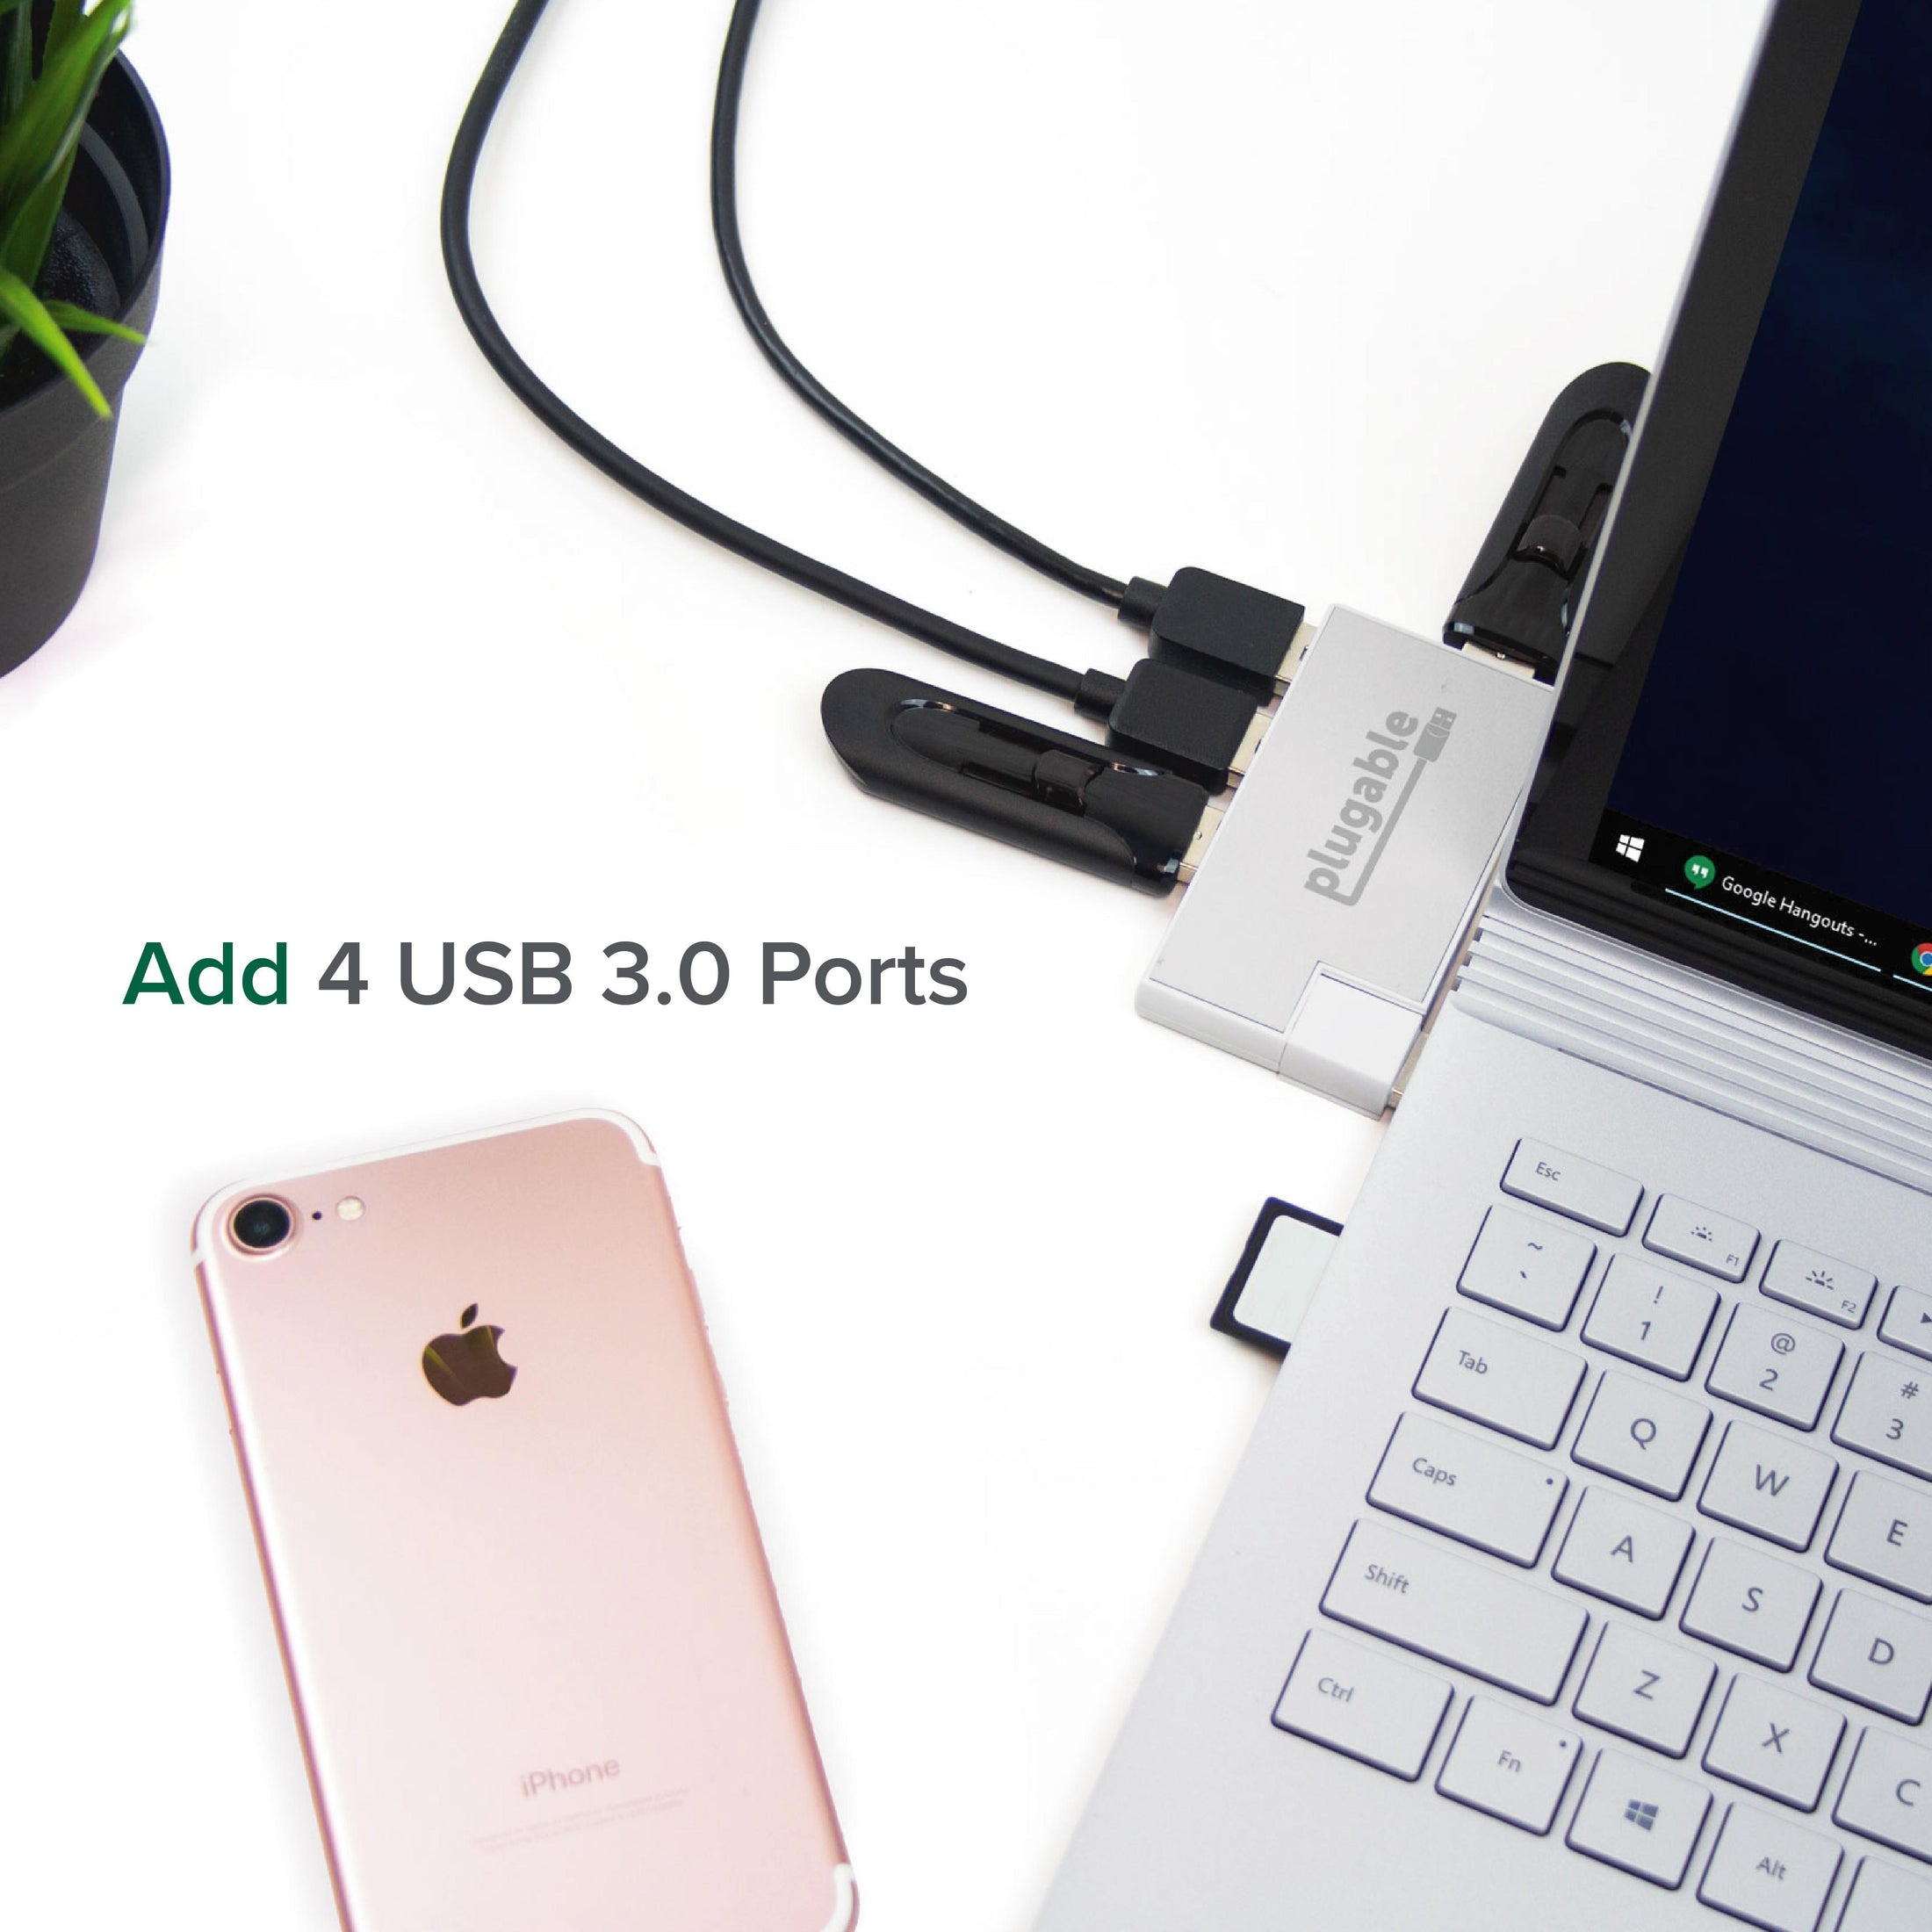
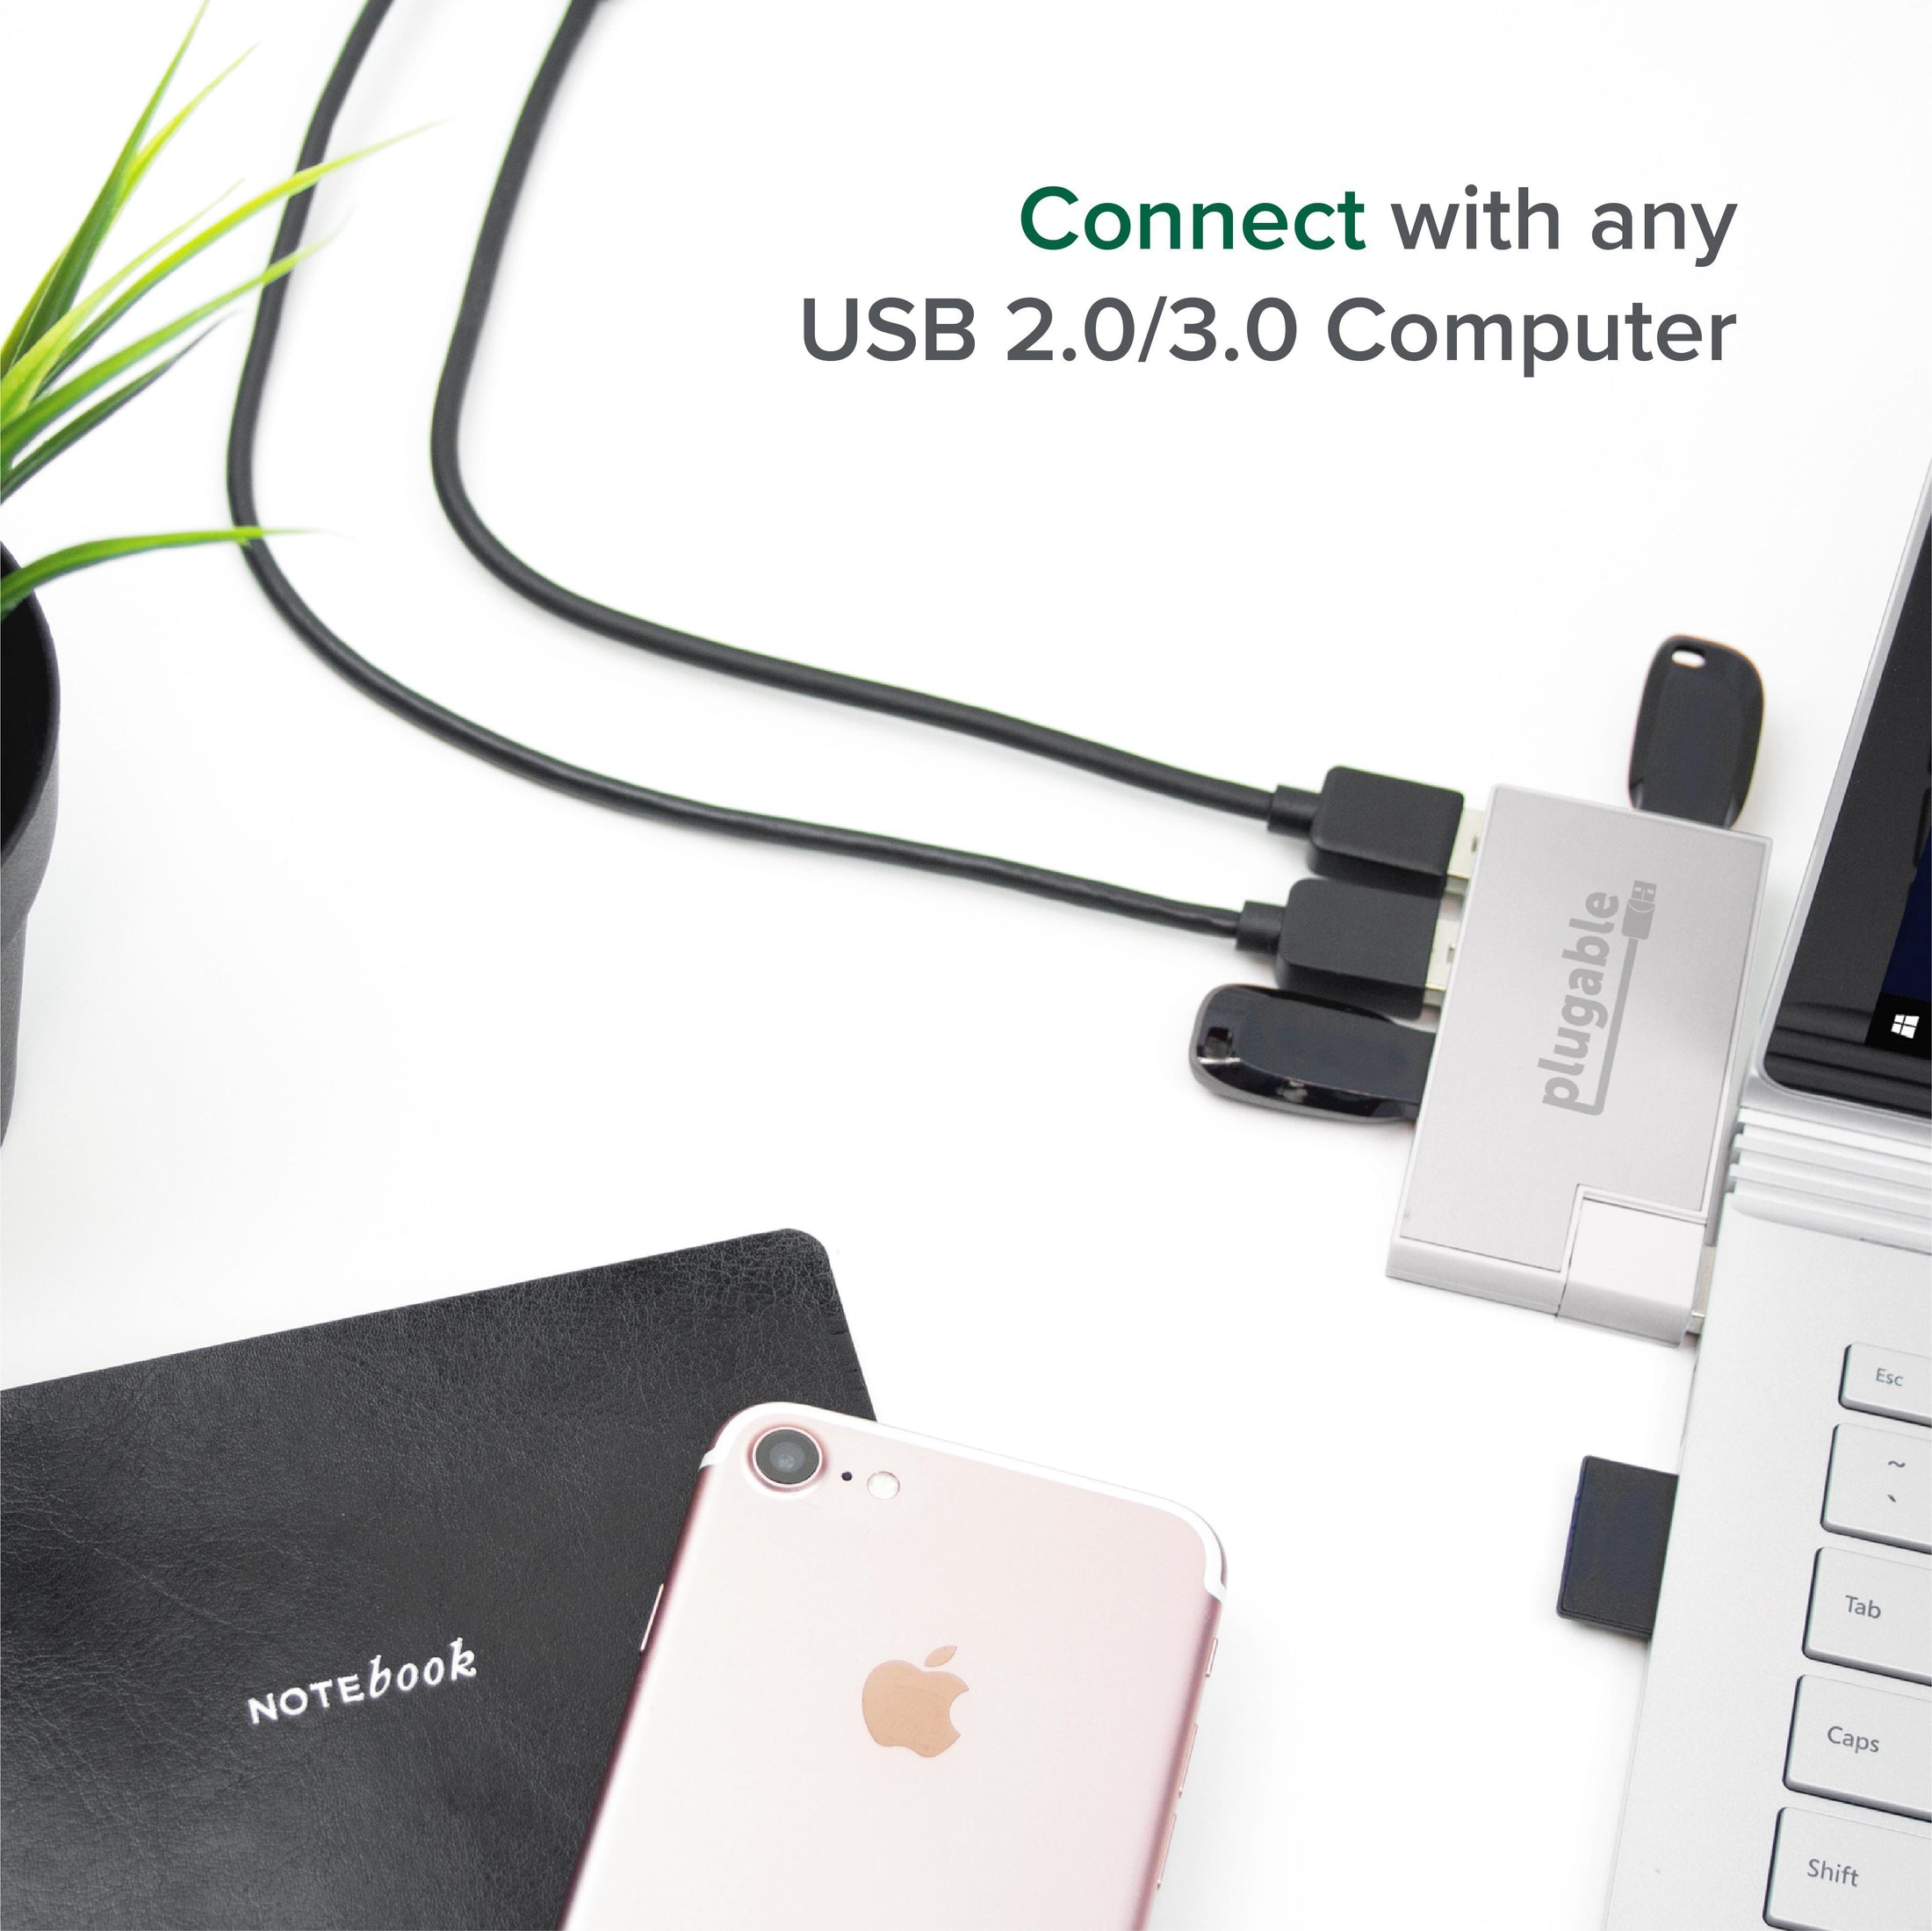
- 接続性 - USB 2.0 または 3.0 対応のコンピュータに、4 台までの USB 3.0、2.0 または 1.1 の機器を接続できます。シルバーのアルミニウム仕上げで、3 つの USB ポートが前面に、1 つが側面についています。
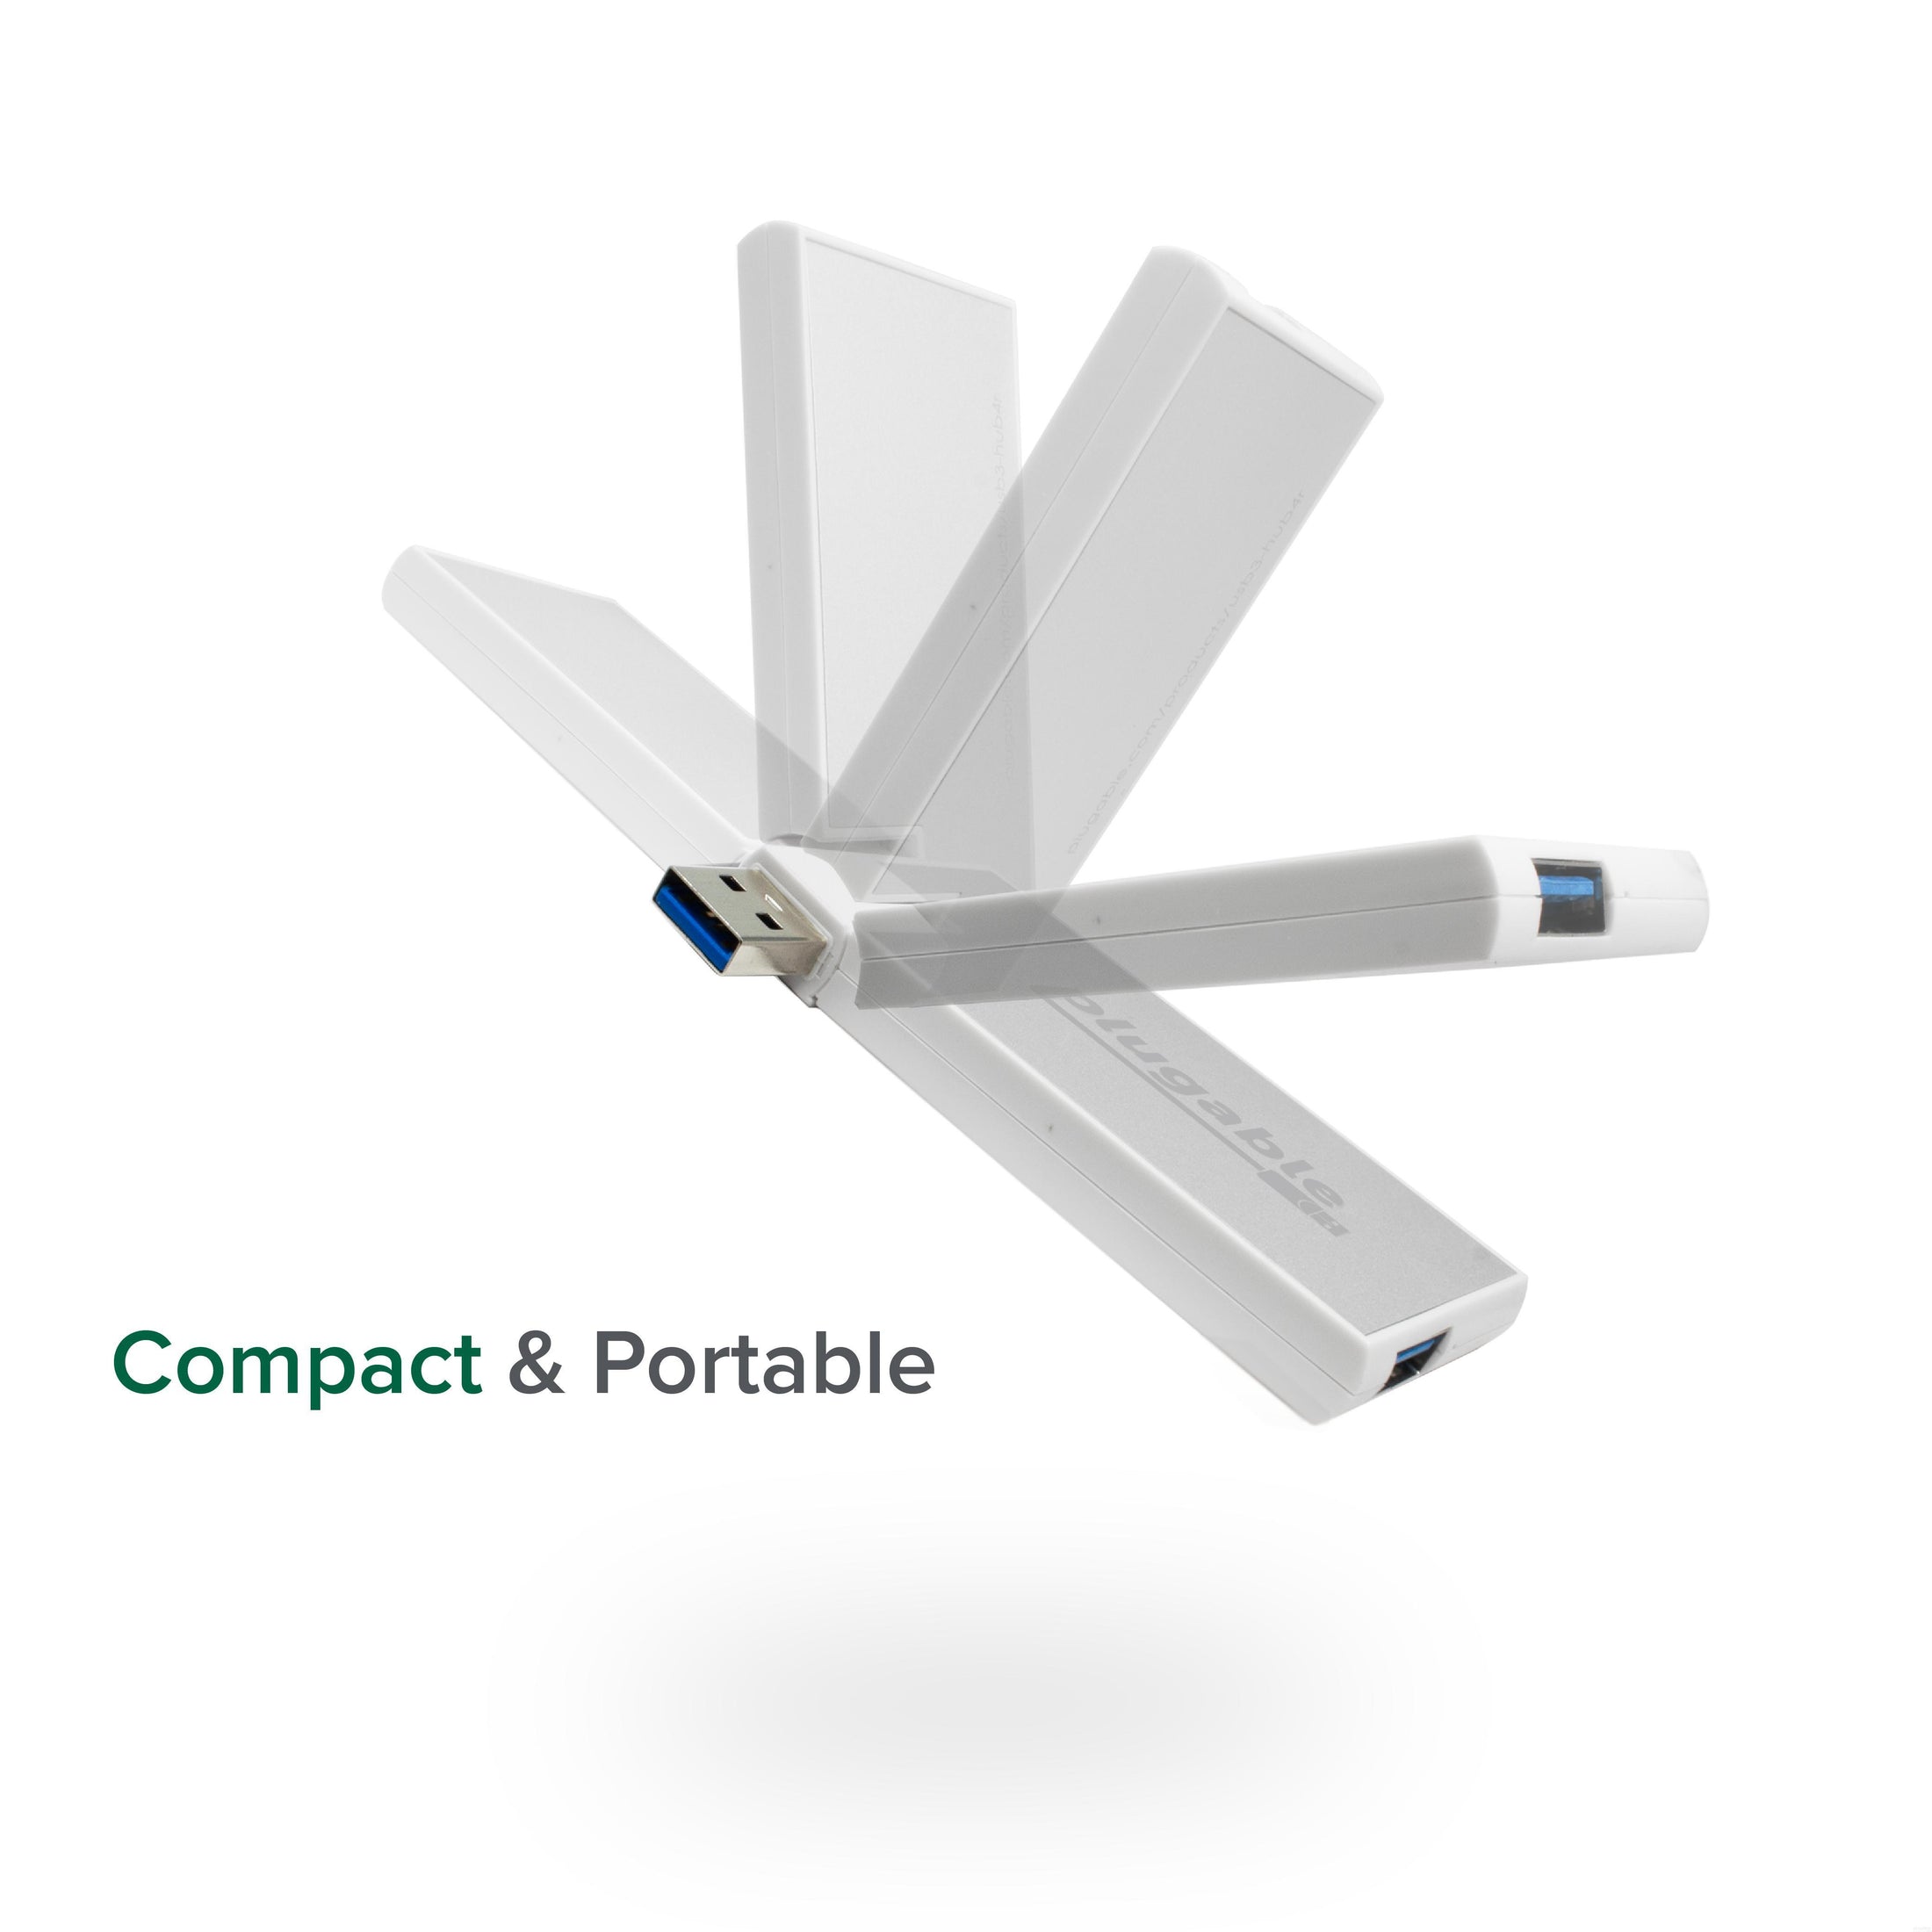
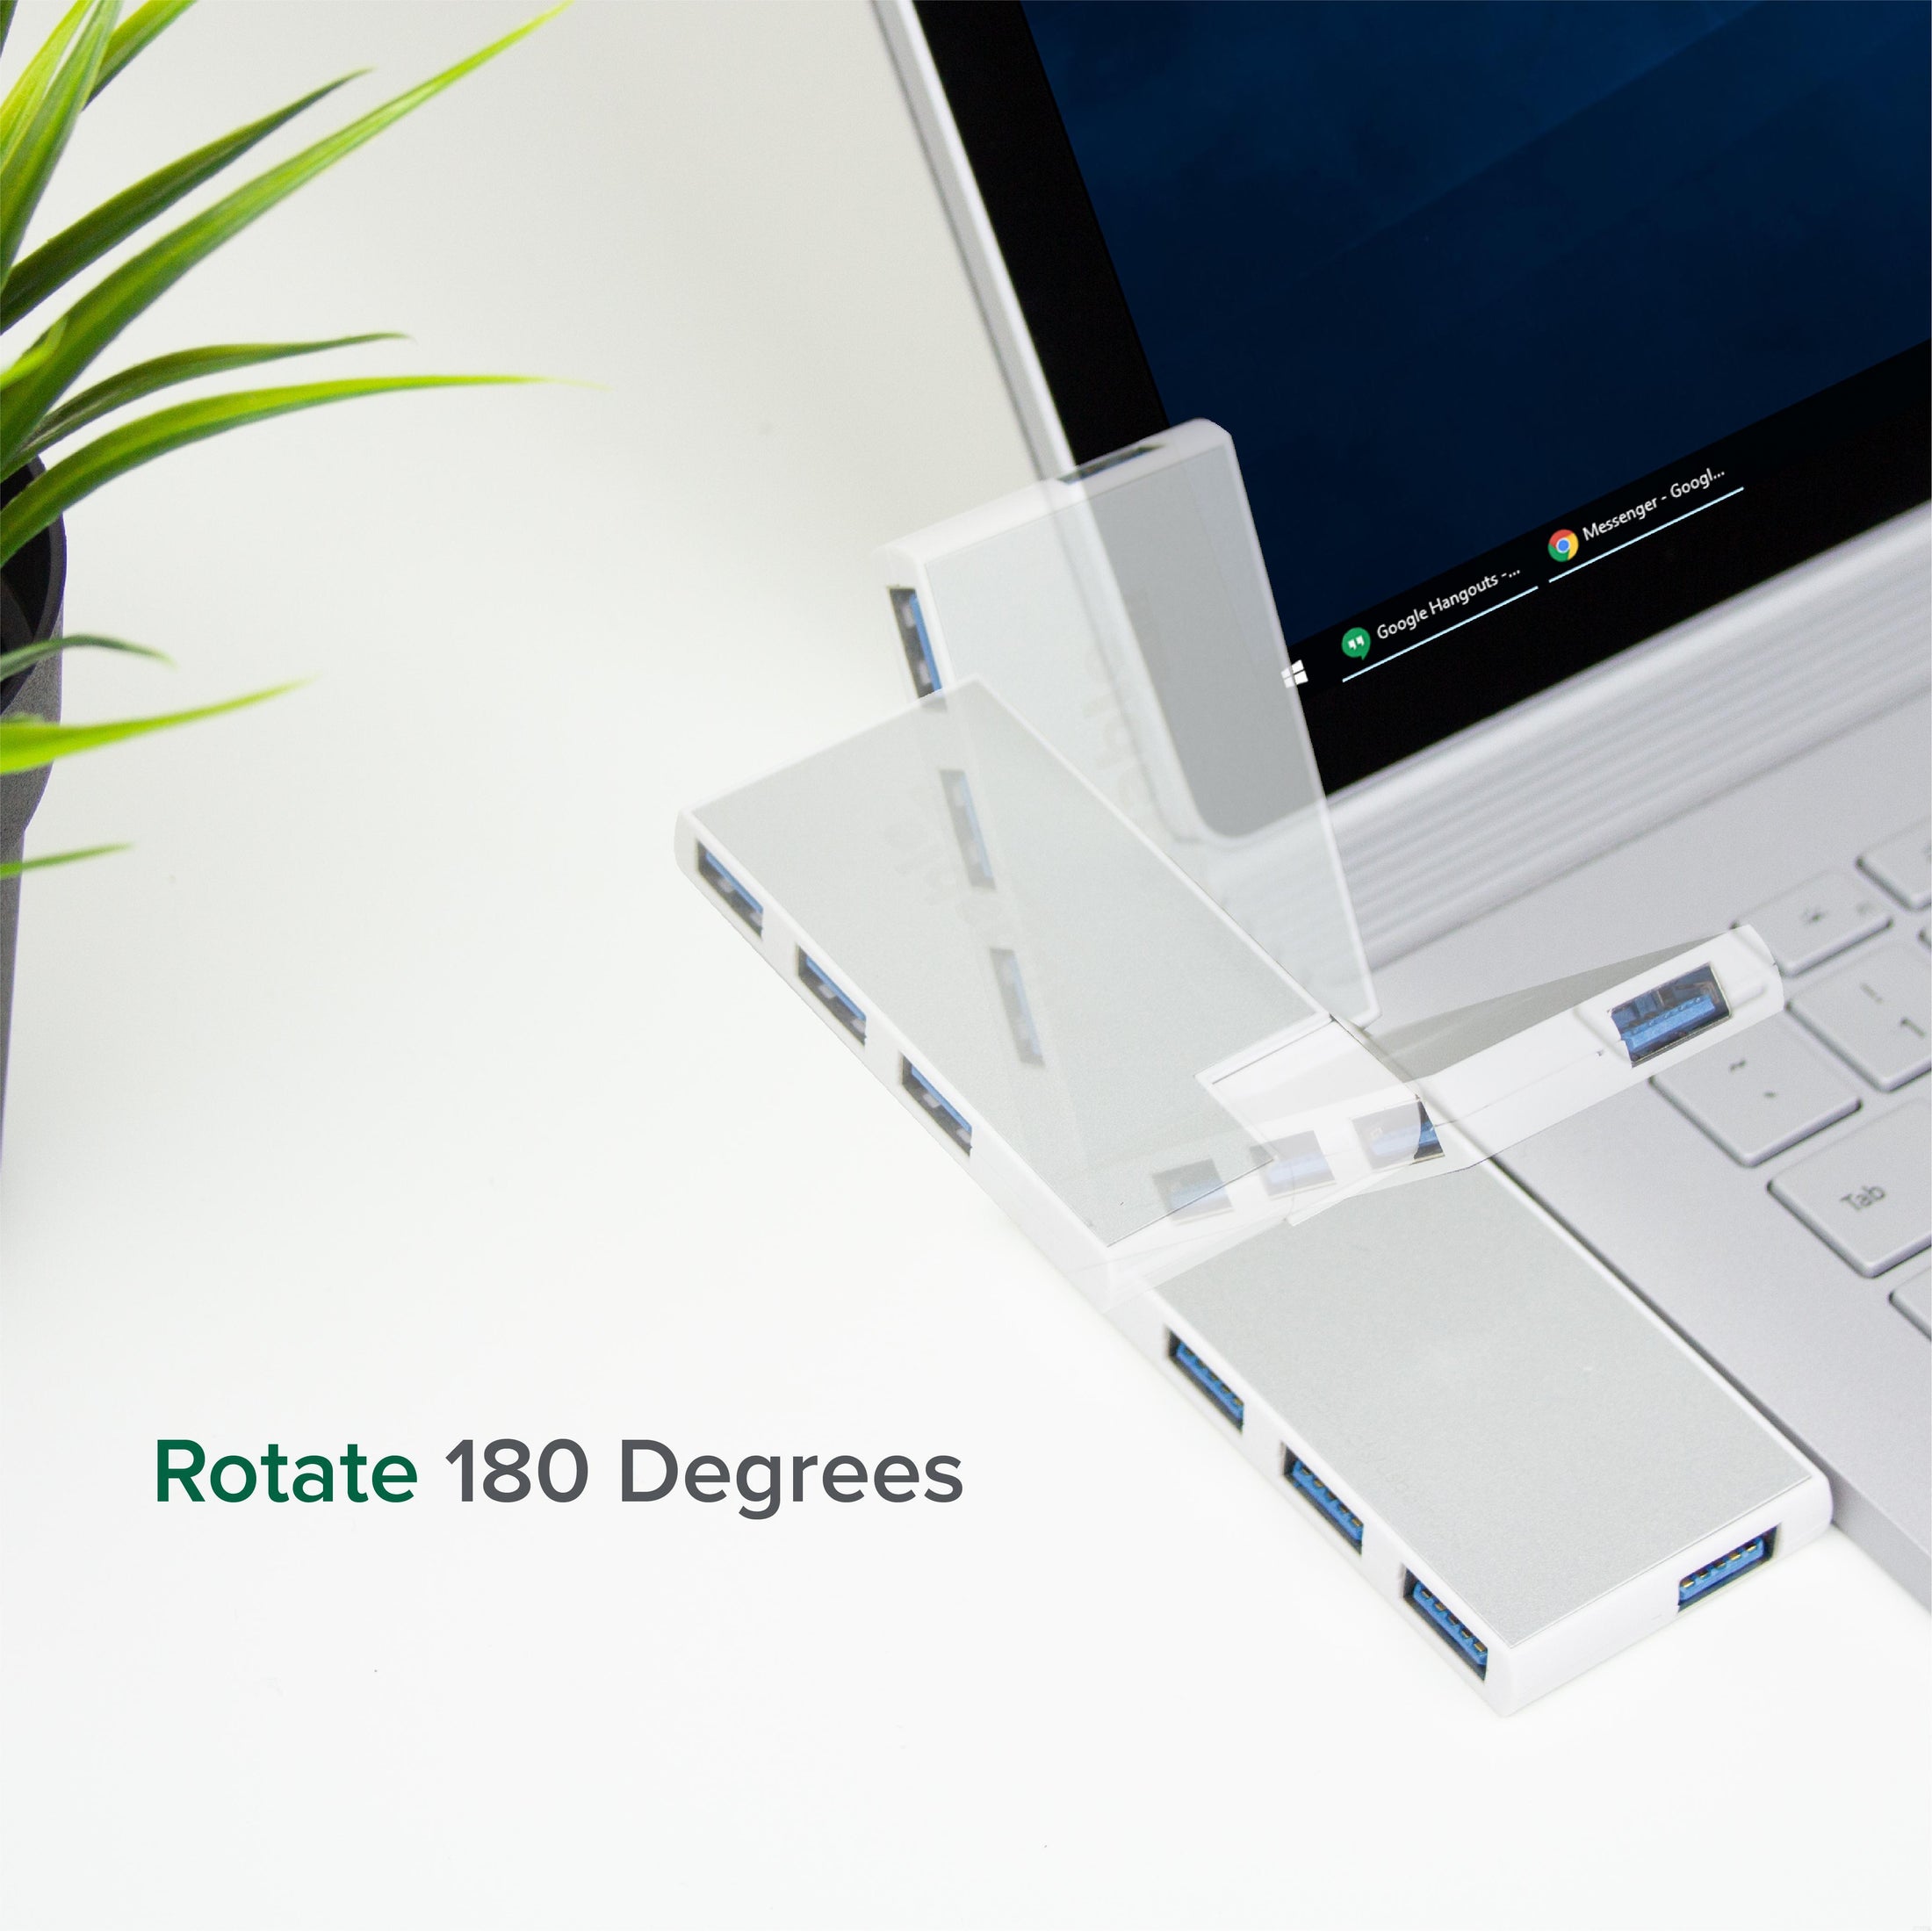
- 180度回転 - PCに差し込む際、ハブ自体が180度まで回転できるユニークなデザインになっています。使用する場所に応じて角度を変えられます。軽量コンパクトで、持ち運ぶのにも適しています。
- USB バスパワー - USB バスパワーで稼働します。ACアダプター等の電源を接続する必要はありません。このハブ用の電力は PC の USB ポートから供給され、ハブに接続されるすべての USB 機器により共用されることにご注意ください。USBの仕様上、USB ポートがハブに供給できるのは USB 3.0 ポートの場合 900mA まで、USB 2.0 では 500mA までです。
- 互換性 - Windows 11、10、8.x、macOS、Linux システムで使用できます。一部のワイヤレス製品は、このハブのような USB 3.0 機器のそばでは正しく機能しないことがあります。
- 2 年の品質保証 - Plugable は 2 年間の品質保証およびメールでのサポートをご提供いたします。正規販売元よりご購入ください。製品について質問がございましたら、Plugable Japan サポートまでお気軽にご連絡ください。
35 ドル以上のご注文で米国内送料無料
USB 3.0 ポートを 4 つ追加
この Plugable USB 3.0 バスパワー 4 ポート・ポータブル・ハブ(USB3-HUB4R)は、バスパワータイプの軽量でコンパクトなハブです。 実績のある VIA 社製の最新 VL813 チップセットを採用し、省電力でありながら USB 3.0 SuperSpeed の複数ポートを提供しています。 バスパワー駆動のハブのため、有線のキーボードやマウス、フラッシュドライブ、カードリーダーなど、低消費電力の USB 機器接続に適しています。
このハブはバスパワー・タイプで、自身の駆動用電力および接続されたUSB機器への電力は接続されたコンピュータの USB ポートから供給されます。コンピュータからの電力は接続されているすべての機器で共有される点にご注意ください。 したがって、キーボードやマウス、フラッシュ・ドライブやカードリーダーなど、低電力で駆動するタイプの USB 機器を接続するのに向いています。ハブから比較的大容量の電力供給を要求するような、バスパワーのHDやCD/DVDドライブなどの利用には向ていません。ただし、HDDやCD/DVDドライブ自身に電源があるような(セルフパワータイプの)場合は、この限りではありません。ワイヤレスキーボード/マウスレシーバー、Bluetooth アダプター 、WiFiアダプター などの 2.4GHz ワイヤレスデバイスは、USB 3.0 デバイスやハブの近くでは動作しない場合があります。最良の結果を得るためには、ワイヤレスデバイスを USB 2.0 ポートに接続することをお勧めします。
回転式 USB コネクター付き
コンピュータに差し込む部分が回転するユニークなデザインのため、狭い場所での使用やノートパソコンの傾きなどに合わせてポートの向きを変えることができ、様々な場面やシステムで便利に使用できます。 コネクタは、180度まで回転します。
機能
互換性
パッケージ内容
パッケージ内容
パッケージ内容と数量 | 注記 |
---|---|
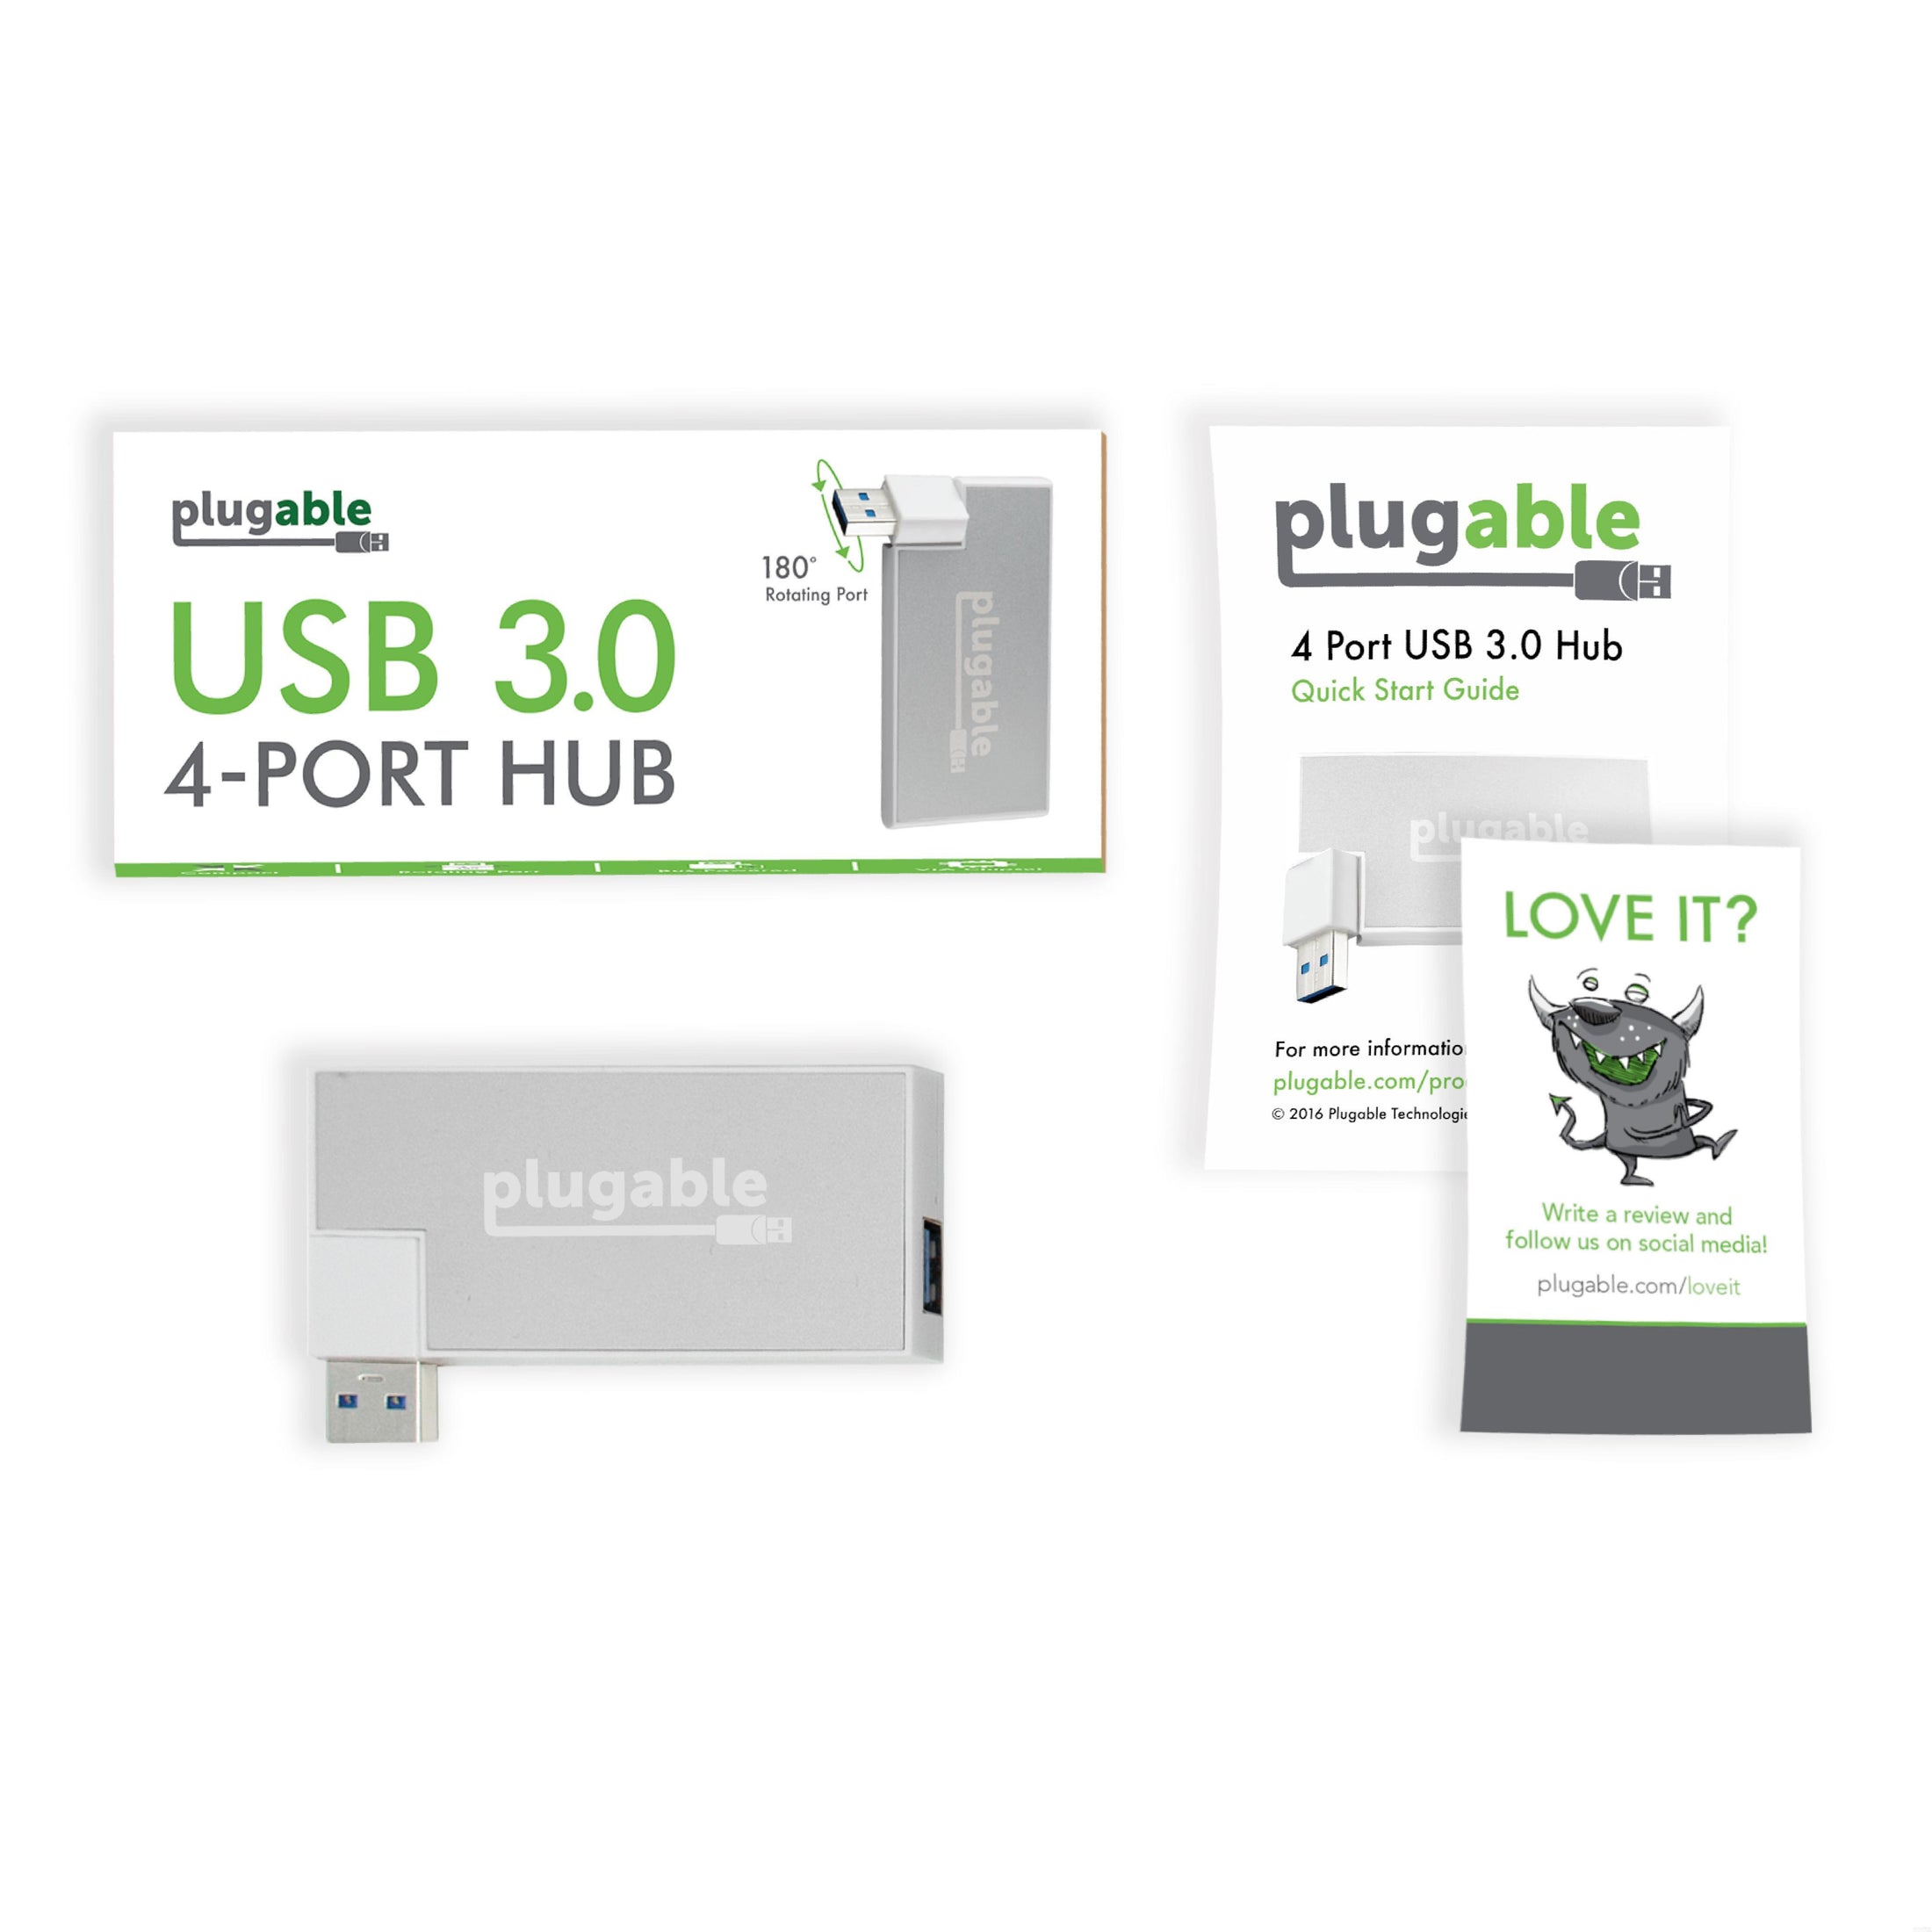
1x Plugable USB 3.0 回転式 4ポートハブ | |
1x クイックスタートガイド |
同梱ケーブル
ポートタイプ(側面 1 ) | ケーブル仕様 | ポートタイプ(側面 2 ) | ケーブル長 | ケーブル用外部電源 |
---|---|---|---|---|
USB-A オス | USB 3.0(5 Gbps) | いいえ |
デバイス接続用 USB ポート
ポート | 場所 | バージョンとリンクレート | 機能 | 電圧 | アンペア | ワット数 |
---|---|---|---|---|---|---|
3x USB-A | 前面 | USB 3.0(5 Gbps) | 5V | 900mA | 4.5W | |
1x USB-A | 側面 | USB 3.0(5 Gbps) | 5V | 900mA | 4.5W |
ホストへの接続
ポート | 場所 | バージョンとリンクレート | 機能 |
---|---|---|---|
1x USB-A | 側面 | USB 3.0(5 Gbps) |
物理仕様
項目 | サイズ(高さ×幅×奥行き)または長さ | 重量 | 製品番号 |
---|---|---|---|
USB 3.0 4-ポートハブ | 1 x 8 x 5.25 centimeters 0.4 x 3.1 x 2.1 inches |
32 grams 1.1 ounces |
USB3-HUB4R |
使い方
1. このハブを、システムの USB 3.0 ポートに接続します。
2. USB デバイスを当ハブのポートに接続します。
この製品についてご質問がありましたら、「アマゾン注文番号」を添えて nihongo@plugable.com まで日本語でご連絡ください。
Filter Help Articles and Frequent Questions by Category
Choose one or more filters within each category to narrow down the articles. Each selection will result in only displaying articles that include all of your choices.
Articles
Well how about that, it looks like we don't have any articles matching your filters! Try removing one of your choices or clear the filters to show all articles.
You can always contact support if you need help too!
USB Port Types
USB-A
pietz, CC BY-SA 3.0 , via Wikimedia Commons
This is the standard USB connection that most computers offered prior to the introduction of USB Type-C (USB-C). Even after the introduction of USB Type-C, this is still quite common.
It can provide data transfer rates up to the USB 3.1 Gen 2 (10 gbps) specification depending on the host and device, but does not directly support video in the way that USB-C Alternate Mode does. This limitation makes DisplayLink USB graphics adapters and docking stations ideal on systems that do not have USB-C, or in instances where more displays are needed beyond available video outputs of a PC.
USB-B
Fred the Oyster, CC BY-SA 4.0 , via Wikimedia Commons
IngenieroLoco, CC BY-SA 4.0, via Wikimedia Commons
This type of connection comes in a couple different styles depending on whether USB 3.0 and higher transfer rates are supported (bottom graphic). Usually this type of connection is used to plug into USB devices that do not have a fixed cable connected, such as USB docking stations, USB hubs, printers, and others.
USB Mini-B
Fred the Oyster, CC BY-SA 4.0 , via Wikimedia Commons
One of the first connectors for charging a smartphone, wireless game controller (such as the Sixaxis and DualShock 3), and other small devices such as external hard drives. Not commonly used today, but is still used in some cases. Most devices using USB Mini B are using USB 2.0, though a USB 3.0 variant does exist. This specification also added USB On-The-Go (OTG) functionality, though it is more commonly implemented with Micro USB.
USB Micro-B
Fred the Oyster, CC BY-SA 4.0, via Wikimedia Commons
IngenieroLoco, CC BY-SA 4.0 , via Wikimedia Commons
A smaller connector that serves many of the same uses as the Mini B connector, with added optional features such as Mobile High-Definition Link (MHL) to allow devices like smartphones to output video to larger displays without requiring a dedicated port for video output.
The larger variant of USB-B is most commonly used for external hard drives for higher 5Gbps transfer rates.
USB-C, Thunderbolt™ 3, and Thunderbolt™ 4
Niridya , CC0, via Wikimedia Commons
The most recent USB connection, USB Type-C (USB-C), represents a major change in what USB can do. The connector is smaller, can be connected in two orientations, is able to carry substantially more power and data, and can directly carry video signals of multiple types (HDMI, DisplayPort, etc.) Intel has also adapted the USB-C connector for use with Thunderbolt 3 and Thunderbolt 4.
It is important to note that while all Thunderbolt 3 and Thunderbolt 4 connections are USB-C, not all USB-C connections can be used with Thunderbolt 3 or Thunderbolt 4 devices.
More details regarding physical USB connections can be found on Wikipedia . The graphics depicted here are adapted from Wikimedia Commons by various artists under the Creative Commons Attribution-Share Alike 3.0 Unported license.
Self-Powered vs Bus-Powered USB Devices
While all USB ports provide some amount of power for attached devices, the available power may not be enough for certain high-current devices such as USB hubs or external hard drives. High-current devices usually come with their own power adapter, making them self-powered, in contrast to a bus-powered device that draws all of its power from the host computer's USB interface. Bus-powered devices can cause issues if they need more power than is available from the host machine.
Many of our devices that include power adapters, especially USB hubs, will function in either self-powered or bus-powered mode. However, even though the device may function, each additional device attached to the host computer reduces the total available bus power. If the power runs out, any USB device attached to the computer may suddenly disconnect. If this were to happen to a USB storage device, such an event could result in permanent data loss.
If a device comes with a power adapter, we recommend that the adapter stay connected at all times, otherwise the device may not function as designed.
Self-powered USB device - A device that takes all of its power from an external power supply
Bus-powered USB device - A device that takes all of its power from the host computer's USB interface.
Is this hub a good match for my Raspberry Pi?
Because the Raspberry Pi is a USB 2.0 device and can’t take advantage of USB 3.0 functionality as well as mixed results from users, we do not recommend this hub for use with the Raspberry Pi. The hub we do recommend is our 7 port USB 2.0 hub.
Why does my wireless mouse or keyboard appear sluggish or not work properly when used with the hub?
Most USB receivers for wireless mice and keyboards operate in the 2.4Ghz band. When connecting the receiver to any USB 3.0 port there is potential for interference that can affect the devices performance. The most effective method is to add a short USB 2.0 extension cable between the hub and the receiver to mitigate the effect, and many wireless keyboards and mice come with such a cable for this reason.
Do Plugable products support the Apple SuperDrive?
Unfortunately Plugable products do not support the Apple SuperDrive.
The Apple SuperDrive has stringent power requirements that can only be met by directly connecting the SuperDrive to your host laptop. As a result at this time Apple recommends only using their USB-C adapter cables. You can find more information on that here → How to connect the Apple USB SuperDrive
If you have purchased a Plugable product to use with your Apple SuperDrive, and would like some additional assistance please do not hesitate to reach out. You can do so by emailing support@plugable.com, or going to Plugable.com/Support.
Understanding Heat Generation in Electronics
It's not uncommon for users to notice a certain level of heat generation from electronics and by extension, Plugable products during operation. In this knowledge base article, we'll explore the reasons behind this heat generation and why it is considered a normal experience within reasonable limits.
Electronics, by their nature, generate heat during operation. This is primarily a result of the electrical current flowing through various components, such as integrated circuits, transistors, and other electronic elements. As Plugable products are designed to efficiently process and transfer data (among other functionality), some level of heat generation is inherent.
Factors Influencing Heat Generation:
- Power Consumption: The power consumption of a device directly influences the amount of heat it generates. Higher power usage, especially during data transfer or charging processes, can lead to increased heat.
- Enclosure Design: The design of the product's enclosure and its ability to dissipate heat play a crucial role. Adequate ventilation and heat sinks are often incorporated to manage and disperse generated heat effectively. This is evident in our TBT3-UDZ and TBT4-UDZ designs. The metal case in these docks are designed to function as a heatsink with thermal pads placed throughout the enclosure. This allows heat dissipation from inside to the outside, but will also make it feel as if the device is “too hot”.
- Ambient Temperature: The external environment may also play a role. Higher ambient temperatures can contribute to increased perceived heat from the product. This means that summer temperatures may increase the heat generation of not just Plugable products, but many other electronic devices.
Normal Heat Levels: While it is normal for electronic devices to generate heat, Plugable products are engineered to operate within safe temperature ranges. We conduct rigorous testing to ensure that the heat generated during normal operation falls within industry-standard safety parameters. While not all products are or need to be UL certified, we try to go by UL guidelines for thermal readings. The UL threshold is 77C/170.6F, and we aim for around 71C/160F.
Tips for Users:
- Ventilation: Ensure that Plugable products have sufficient ventilation around them. Avoid placing them in enclosed spaces where heat dissipation may be impeded.
- Usage Patterns: Intensive tasks such as high-speed data transfer or charging multiple devices simultaneously may result in increased heat generation. This is generally normal but may be more noticeable in such scenarios.
- Accessories: A number of our devices will allow for the connection of USB accessories and as such, these will require power. If too many “power-hungry” devices are connected, this will cause the device to run much hotter than expected. Be sure to keep in mind the power limits of your dock/device.
In conclusion, experiencing heat from Plugable products is a normal aspect of their operation. Users can rest assured that we prioritize the safety and efficiency of our devices. By understanding the factors influencing heat generation and following simple usage guidelines, users can make the most of their Plugable products while ensuring a reliable and efficient user experience.
How to Use Two External Displays with the Lid Closed on MacBook Air and MacBook Pro M3
Overview
With the release of Apple’s M3 CPU chips and the Sonoma 14.6 update your base MacBook Air and MacBook Pro systems with M3 chips can now host two external displays natively in clamshell mode. This guide will walk you through the process of setting up and using two external displays with the lid closed on your MacBook Air or MacBook Pro equipped with an Apple M3 chip.
Requirements
Before getting started, ensure you have the following:
- MacBook Air or MacBook Pro with an Apple M3 chip.
- macOS Sonoma 14.3 or later for an M3 MacBook Air or macOS Sonoma 14.6 or later for an M3 MacBook Pro.
- Two external displays with compatible video inputs (e.g., HDMI, DisplayPort, USB-C).
- A dock or graphics adapter can be used as well.
- External keyboard and mouse (wired or wireless).
- Power adapter or power source for your MacBook
- A docking station that provides adequate charge can be used in place of the native power adapter, be sure to check the wattage your dock provides.
Steps to Set Up Dual External Displays with the Lid Closed
1. Set Up Your External Keyboard and Mouse
- If you’re using a wired keyboard and mouse, connect them directly to your MacBook or Plugable dock.
- For wireless peripherals, ensure they are paired with your MacBook and functioning properly.
- An AC adapter/power cable of some kind will also need to be connected for clamshell mode to function properly. This adapter can be one from a docking station or the included Apple adapter.
2. Connect Your Displays
- Connect the first external display to your MacBook using the appropriate cable (e.g., HDMI, DisplayPort, USB-C)
- Close your laptop’s lid.
- Connect the second external display using a similar method.
- Ensure both displays are powered on and set to the correct input source.
3. Configure Display Settings
- Open System Settings on your MacBook.
- Go to Displays.
- You should see both external displays listed. Arrange them according to your preference by dragging the display icons.
- Adjust the resolution, refresh rate, and other settings as needed.
4. Enable "Clamshell Mode" (Lid Closed Mode)
- With your external displays connected and set up, close the lid of your MacBook.
- Your MacBook will automatically switch to "Clamshell Mode," where the internal display turns off, and the external displays become your primary screens.
- Ensure your MacBook is connected to a power source to prevent it from entering sleep mode.
5. Check the Display Arrangement
- With the lid closed, check that the external displays are functioning as expected.
- If necessary, re-open the Displays settings to adjust the arrangement, resolution, or other preferences.
Troubleshooting Tips
- No Display on External Monitors: If the external displays are not showing anything, open the lid of your MacBook and check the connections.
- MacBook Sleeps When Lid Is Closed: Make sure your MacBook is connected to a power adapter. Clamshell Mode requires the MacBook to be plugged into an external power source.
- Performance Issues: If you experience lag or performance drops, try lowering the resolution or refresh rate of the external displays.
Thunderbolt Dock Users
With these steps, one can use Plugable Thunderbolt docks to enjoy a dual-display setup without the need for additional software installation. The dock leverages the native capabilities of the MacBook Air M3 and MacBook Pro M3, providing a straightforward and efficient solution for expanding your workspace with additional USB ports, audio, and ethernet (as well as the dual displays).
Additional Resources
If you should need any assistance with your setup, please feel free to reach out to our support team at support@plugable.com.