Hassle free, 2-Year Warranty
Fast, Free Shipping on Orders $35+
Lifetime Technical Support
30-Day Money Back Guarantee
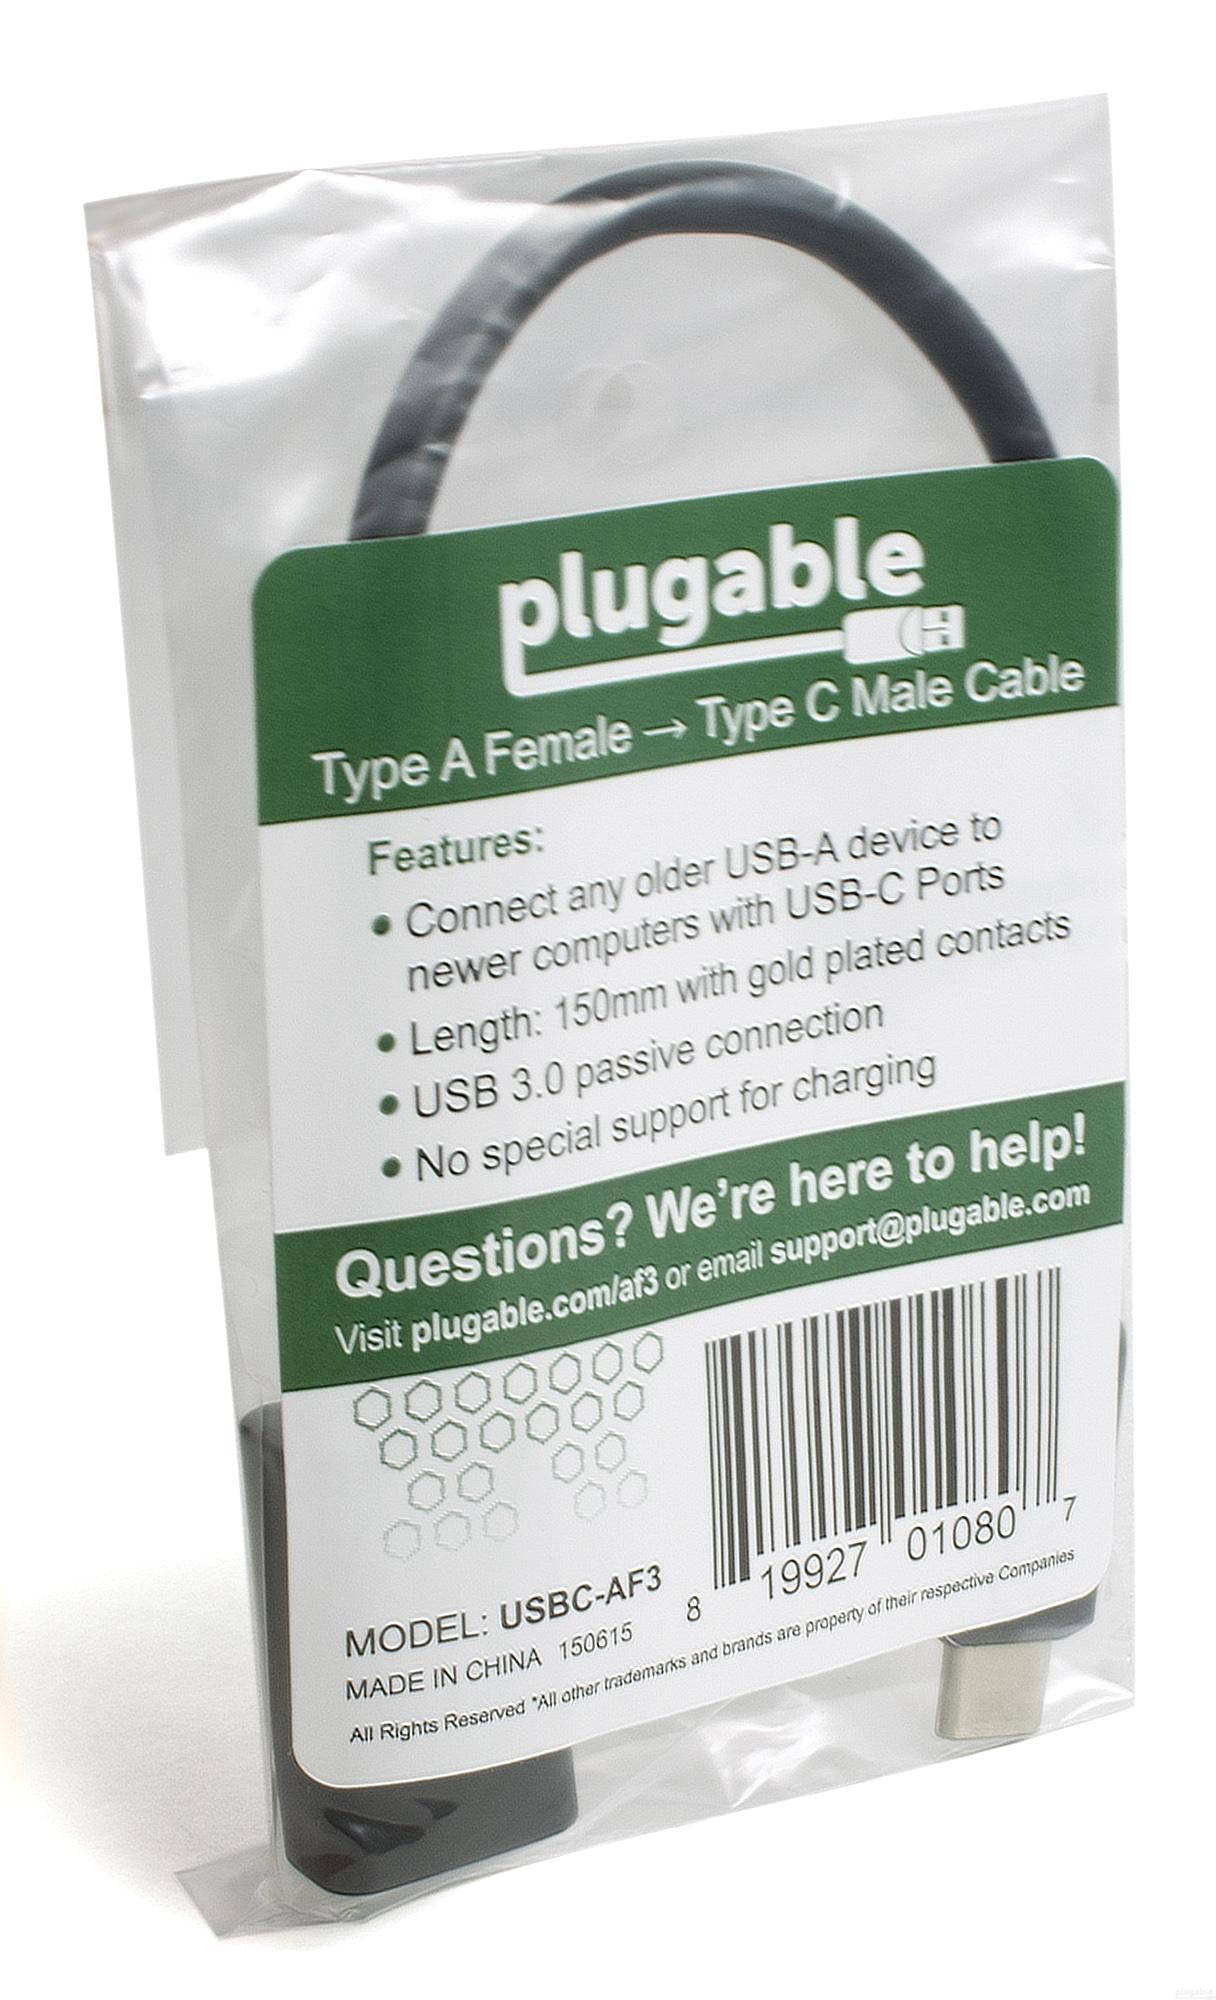
Plugable USB-C - USB 変換ケーブル 約20cm
$7.95 USD
SKU: USBC-AF3Amazon Rating : (356 Reviews)
機能
- 互換性 - USB-C ポート(USB 3.x USB4 Thunderbolt3 Thunderbolt 4)を搭載したノートパソコン、携帯電話、タブレットなどに、USB 3.0 デバイスや周辺機器(フラッシュドライブ、キーボード、マウス)を接続することができます。
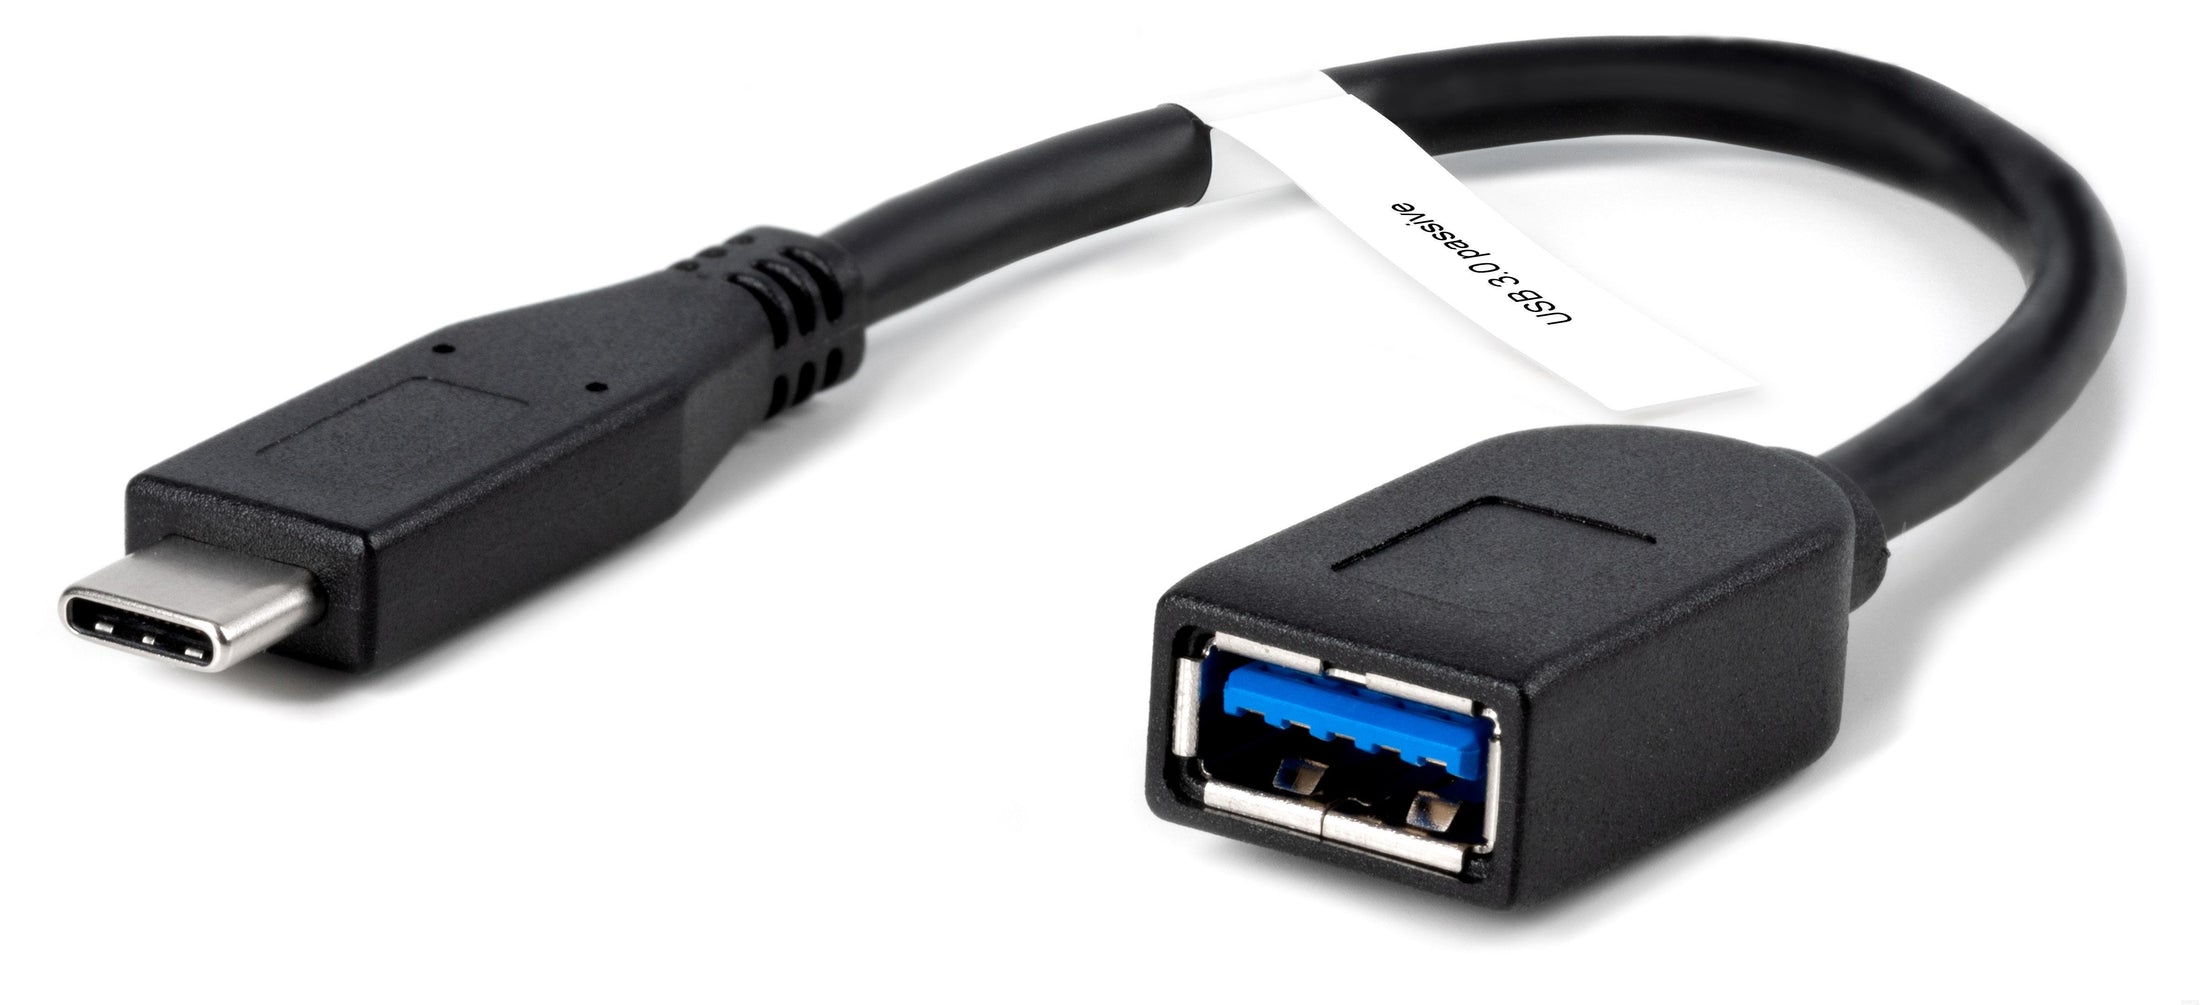
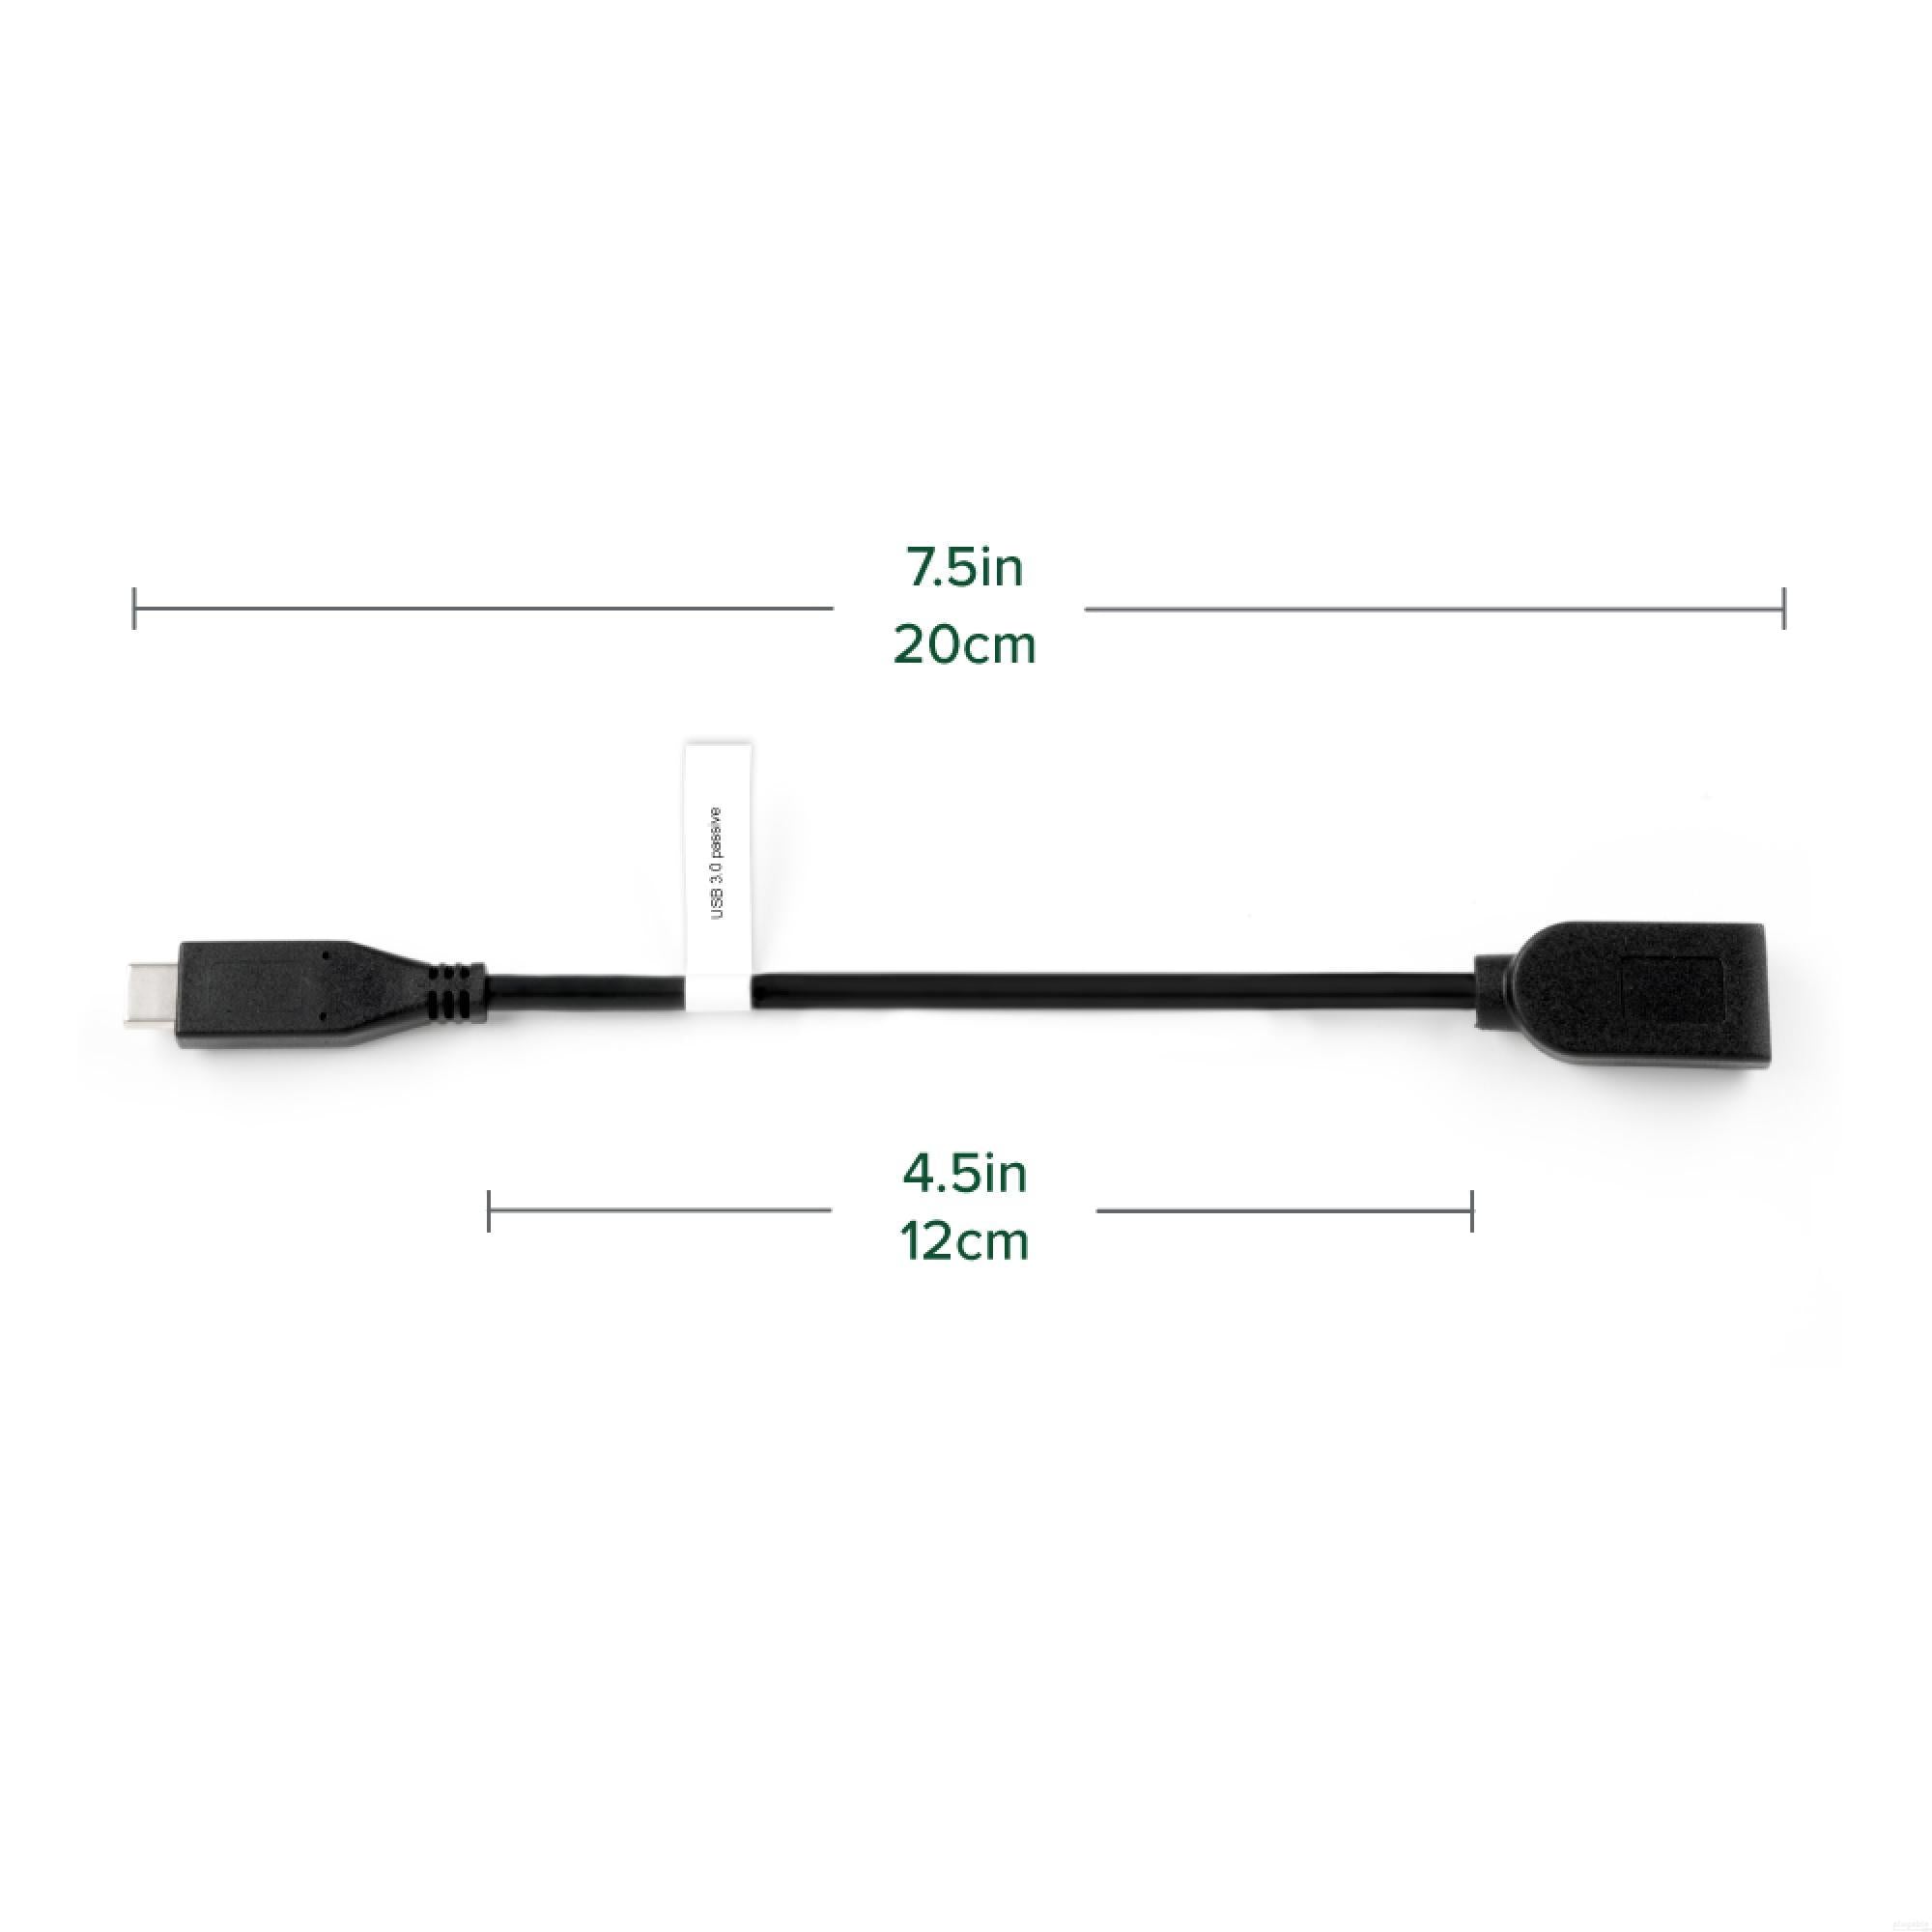
- シンプルな変換 - フルサイズの USB Type A メス・ポートと、USB-C オス・コネクタが両端についています。長さは約 20 cmで、2 つの隣接する USB-C ポートでも並べて取り付けられるように設計されています。
- パフォーマンス - 最高データ転送速度 5 Gbps までに対応しています。後方互換性があり、USB 2.x 機器の接続も可能です。
- 対応機器 - USB-C ポートを搭載した MacBook システム、Windows システム(Windows 10 以上)、Chromebook(ChromeOS 100 以上) システムで使用できます。例として、 Macbook Pro 13" / 14" / 15", 16", MacBook Air, MacBook Retina, MacBook M1 / M2 / M3, HP Spectre x360 / Pavilion / Envy, Dell XPS / Precision / Latitude, Lenovo ThinkPad / IdeaPad / Yoga / Flex, Surface Pro 7 / 7+ / 8 / 9, Surface Laptop 3 / 4 / 5 / Studio / SE, Surface Go / Go 2 / Go 3, LG Gram, Acer Aspire / Swift / Spin, ASUS Zenbook / Vivobook などがあります。 注意点)このケーブルは USB-IF BC 1.2 対応ではなく、充電に対応する特別な機能はありません。このケーブルでは、USB 3.0 規格上の 900mA 以上の電流を必要とするスマートフォンやタブレットの場合、十分な速度では充電できませんのでご注意ください。
- 2 年の品質保証 - Plugable は 2 年間の品質保証およびメールでのサポートをご提供いたします。正規販売元よりご購入ください。製品について質問がございましたら、Plugable Japan サポートまでお気軽にご連絡ください。
Plugable USB-C - USB 変換ケーブル
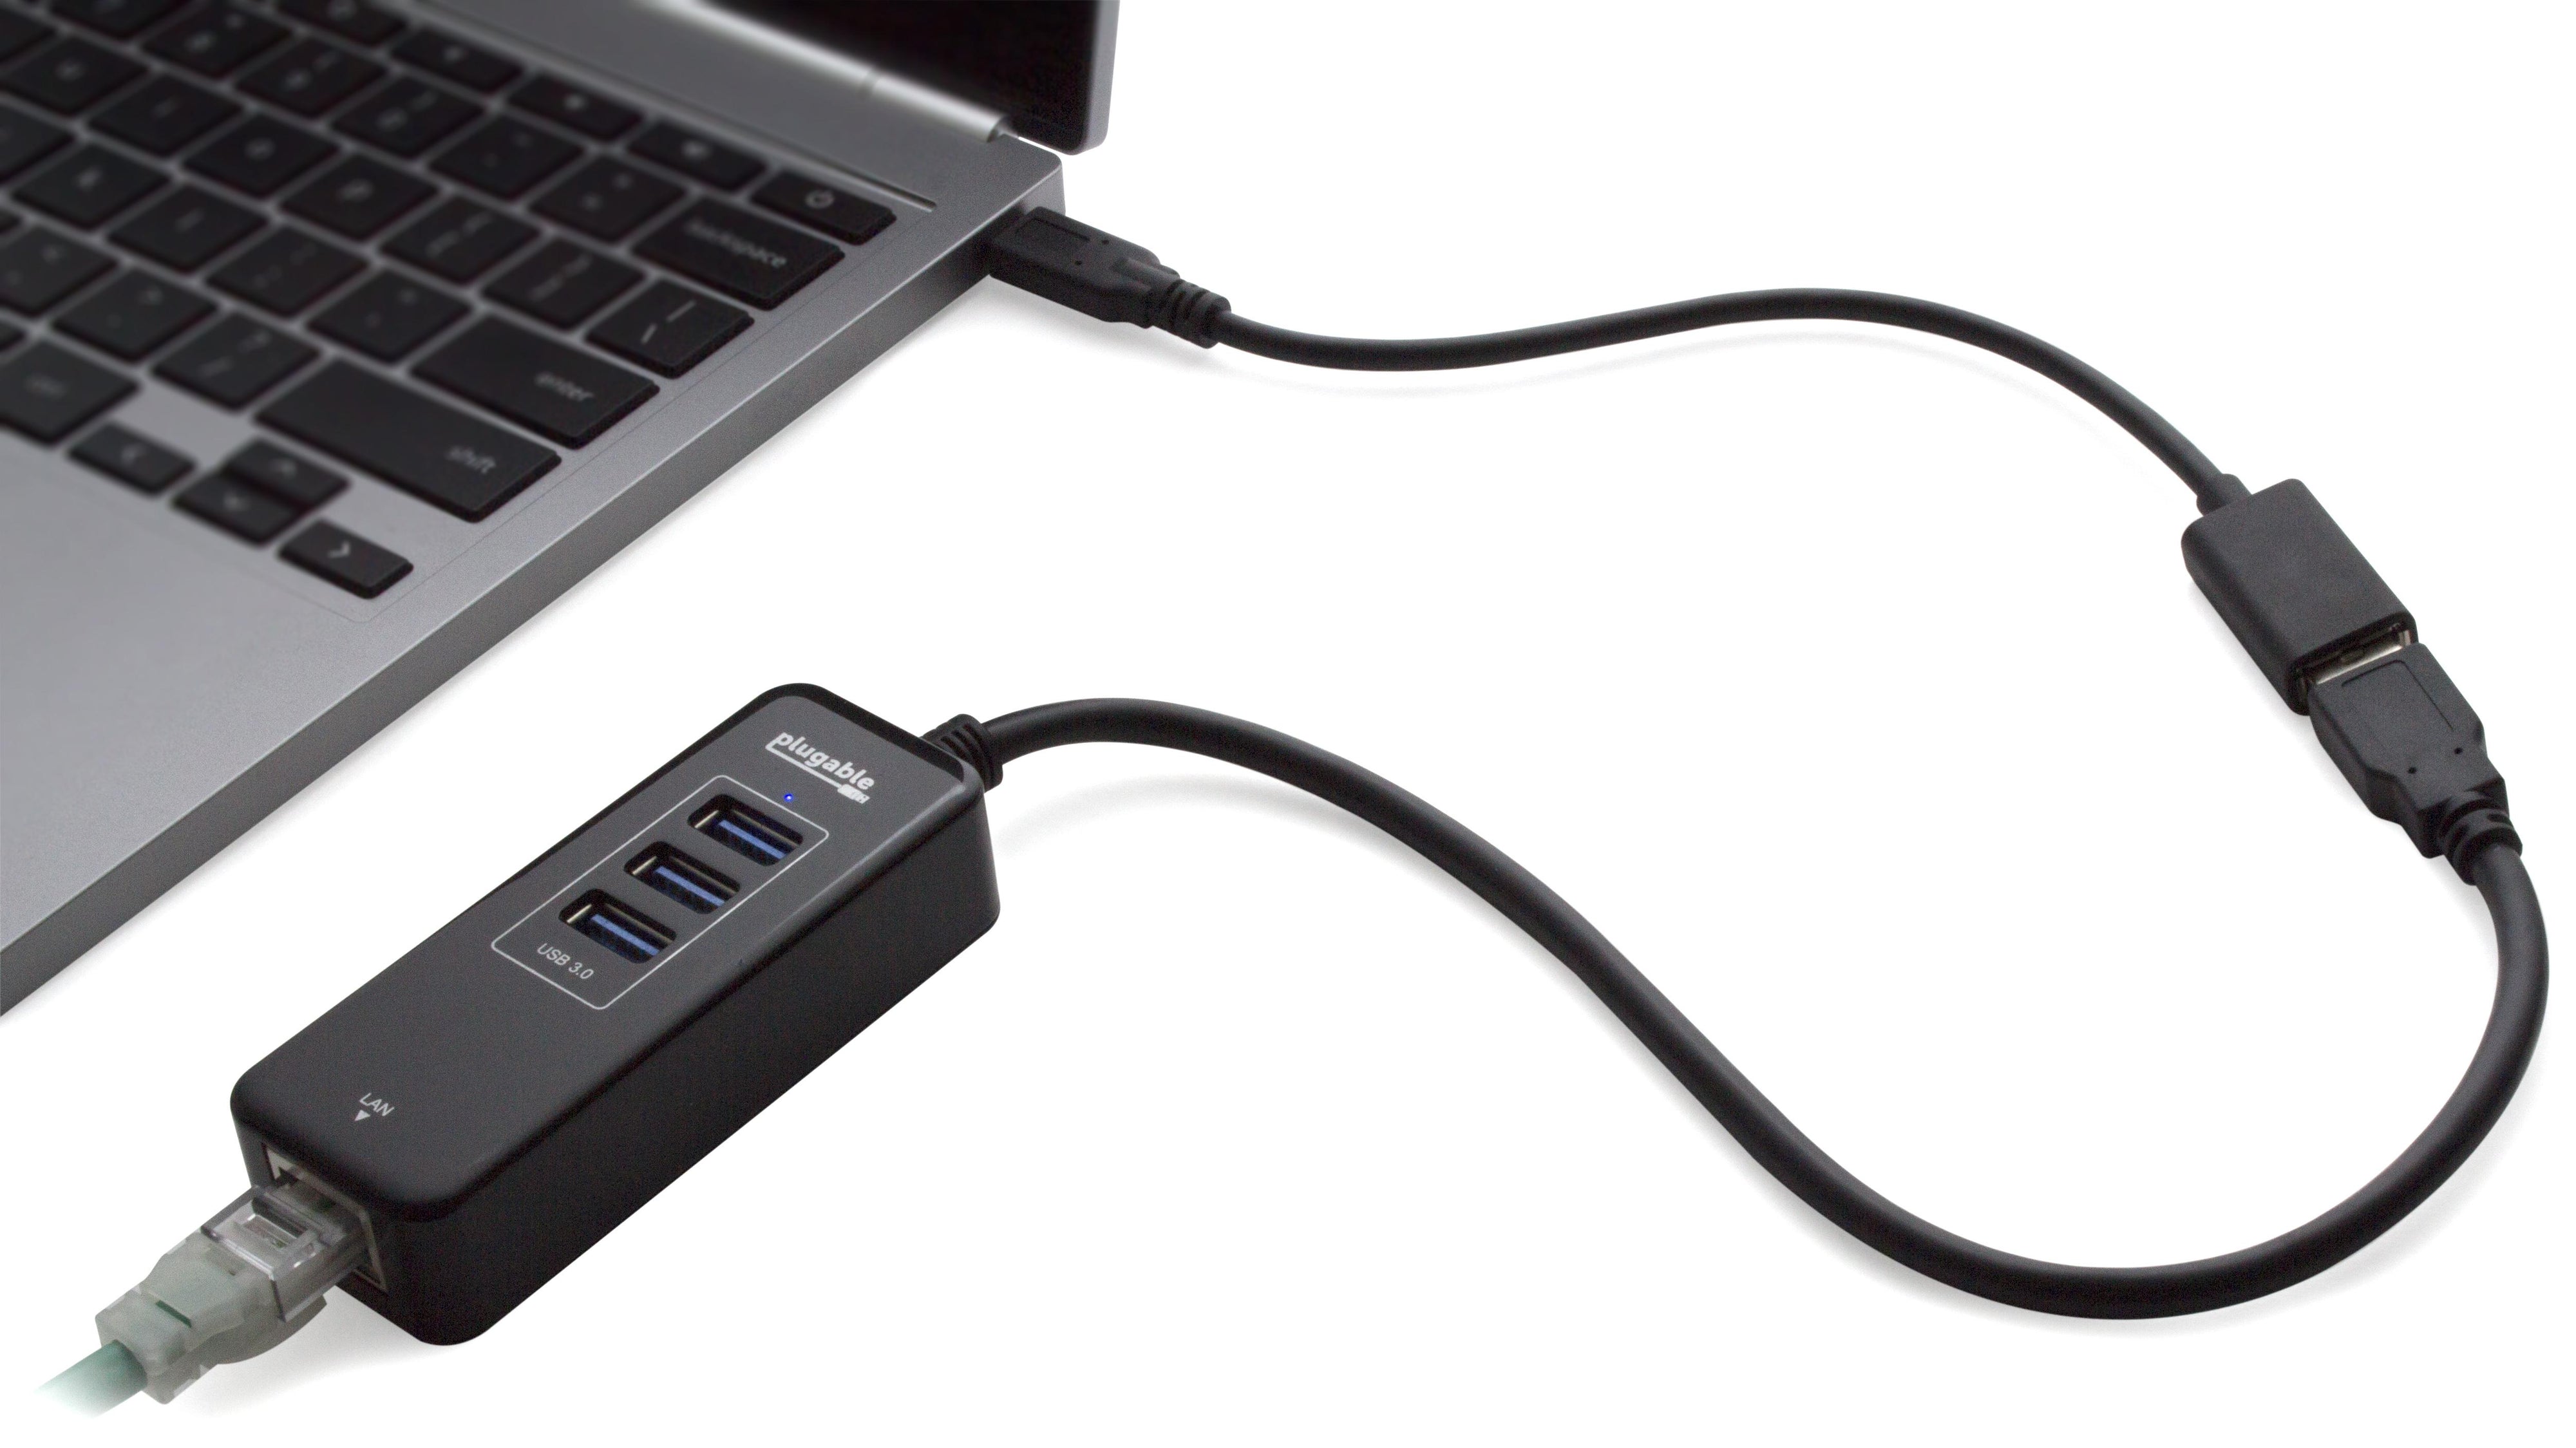
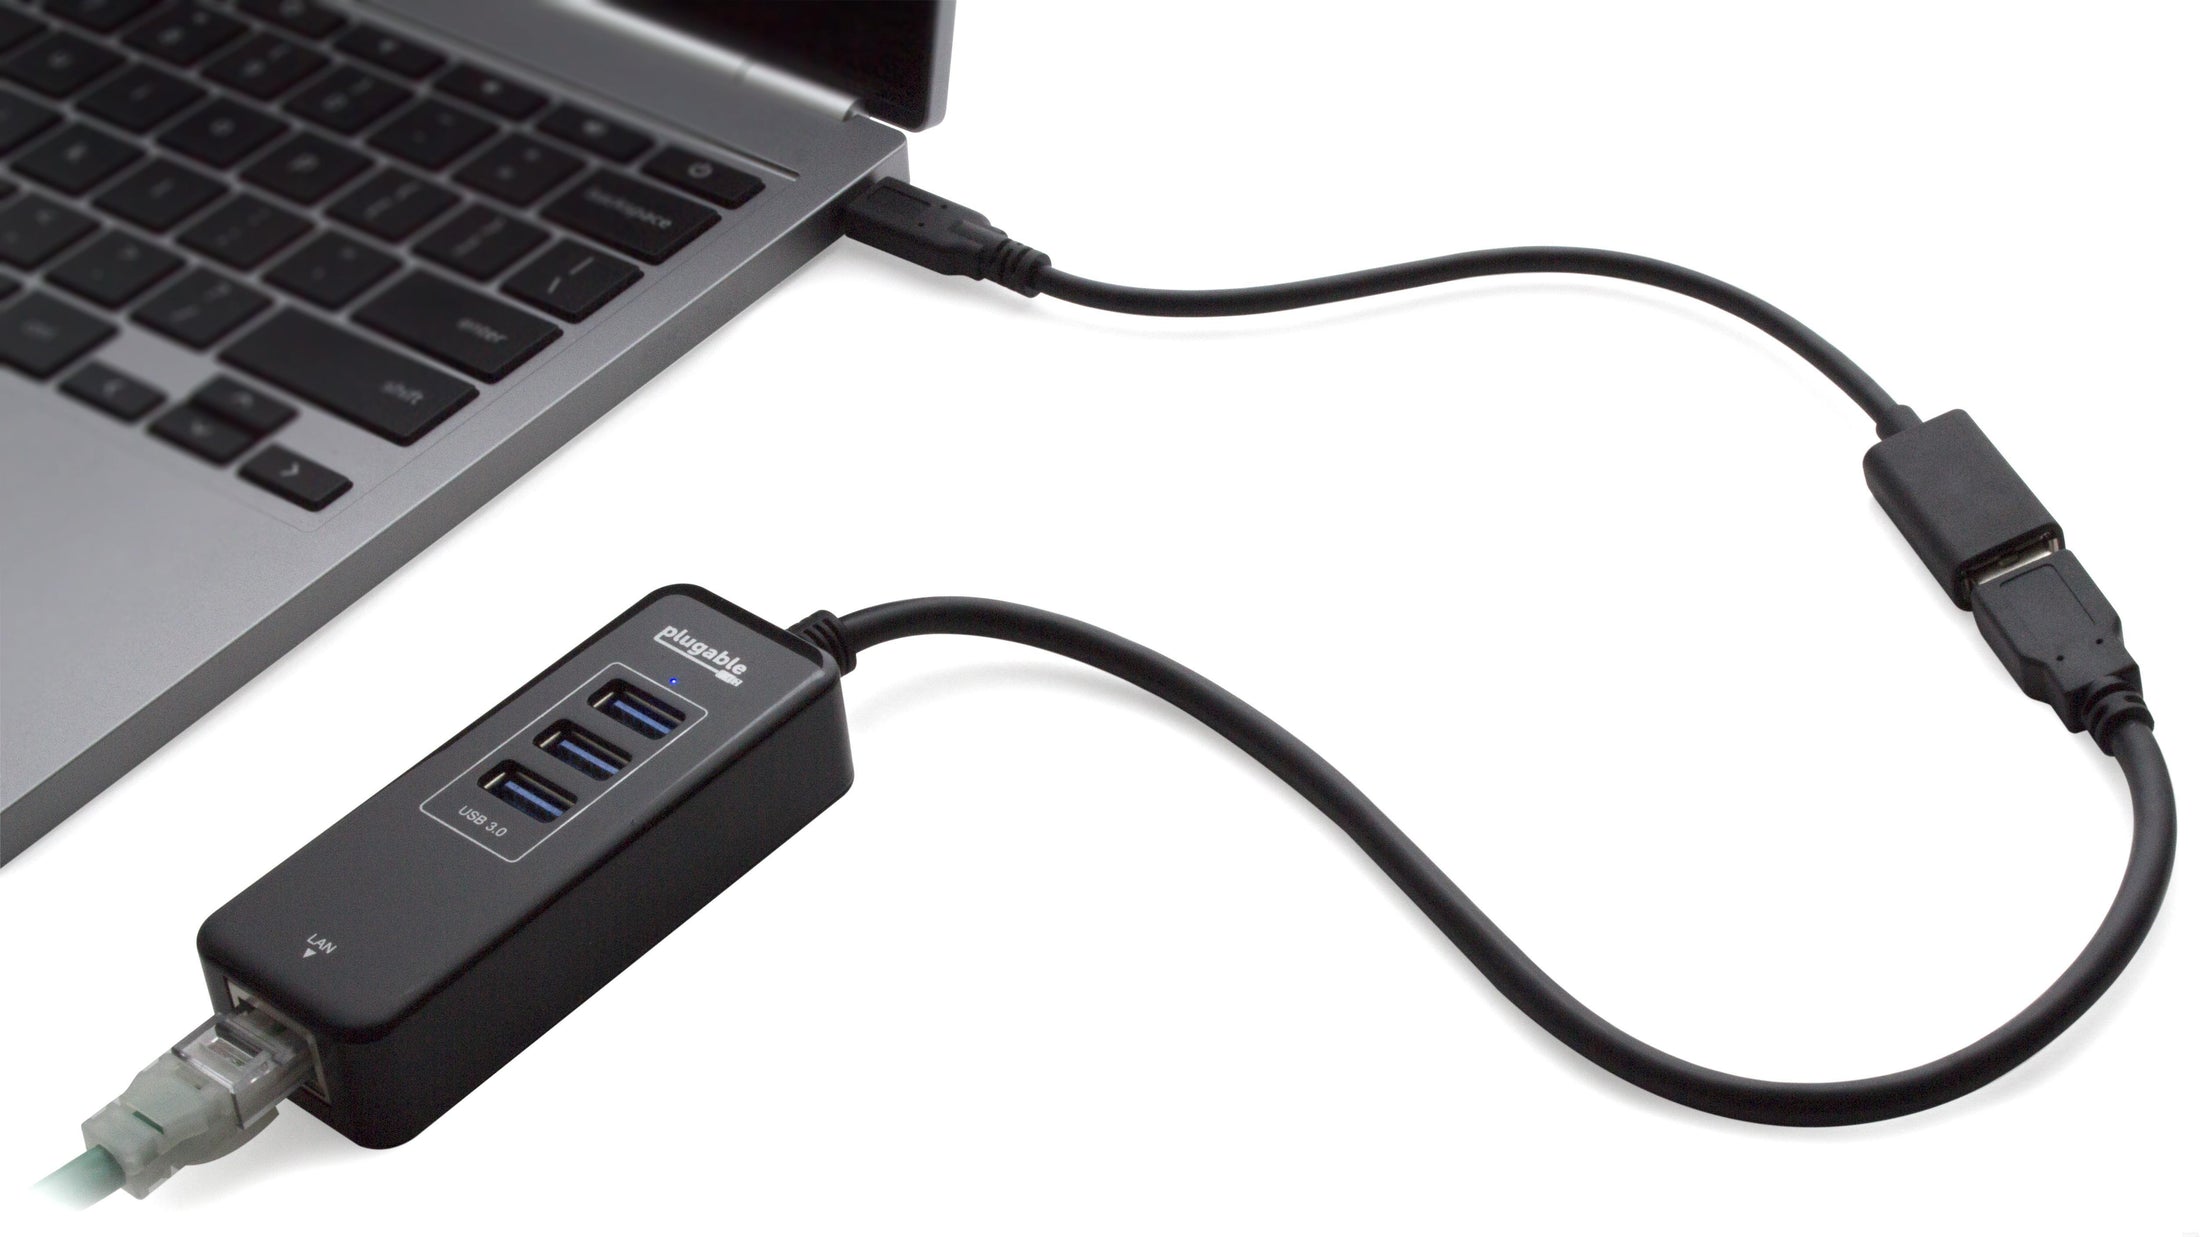
既存のUSB Type-A 機器を、新しいUSB Type-C や Thunderbolt 3 機器に接続
この Plugable USB Type-A メス - Type-C オス パッシブ変換ケーブル(USBC-AF3)を使用すると、これまでの既存 USB 1.1/2.0/3.0 機器を、USB Type-C ポートまたは Thunderbolt 3 ポート付きのラップトップ、タブレットやスマートフォンで使用できるようになります。
一部のアクティブ・ケーブルとは違い非常にシンプルで短い製品のため、信号干渉やタイミングの問題等が起こりにくくなっています。高シールド高品質なケーブルを採用し、プラグ&プレイで既存の USB 機器を USB-C や Thunderbolt 3 システムでも簡単に使用できます。(ただし接続する機器によっては、その機器用のデバイス・ドライバを導入する必要があります。)
このケーブルは、最高転送速度 5 Gbps までをサポートする USB 3.0(USB3.1 Gen 1)対応で、USB 2.0/1.1 の機器に対しても後方互換性があります。ただし、USB PD (PD 充電規格) には対応していません。
注意 1:Windows 以外のタブレットやスマートフォンに搭載された USB-C ポートは、接続された USB 3.0 デバイスに必要なデバイス・ドライバが導入されていなかったり、駆動に充分な電力を供給しないことがあります。そのような場合は、このアダプタ経由で接続したデバイスは機能しません。
注意 2:USB PD(PD 充電規格)ケーブルではありません。スマートフォンやタブレット端末では、このケーブル経由では電力を供給できない場合があります。
よくある質問
このケーブルを使って、古い USB 3.0 ハブを新しい PC の USB Type-Cポートに接続できますか?
はい、この USBC-AF3 ケーブルは USB 3.0 をサポートしており、USB Type-A コネクタ付きのハブを接続することができます。
USB-C ポートがあるスマートの充電にこのケーブルを使用できますか?
このケーブルは充電のための特別な機能には対応していないため、充電用に使用することはお勧めしていません。USB イーサネット アダプターを、この USBC-AF3 アダプターケーブルを使ってスマートフォンに接続したのですが、ネットワークに接続できません。なぜでしょうか?
お使いのスマートフォンが、USB 接続の外部イーサネット・アダプターをサポートしていない可能性があります。これは、使用しようとしている USB イーサネット・アダプタのデバイスドライバがそのスマートフォンにインストールされていない、またはアクティベートされていない、あるいはその他の問題があることを意味しています。この USBC-AF3 アダプターを使用して USB デバイスを動作させるためには、そのデバイス用の適切なデバイスドライバーがシステム側で動作している必要がありますので確認してください。
パッケージ内容
パッケージ内容と数量 | 注記 |
---|---|
1x Plugable USB-C - USB 変換ケーブル |
同梱ケーブル
ポートタイプ(側面 1 ) | ケーブル仕様 | ポートタイプ(側面 2 ) | ケーブル長 | ケーブル用外部電源 |
---|---|---|---|---|
USB-C(オス) | USB 3.0(5 Gbps) | USB-A | 0.2m/0.66ft | いいえ |
デバイス接続用 USB ポート
ポート | 場所 | バージョンとリンクレート | 機能 | 電圧 | アンペア | ワット数 |
---|---|---|---|---|---|---|
1x USB-A | ケーブル・コネクタ | USB 3.0(5 Gbps) | 5V | 900mA | 4.5W |
ホストへの接続
ポート | 場所 | バージョンとリンクレート | 機能 |
---|---|---|---|
1x USB-C | ケーブル・コネクタ | USB 3.0(5 Gbps) |
物理仕様
項目 | サイズ(高さ×幅×奥行き)または長さ | 重量 | 製品番号 |
---|---|---|---|
USB C-A 変換アダプタ | 0.2 m |
20 g |
USBC-AF3 |
使い方
- 当アダプターの USB-C コネクターを、ノートパソコン、スマートフォン、タブレットなどに接続します。
- USB Type-A コネクターを持つデバイスからのケーブルを、当アダプターの USB-A ポートにを差し込みます。
Filter Help Articles and Frequent Questions by Category
Choose one or more filters within each category to narrow down the articles. Each selection will result in only displaying articles that include all of your choices.
Articles
Well how about that, it looks like we don't have any articles matching your filters! Try removing one of your choices or clear the filters to show all articles.
You can always contact support if you need help too!
USB Port Types
USB-A
pietz, CC BY-SA 3.0 , via Wikimedia Commons
This is the standard USB connection that most computers offered prior to the introduction of USB Type-C (USB-C). Even after the introduction of USB Type-C, this is still quite common.
It can provide data transfer rates up to the USB 3.1 Gen 2 (10 gbps) specification depending on the host and device, but does not directly support video in the way that USB-C Alternate Mode does. This limitation makes DisplayLink USB graphics adapters and docking stations ideal on systems that do not have USB-C, or in instances where more displays are needed beyond available video outputs of a PC.
USB-B
Fred the Oyster, CC BY-SA 4.0 , via Wikimedia Commons
IngenieroLoco, CC BY-SA 4.0, via Wikimedia Commons
This type of connection comes in a couple different styles depending on whether USB 3.0 and higher transfer rates are supported (bottom graphic). Usually this type of connection is used to plug into USB devices that do not have a fixed cable connected, such as USB docking stations, USB hubs, printers, and others.
USB Mini-B
Fred the Oyster, CC BY-SA 4.0 , via Wikimedia Commons
One of the first connectors for charging a smartphone, wireless game controller (such as the Sixaxis and DualShock 3), and other small devices such as external hard drives. Not commonly used today, but is still used in some cases. Most devices using USB Mini B are using USB 2.0, though a USB 3.0 variant does exist. This specification also added USB On-The-Go (OTG) functionality, though it is more commonly implemented with Micro USB.
USB Micro-B
Fred the Oyster, CC BY-SA 4.0, via Wikimedia Commons
IngenieroLoco, CC BY-SA 4.0 , via Wikimedia Commons
A smaller connector that serves many of the same uses as the Mini B connector, with added optional features such as Mobile High-Definition Link (MHL) to allow devices like smartphones to output video to larger displays without requiring a dedicated port for video output.
The larger variant of USB-B is most commonly used for external hard drives for higher 5Gbps transfer rates.
USB-C, Thunderbolt™ 3, and Thunderbolt™ 4
Niridya , CC0, via Wikimedia Commons
The most recent USB connection, USB Type-C (USB-C), represents a major change in what USB can do. The connector is smaller, can be connected in two orientations, is able to carry substantially more power and data, and can directly carry video signals of multiple types (HDMI, DisplayPort, etc.) Intel has also adapted the USB-C connector for use with Thunderbolt 3 and Thunderbolt 4.
It is important to note that while all Thunderbolt 3 and Thunderbolt 4 connections are USB-C, not all USB-C connections can be used with Thunderbolt 3 or Thunderbolt 4 devices.
More details regarding physical USB connections can be found on Wikipedia . The graphics depicted here are adapted from Wikimedia Commons by various artists under the Creative Commons Attribution-Share Alike 3.0 Unported license.
Do Plugable products support the Apple SuperDrive?
Unfortunately Plugable products do not support the Apple SuperDrive.
The Apple SuperDrive has stringent power requirements that can only be met by directly connecting the SuperDrive to your host laptop. As a result at this time Apple recommends only using their USB-C adapter cables. You can find more information on that here → How to connect the Apple USB SuperDrive
If you have purchased a Plugable product to use with your Apple SuperDrive, and would like some additional assistance please do not hesitate to reach out. You can do so by emailing support@plugable.com, or going to Plugable.com/Support.
How to Use Two External Displays with the Lid Closed on MacBook Air and MacBook Pro M3
Overview
With the release of Apple’s M3 CPU chips and the Sonoma 14.6 update your base MacBook Air and MacBook Pro systems with M3 chips can now host two external displays natively in clamshell mode. This guide will walk you through the process of setting up and using two external displays with the lid closed on your MacBook Air or MacBook Pro equipped with an Apple M3 chip.
Requirements
Before getting started, ensure you have the following:
- MacBook Air or MacBook Pro with an Apple M3 chip.
- macOS Sonoma 14.3 or later for an M3 MacBook Air or macOS Sonoma 14.6 or later for an M3 MacBook Pro.
- Two external displays with compatible video inputs (e.g., HDMI, DisplayPort, USB-C).
- A dock or graphics adapter can be used as well.
- External keyboard and mouse (wired or wireless).
- Power adapter or power source for your MacBook
- A docking station that provides adequate charge can be used in place of the native power adapter, be sure to check the wattage your dock provides.
Steps to Set Up Dual External Displays with the Lid Closed
1. Set Up Your External Keyboard and Mouse
- If you’re using a wired keyboard and mouse, connect them directly to your MacBook or Plugable dock.
- For wireless peripherals, ensure they are paired with your MacBook and functioning properly.
- An AC adapter/power cable of some kind will also need to be connected for clamshell mode to function properly. This adapter can be one from a docking station or the included Apple adapter.
2. Connect Your Displays
- Connect the first external display to your MacBook using the appropriate cable (e.g., HDMI, DisplayPort, USB-C)
- Close your laptop’s lid.
- Connect the second external display using a similar method.
- Ensure both displays are powered on and set to the correct input source.
3. Configure Display Settings
- Open System Settings on your MacBook.
- Go to Displays.
- You should see both external displays listed. Arrange them according to your preference by dragging the display icons.
- Adjust the resolution, refresh rate, and other settings as needed.
4. Enable "Clamshell Mode" (Lid Closed Mode)
- With your external displays connected and set up, close the lid of your MacBook.
- Your MacBook will automatically switch to "Clamshell Mode," where the internal display turns off, and the external displays become your primary screens.
- Ensure your MacBook is connected to a power source to prevent it from entering sleep mode.
5. Check the Display Arrangement
- With the lid closed, check that the external displays are functioning as expected.
- If necessary, re-open the Displays settings to adjust the arrangement, resolution, or other preferences.
Troubleshooting Tips
- No Display on External Monitors: If the external displays are not showing anything, open the lid of your MacBook and check the connections.
- MacBook Sleeps When Lid Is Closed: Make sure your MacBook is connected to a power adapter. Clamshell Mode requires the MacBook to be plugged into an external power source.
- Performance Issues: If you experience lag or performance drops, try lowering the resolution or refresh rate of the external displays.
Thunderbolt Dock Users
With these steps, one can use Plugable Thunderbolt docks to enjoy a dual-display setup without the need for additional software installation. The dock leverages the native capabilities of the MacBook Air M3 and MacBook Pro M3, providing a straightforward and efficient solution for expanding your workspace with additional USB ports, audio, and ethernet (as well as the dual displays).
Additional Resources
If you should need any assistance with your setup, please feel free to reach out to our support team at support@plugable.com.