Setup Showcase: How I Use My KVM Monitor to Share Devices Between Two Computers
Product Owners | May 03, 2023
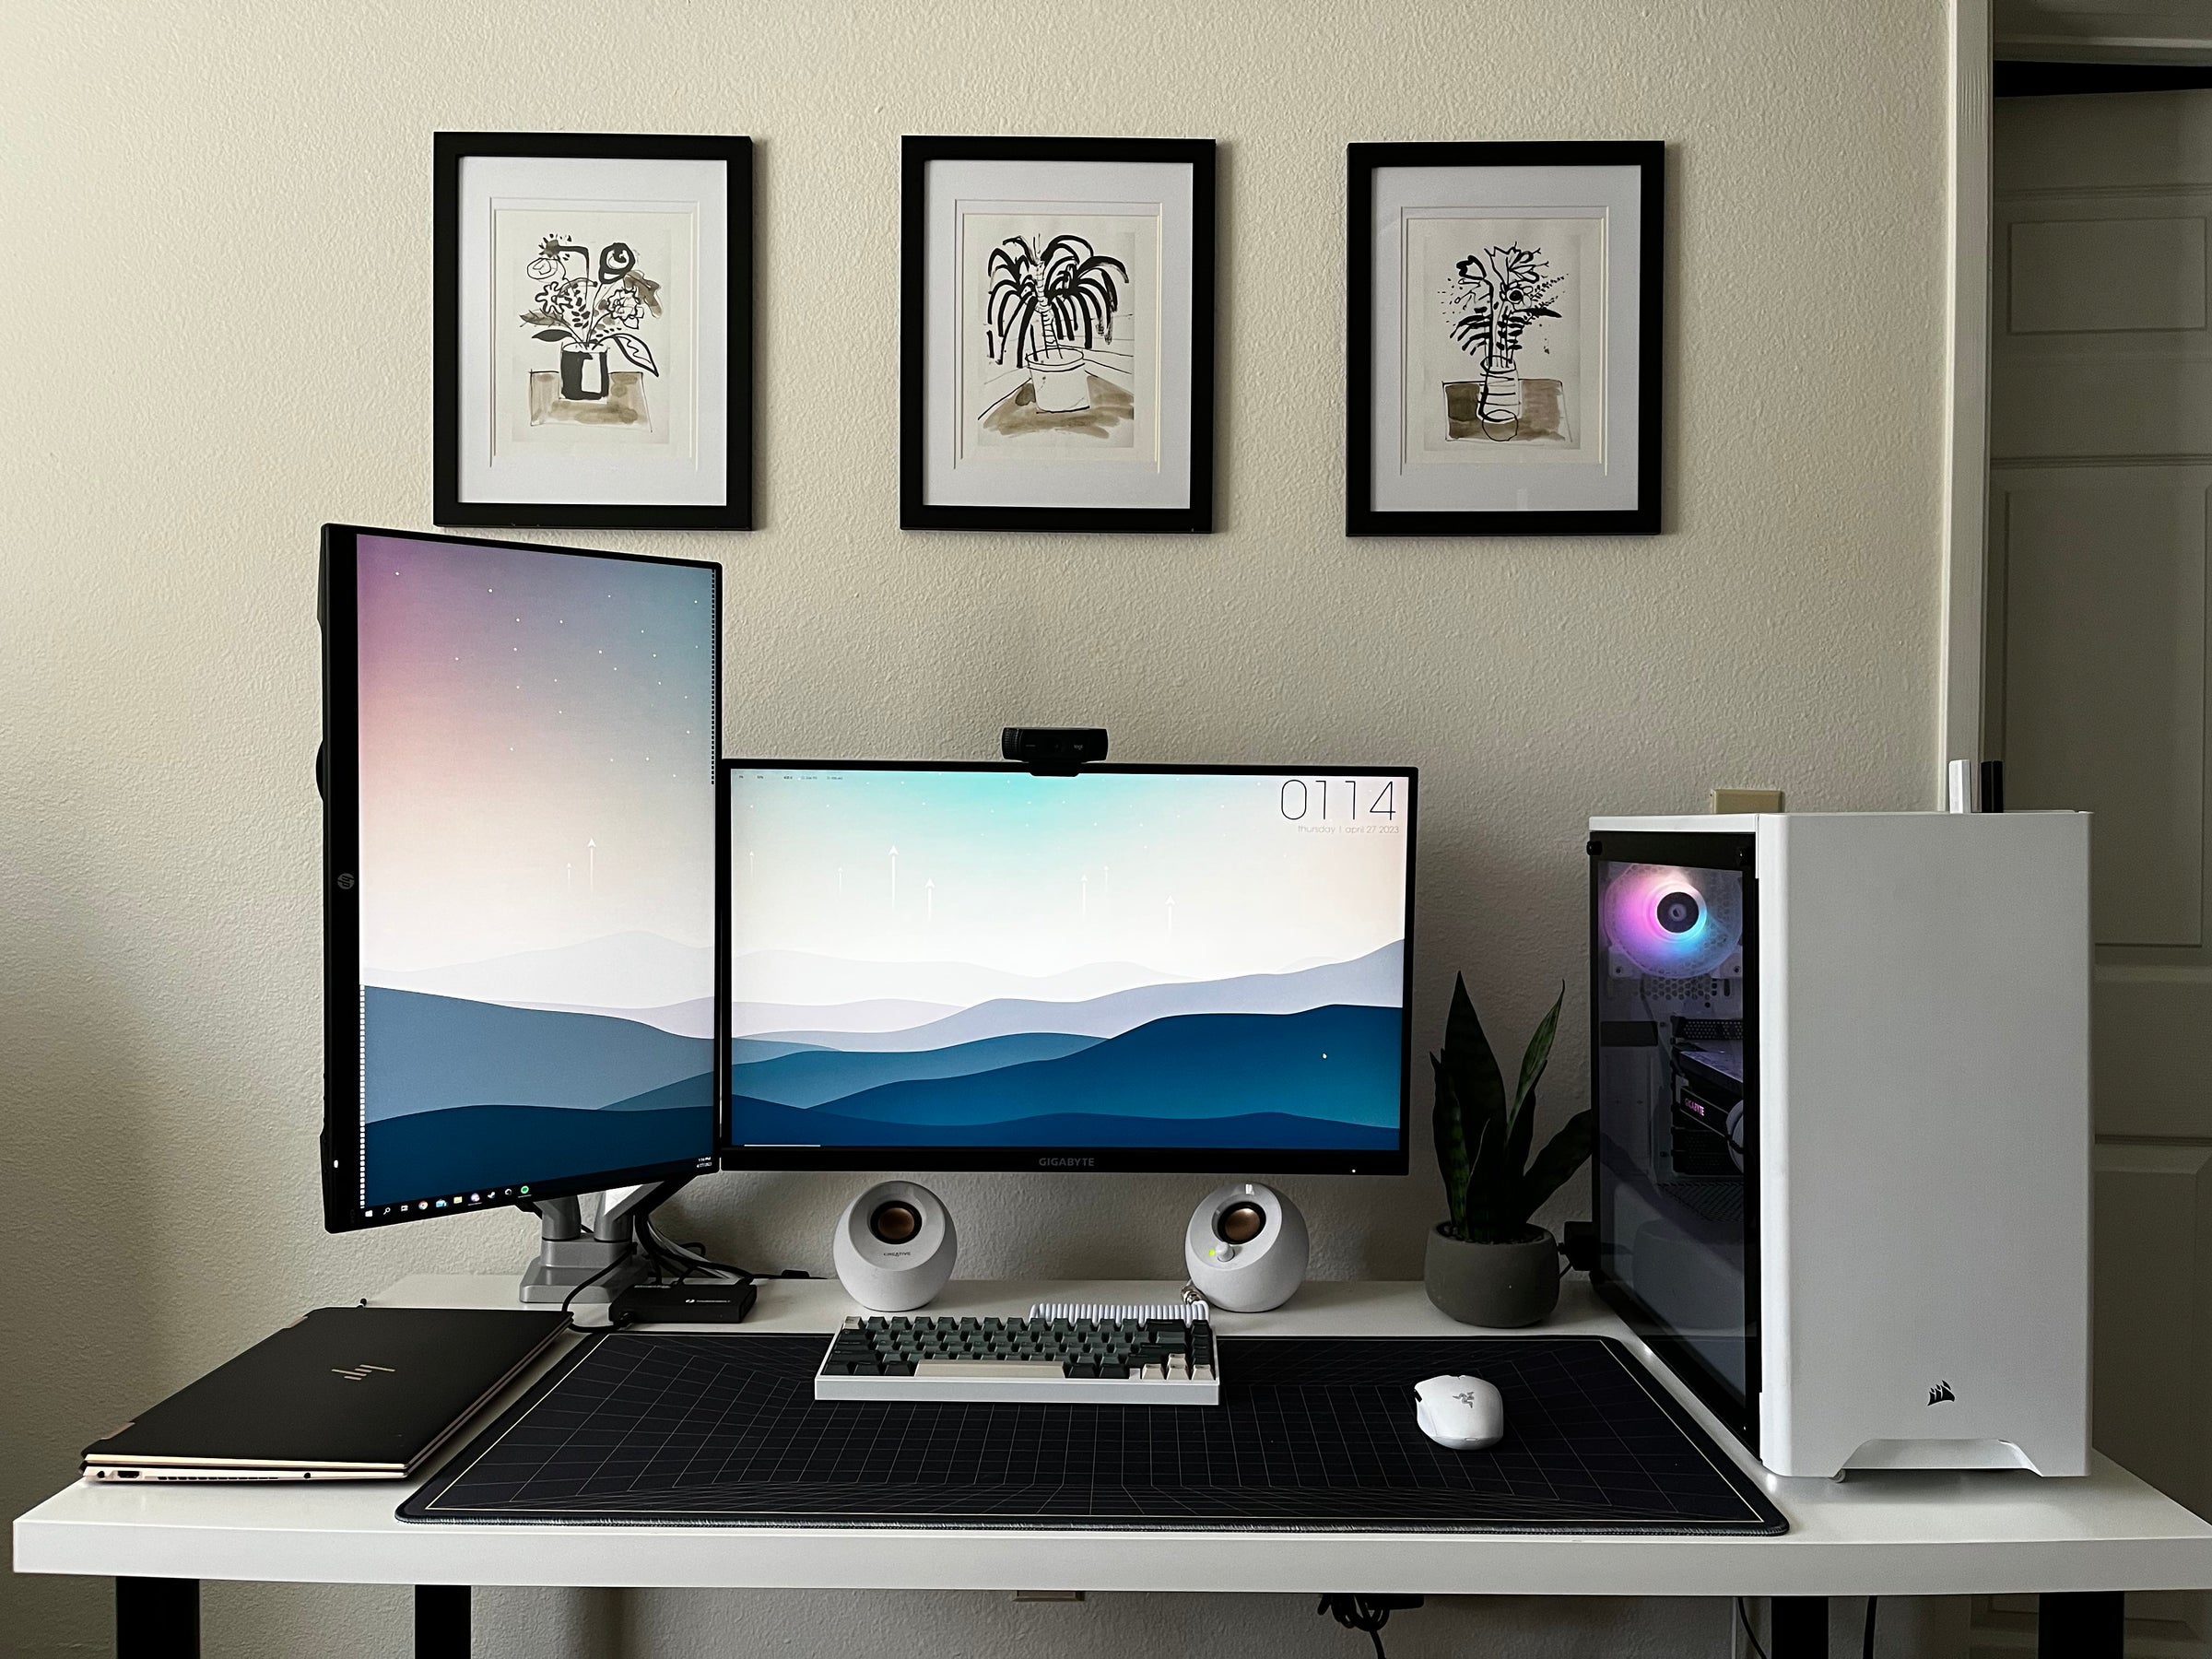
Hello! My name is Evan, and I am one of the Product Owners here at Plugable. In this blog post, I wanted to showcase my home desk setup, as well as highlight how my KVM monitor helps me share peripherals between two computers while keeping a clean and productive desk setup.
My desk consists of the following devices:
- Work laptop (Windows, Thunderbolt 4)
- My personal desktop (Windows)
- KVM monitor (1440p, horizontal)
- Second monitor (1080p, vertical)
- Plugable Thunderbolt 4 and USB4 Hub (TBT4-HUB3C)
- Plugable USB 3.0 3-Port Bus Powered Hub with Gigabit Ethernet (USB3-HUB3ME)
- USB webcam
- Wired speakers
- Wired keyboard
- Wireless mouse
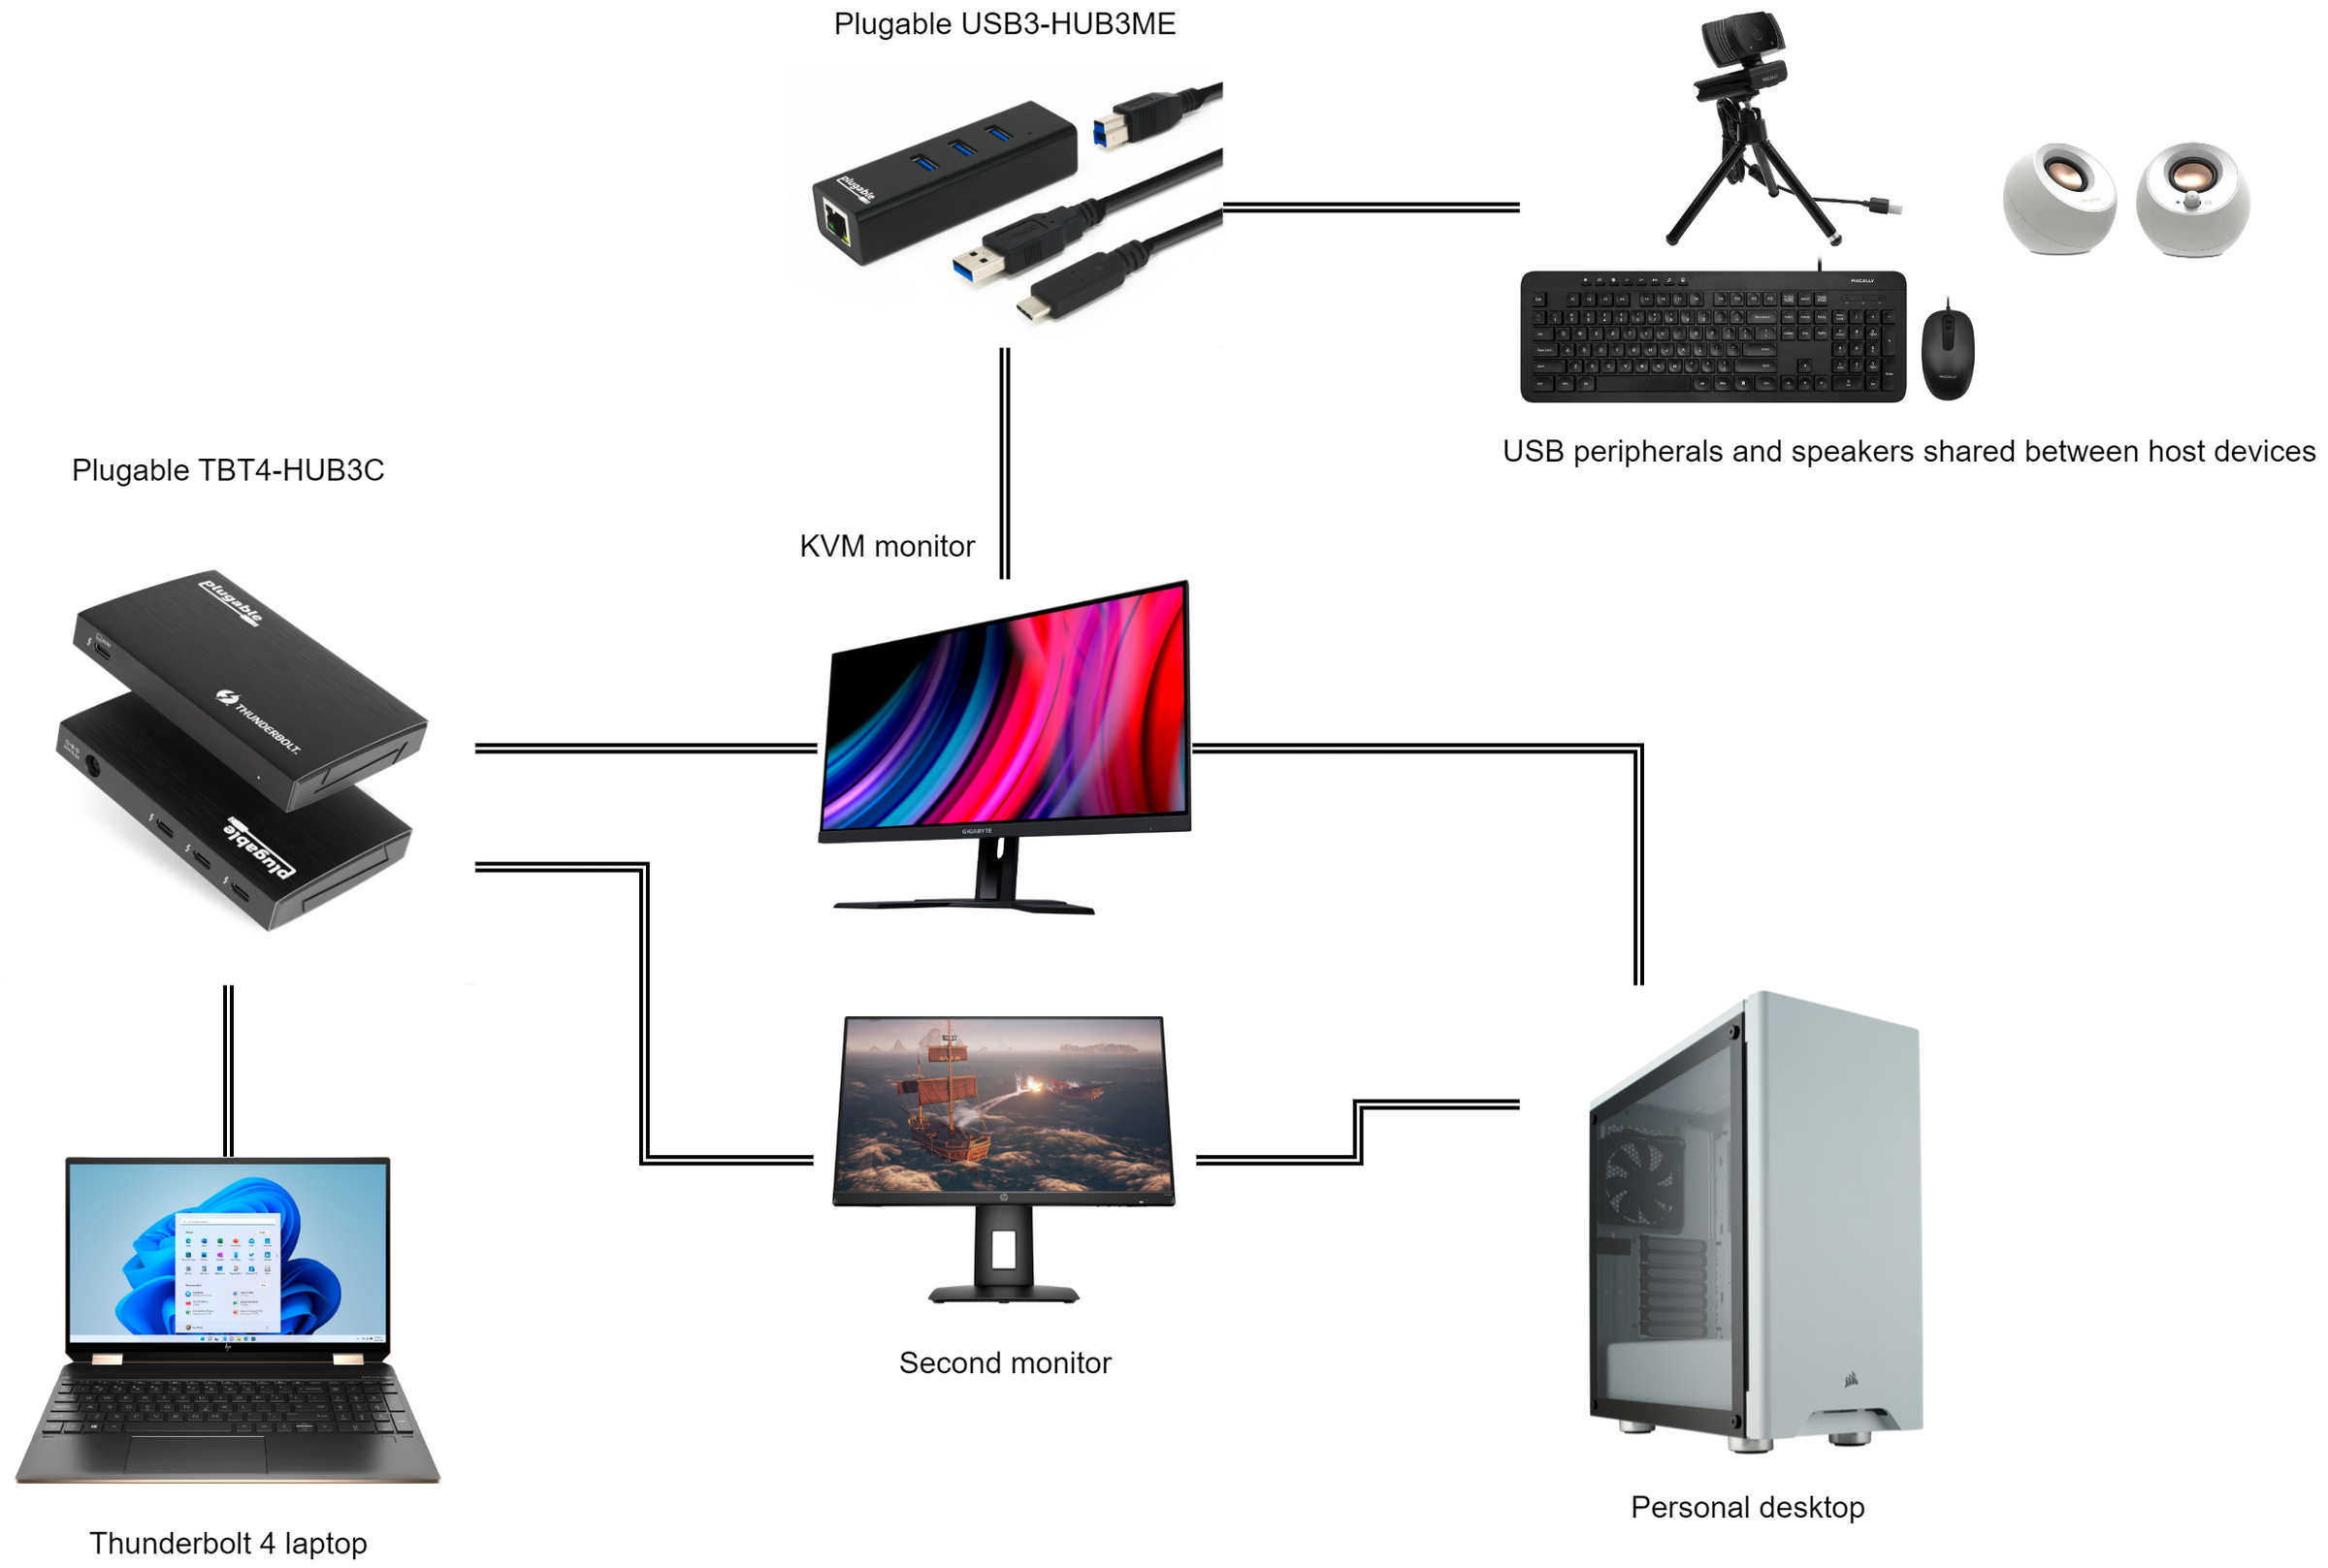
Below is a diagram showing how all of these devices are connected together:
Adding More Thunderbolt 4 Ports to My Laptop
Starting from the left side of my desk, we can see that my work laptop is connected to the Plugable TBT4-HUB3C. This laptop supports Thunderbolt 4, which means that along with the display, charging, and data transfer capabilities, we can also daisy chain up to six additional Thunderbolt 4 devices from a single Thunderbolt 4 port.
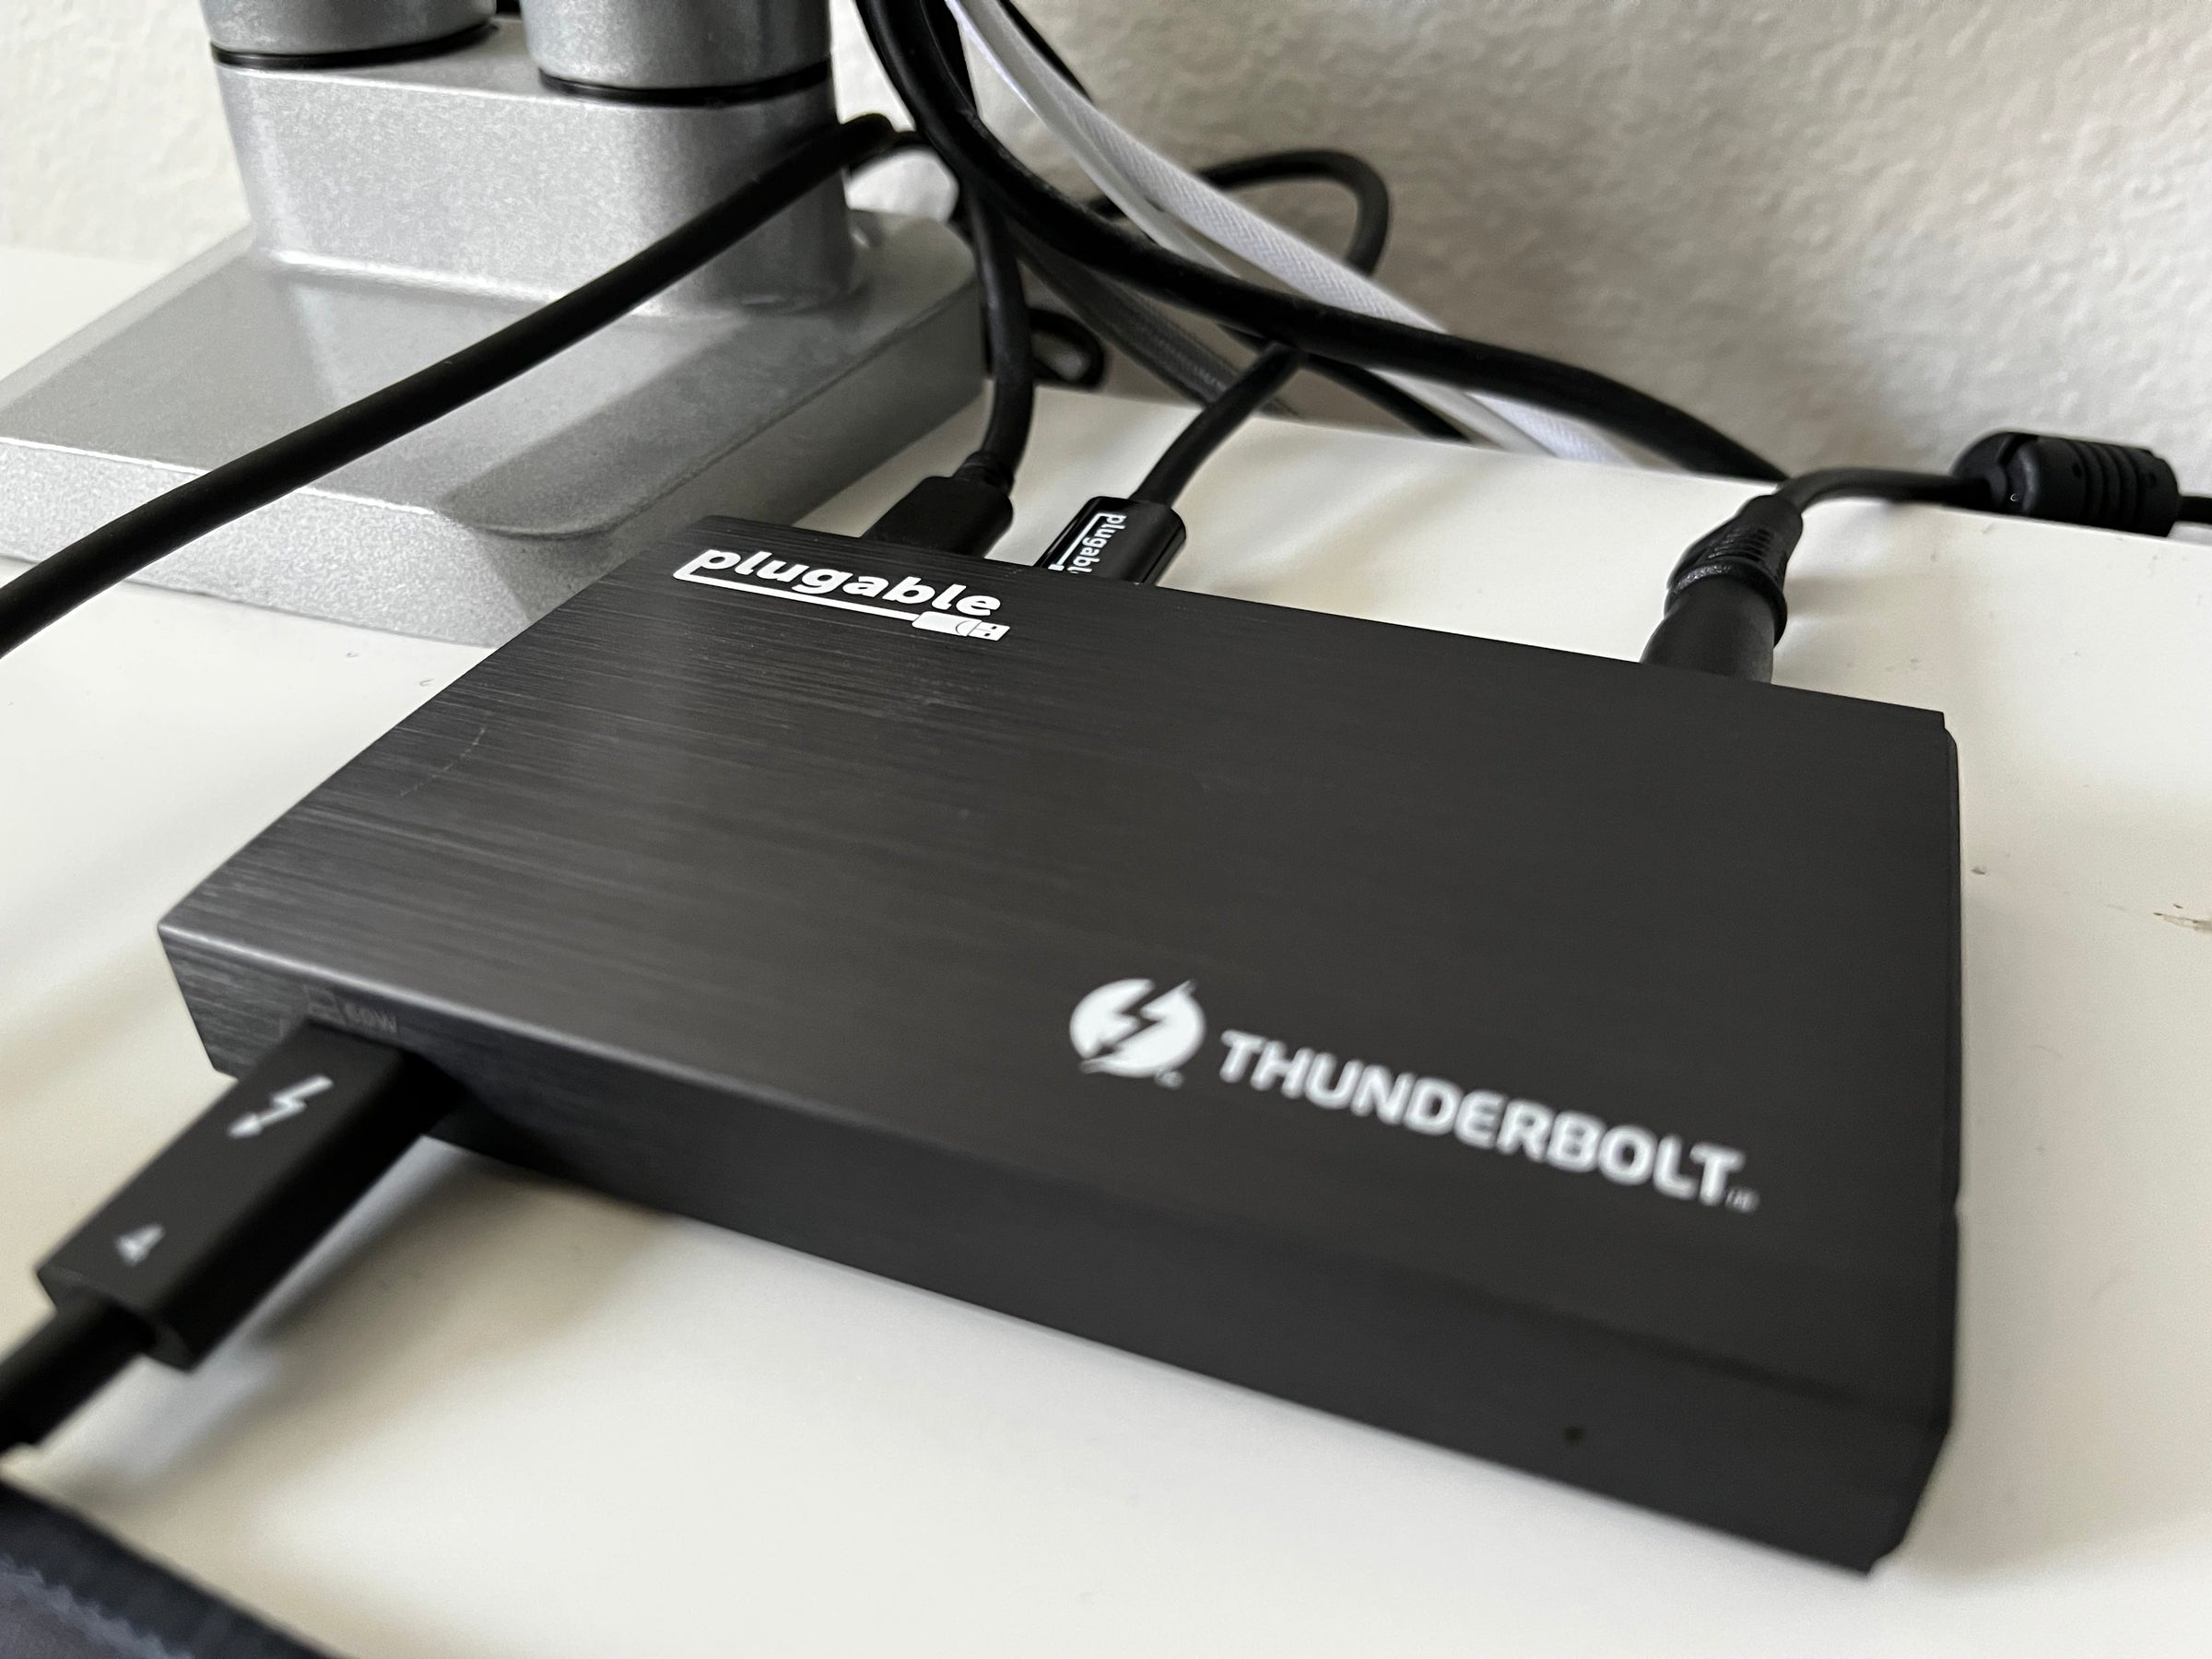
The TBT4-HUB3C helps enable this by expanding one of my laptop’s Thunderbolt 4 ports into three, giving me the ability to connect more USB-C or Thunderbolt peripherals to my work setup, or simply charge my phone. This hub also has the added benefit of charging my laptop with up to 60W of power delivery, so I don’t need a separate connection for charging.
KVM Monitor
Surprisingly, one of the main things that ties my desk setup together is my Gigabyte M27Q monitor. This is because the monitor has built-in KVM functionality, allowing me to share USB peripherals between both of my computers. Along with the standard video inputs, this monitor also has two USB 3.0 ports and an audio jack.
Adding More USB 3.0 Ports For Peripherals
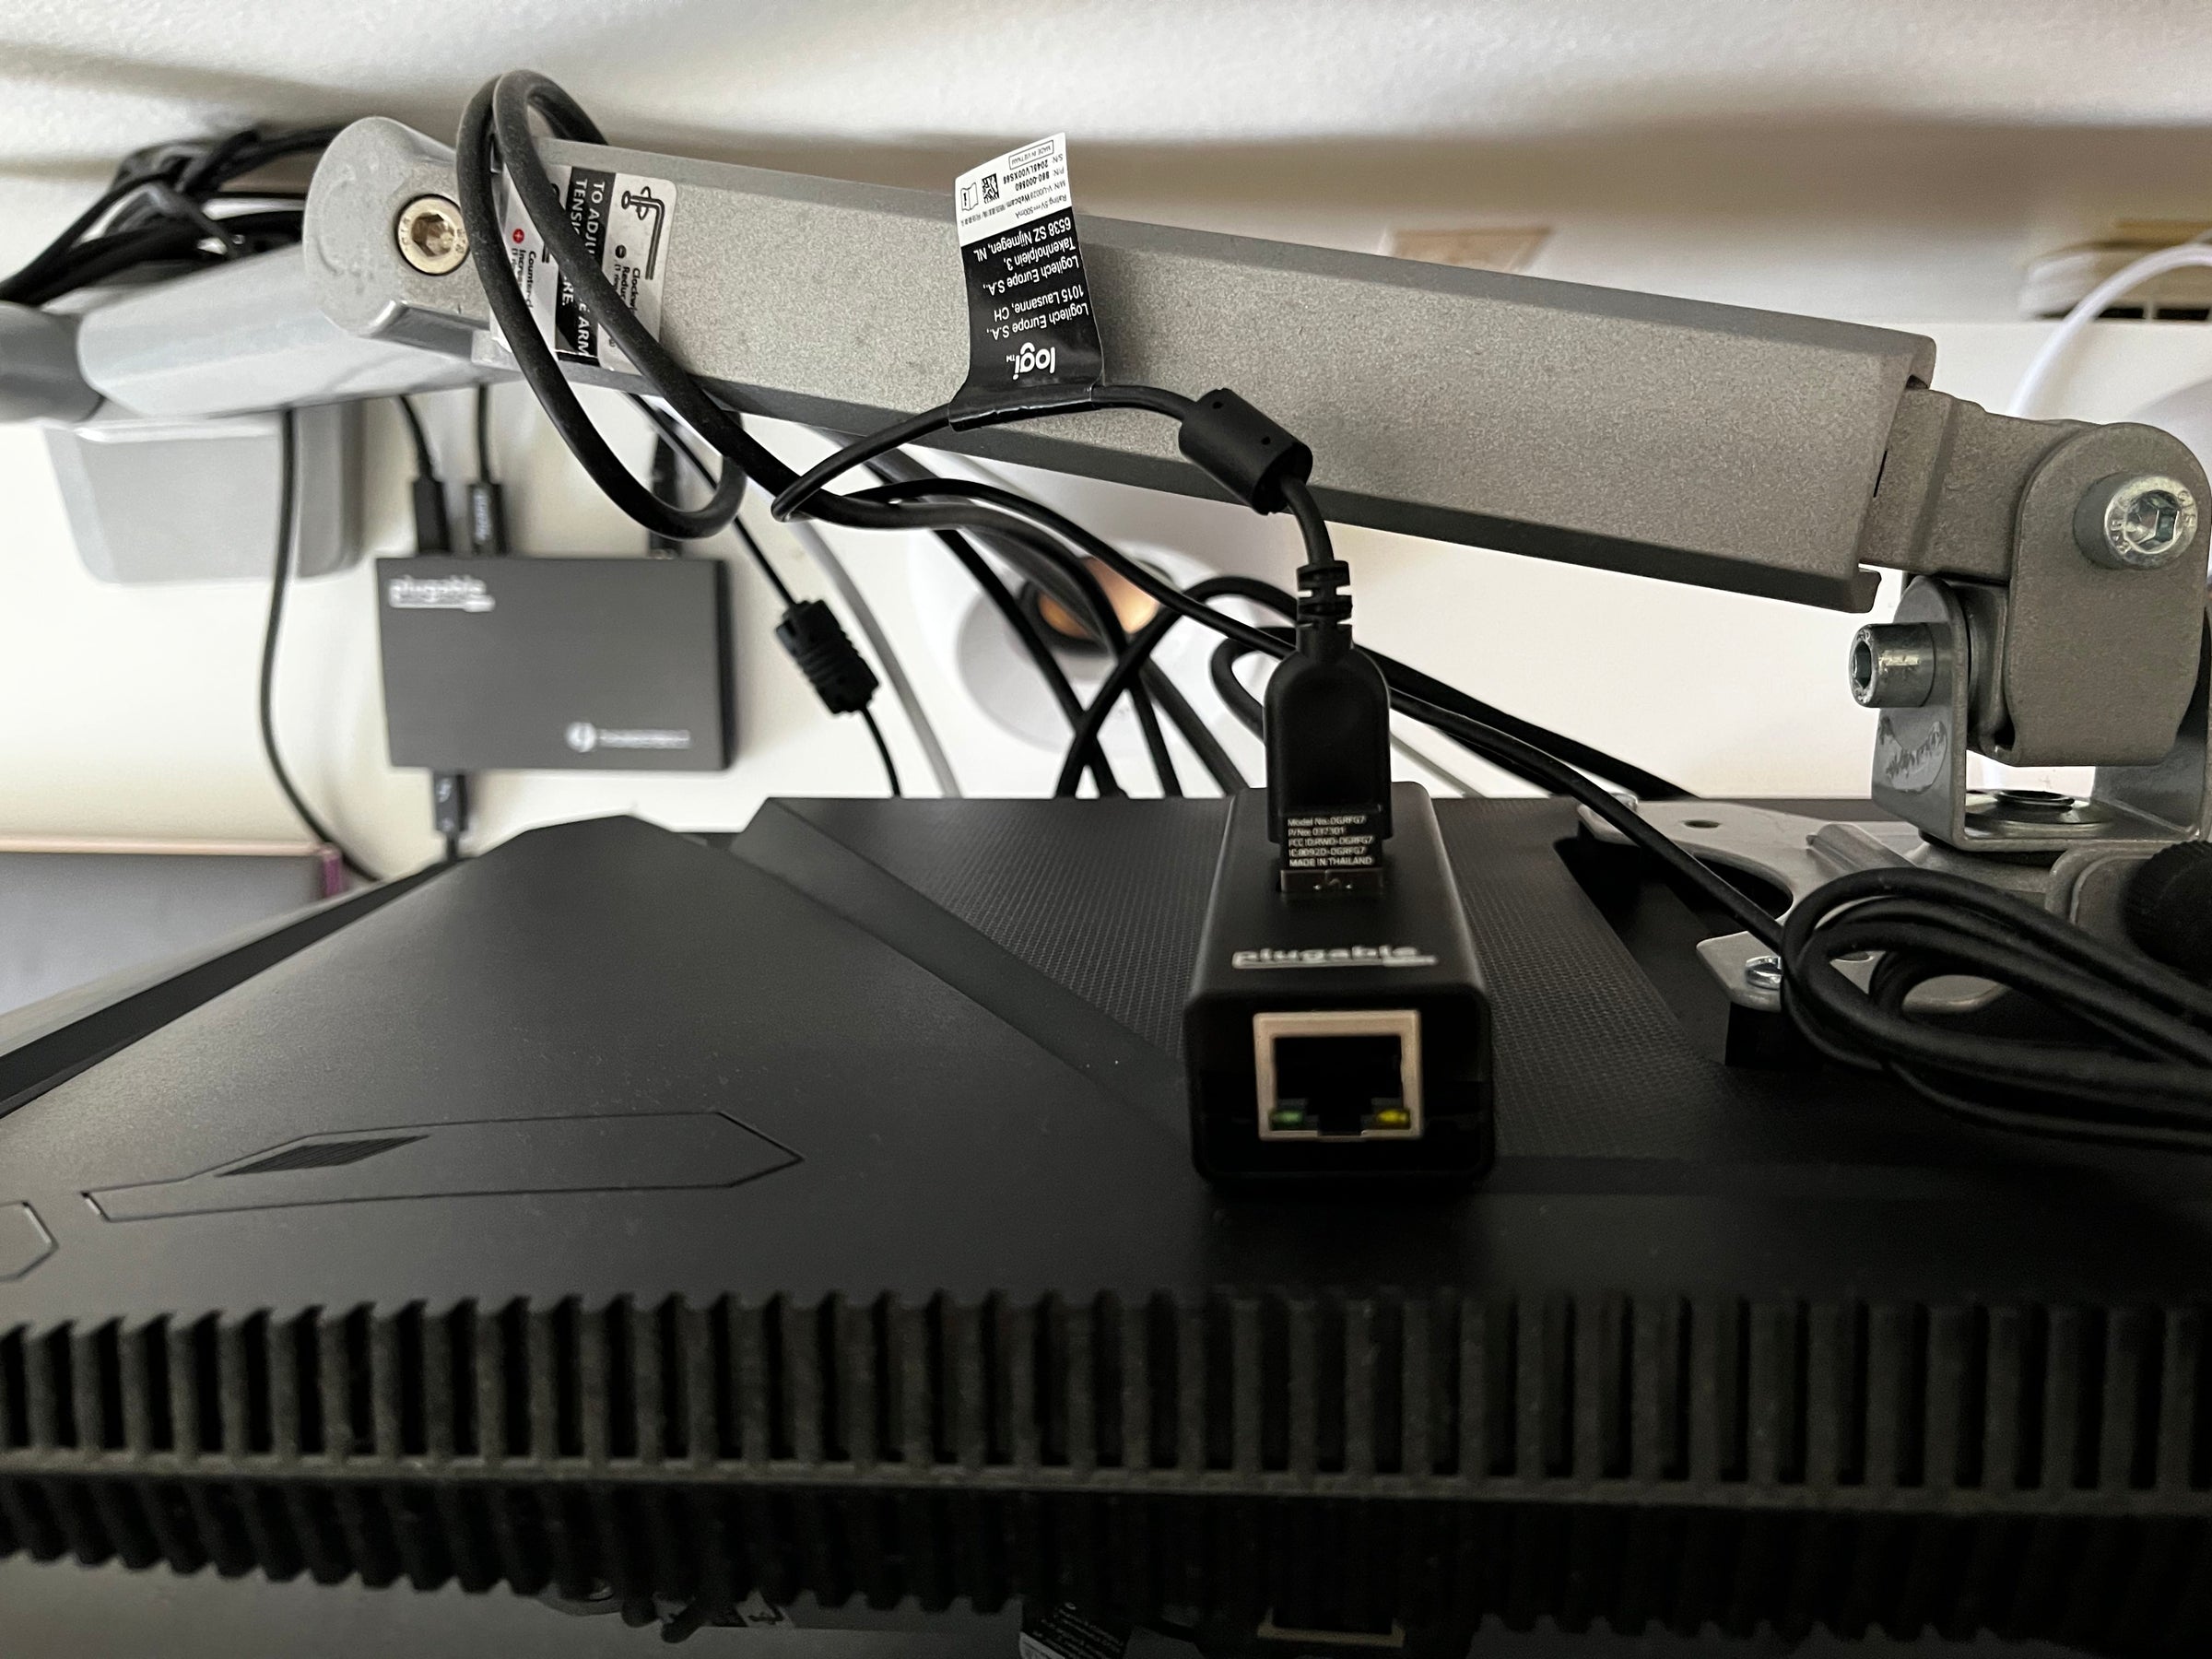
To add even more peripherals, I’ve connected a Plugable USB3-HUB3ME bus-powered hub to one of the monitor’s USB 3.0 ports and mounted it to the back of my monitor with a light adhesive.
Connected to these USB ports are the wired keyboard, the dongle for the wireless mouse, and the USB webcam. I also connect the wired speakers to the audio jack on the monitor.
Connecting It All Together
In order to connect my laptop to the display and peripherals, the monitor has a USB-C input that functions as a video input as well as a USB connection to the peripherals. This is where the TBT4-HUB3C comes in handy, as I can simply use a USB-C cable to connect one of the downstream Thunderbolt 4 ports to the monitor.
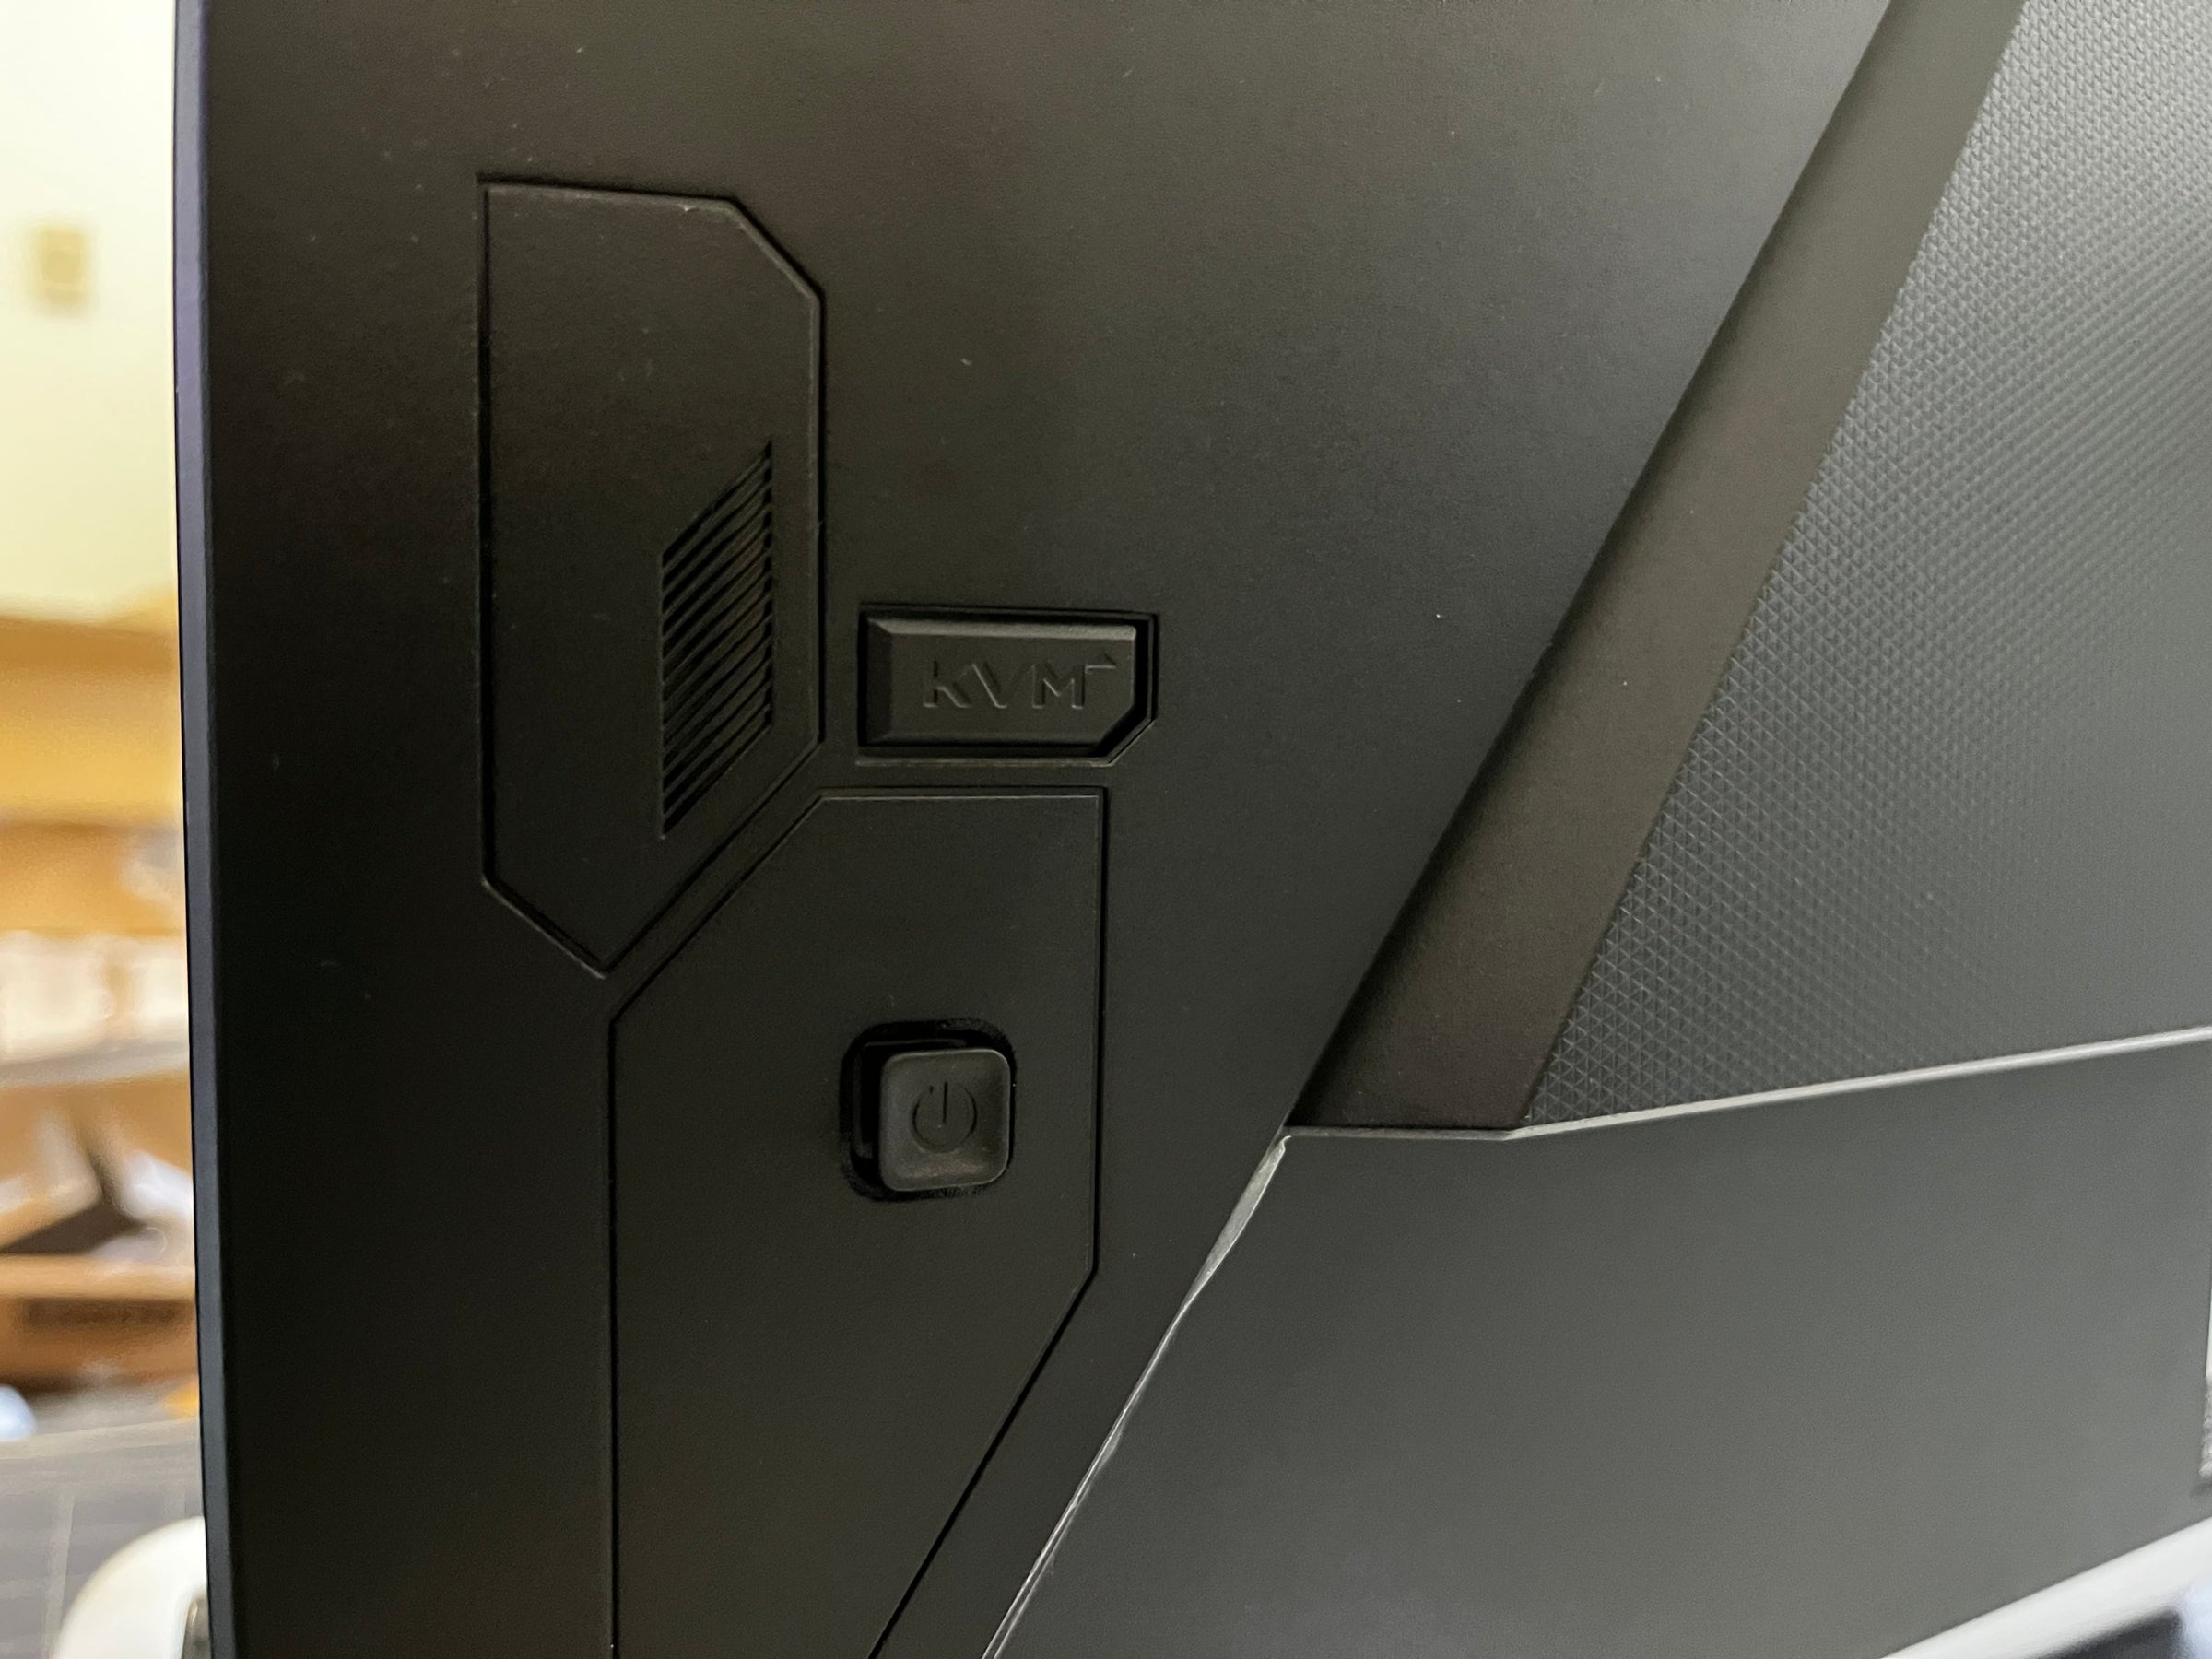
With my personal desktop connected using DisplayPort and a USB Type-A to Type-B cable, pressing the “KVM” button on the back of the monitor switches both the video input and the peripherals from one device to the other without having to swap any cables!
While these KVM monitors are not commonplace yet, the few that are on the market do provide a unique way to clean up your desk setup, especially if you are like me and have two computers that you switch between often. It is also encouraging to see that our Plugable devices are proving to be interoperable with these new technologies. You can be sure that we at Plugable will always be looking for more ways to achieve a more connected setup for your home or office space!
Buy the Plugable Thunderbolt 4 and USB4 Hub
List Price: $189.95
Free 3-Day Continental U.S. Shipping on Orders Over $35!
Buy the Plugable USB 3.0 3-Port Bus Powered Hub with Gigabit Ethernet
List Price: $34.95
Free 3-Day Continental U.S. Shipping on Orders Over $35!
View Other Articles in Category
Multi-Monitor, Productivity, Proof of Concept, Technology Deep Dive, Thunderbolt™ 4, USB-C
Related Articles


Loading Comments